

很多亲们还不了解win8系统更新无线网卡驱动的具体操作,今天小编就教大家win8系统更新无线网卡驱动的操作方法,一起来学习吧!
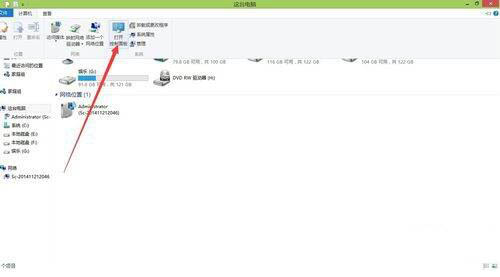
1.打开这台电脑,找到控制面板。如图所示:
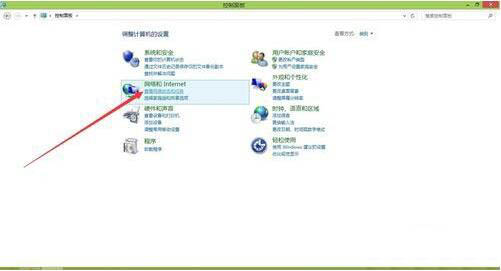
2.找到其中的查看网络状态和任务。如图所示:
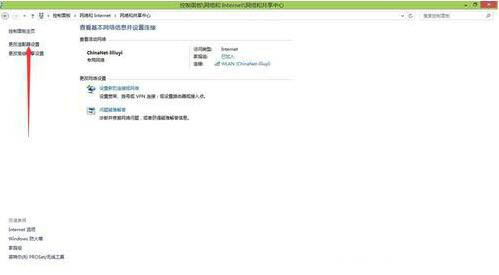
3.点击右上角的更改适配器设置。如图所示:
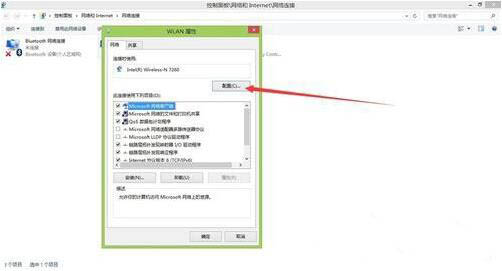
4.打开后找到无线网卡。如图所示:

5.在无线网卡上面点击右键。点击其中的属性。如图所示:

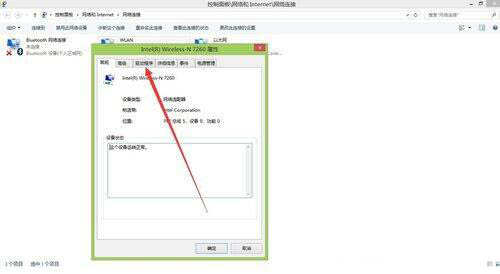
6.在弹出的界面中选择,配置,如图所示:
7.找到其中的驱动程序选项卡。如图所示:
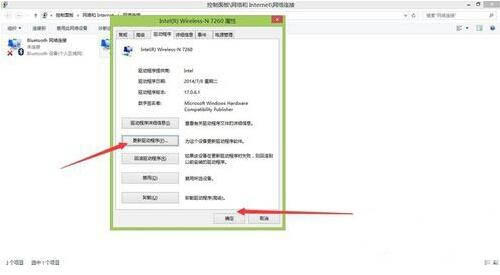
8.找到里面的更新驱动程序。更新完成后,点击确定。如图所示:
上面就是小编为大家带来的win8系统更新无线网卡驱动的具体操作教程,希望对大家能够有所帮助哦。


")
")


语音转文字!新媒体翻译者都有哪些实时语音转文本工具?")


