今天小编分享Ps制作人物剪影的操作步骤,需要了解的亲们就看下文吧,下面就是详细完整的教程,希望可以帮助到有需要的小伙伴哦。
效果图:
人物黑色剪影
人物彩色剪影

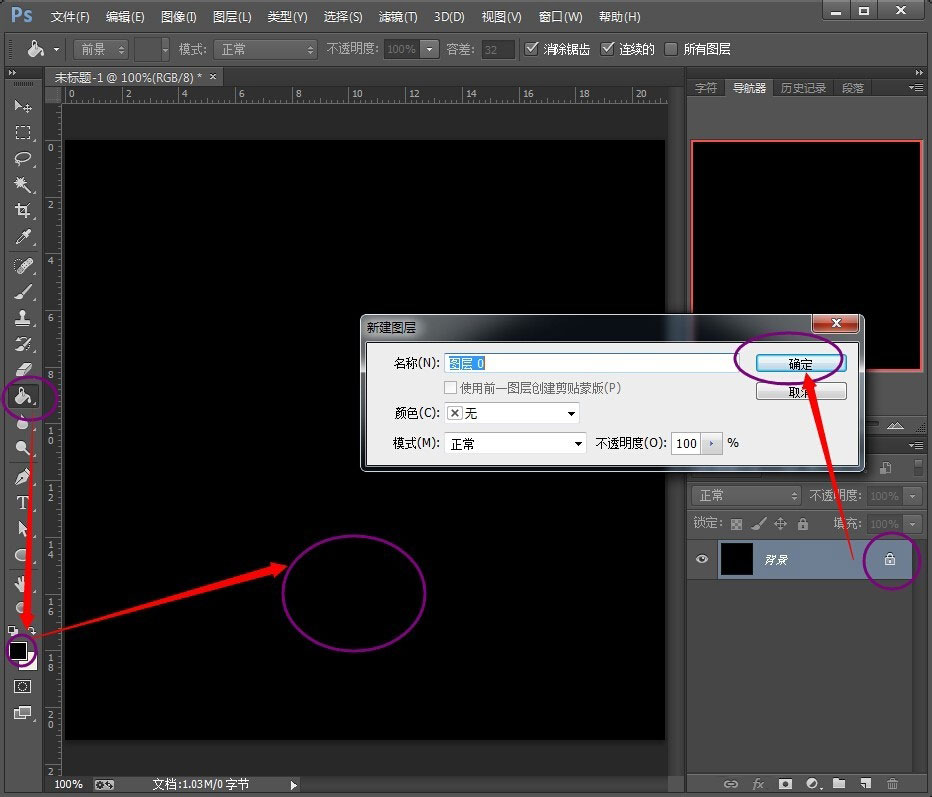
1、打开 Photoshop软件(以下简称PS),使用【油漆筒】工具,把背景设置为纯黑色。双击背景图层,把这个图层的锁定解除掉。
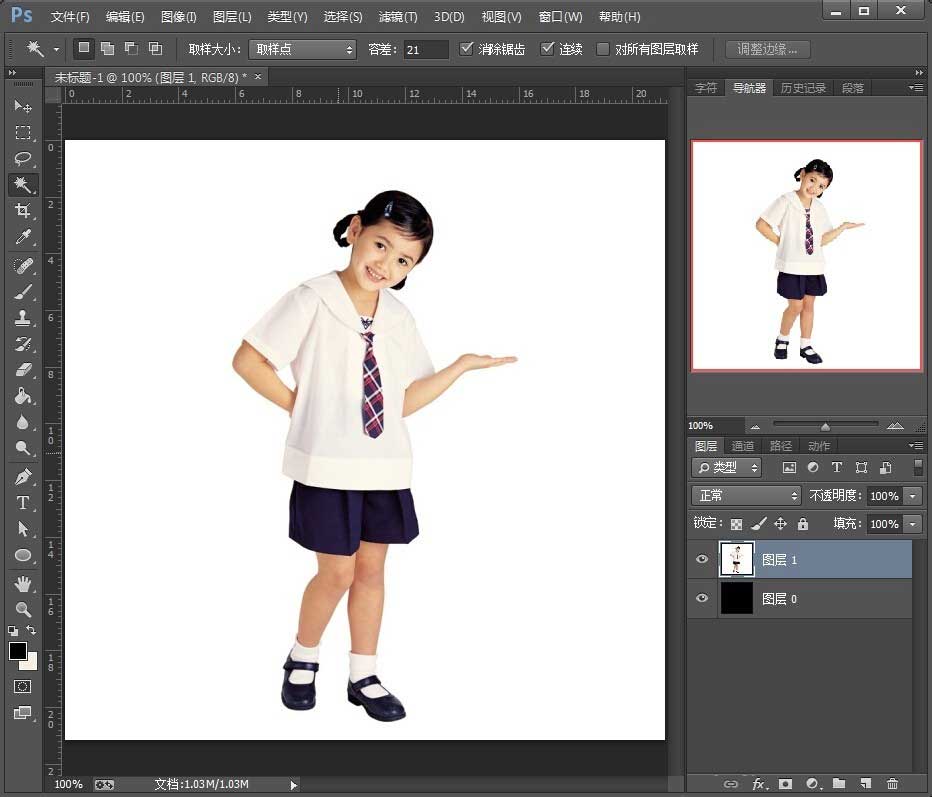
2、把准备好的照片粘贴在新建的图层中。
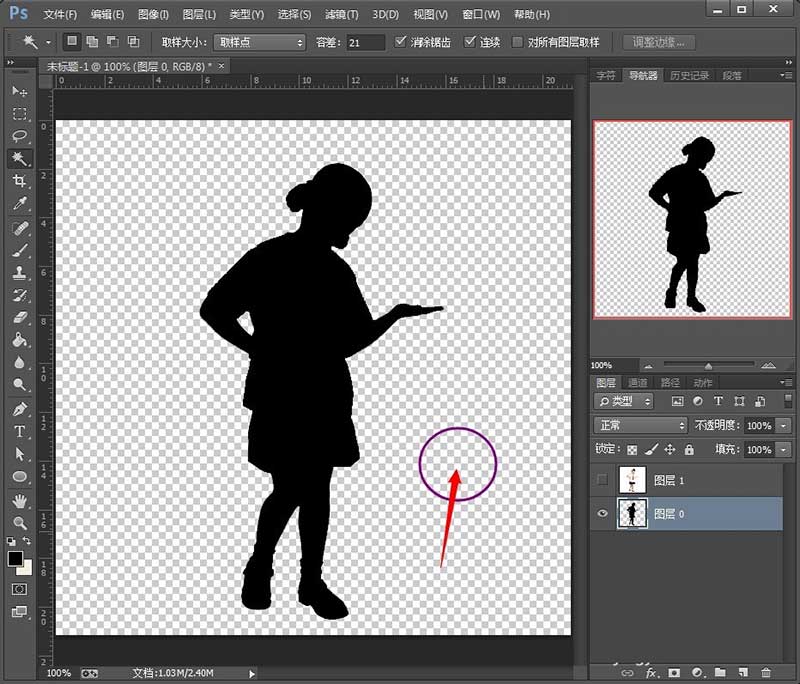
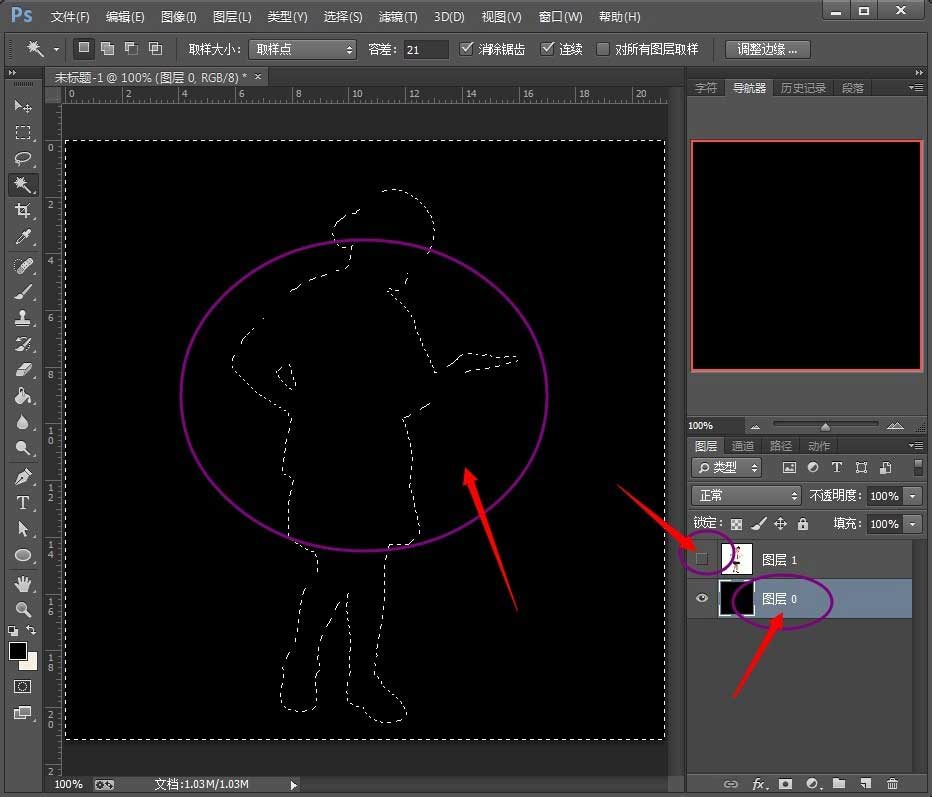
3、使用【魔术棒】工具把人物以外的内容选中。按住Shift再点其它内容,可以同时多选。

4、在保持选中状态不变的情况下,把照片图层的小眼睛关掉,然后鼠标点背景层,把背景层处理选中状态。
5、此时点键盘的【del】键,在背景层状态下,删掉选中的区域。鼠标点一下空白的地方,取消【魔术棒】的选中状态。此时得到了一个纯黑色剪影。
6、如果您不想使用纯黑色背景,也可以用其它颜色或图片,只需要设置背景图的时候换成您需要的内容即可,其它步骤按上面的方法不变。
上面就是小编带来的Ps制作人物剪影的操作步骤,小伙伴们都学会了吗?


")
")


语音转文字!新媒体翻译者都有哪些实时语音转文本工具?")