

你会利用ppt给文字添加长阴影效果吗?下文呢,小编就讲解了利用ppt给文字添加长阴影效果的操作教程,一起来看看吧。

1、新建一个powerpoint,添加一个幻灯片,点击菜单“插入”―“形状”,创建一个圆角矩形,背景填充为红色(这是小编自己选的颜色)。

2、点击菜单“插入”―“文本框”,插入文字:阴,设置文字居中,宋体,115号字。

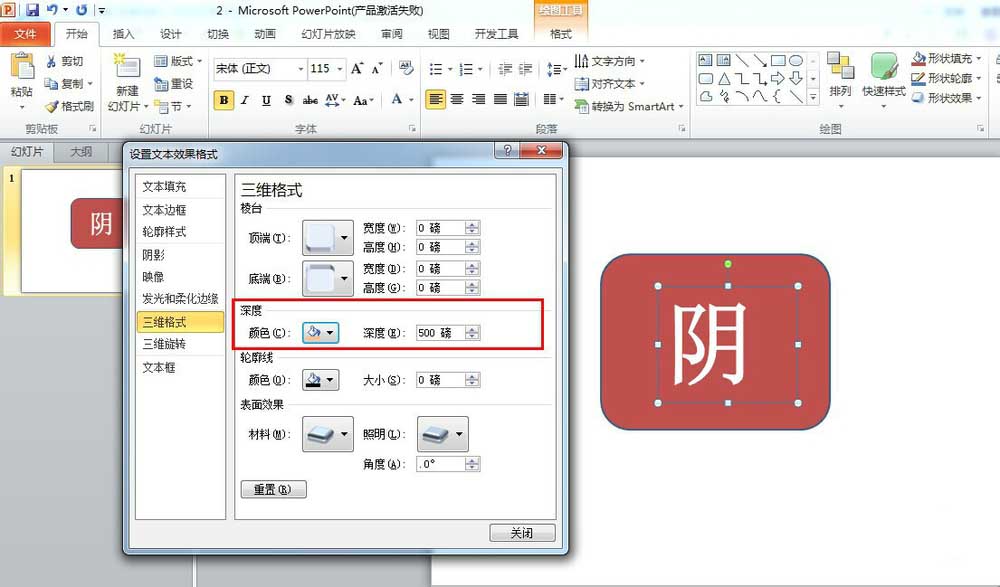
3、选中文字“阴”(在这里一定要全选文字,不能选中文本框),点击右键,选中“设置文字效果格式”,弹出窗口后选中“三维格式”,将深度调为500,颜色选为橙色。
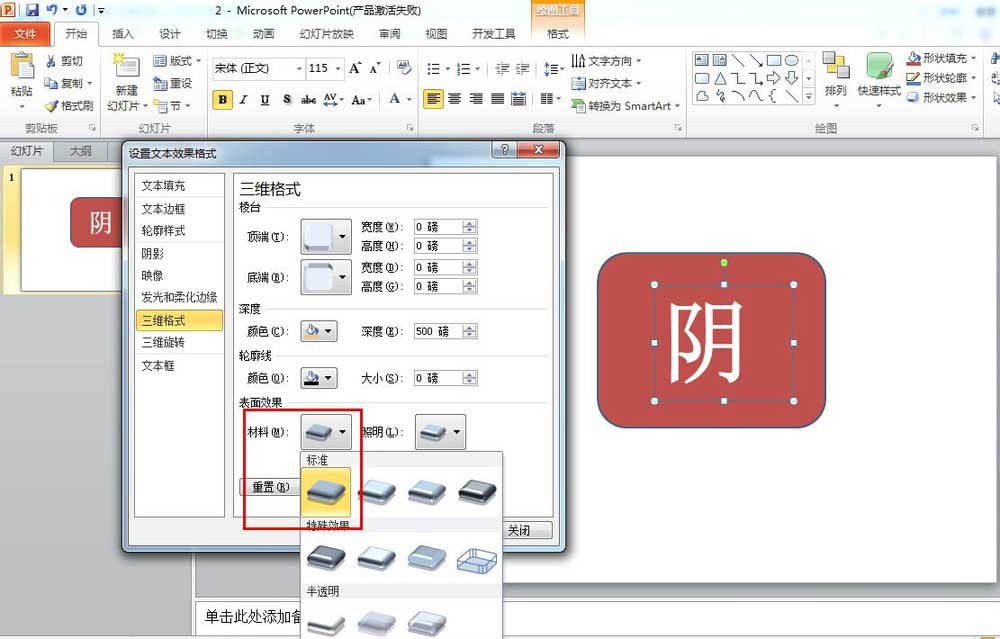
4、在“设置文字效果格式”窗口选中“三维格式”,将材料选为“亚光”。
5、在“设置文字效果格式”窗口选中“三维格式”,将照明选为“平面”。

6、在“设置文字效果格式”窗口选中“三维旋转”,将旋转角度设为右下角。

7、将文字‘阴“复制,黏贴为图片形式,将图片与原文字重合,删除原文字。

8、点击文字图片,选择菜单“格式”―“剪裁”,注意剪裁是要用圆角矩形。将超出圆角矩形的部分剪裁了就完成了。

上面就是小编带来的利用ppt给文字添加长阴影效果的操作教程 ,大家都学会了吗?


")
")


语音转文字!新媒体翻译者都有哪些实时语音转文本工具?")


