

一部分朋友们想要使用indesign绘画箭头?你们知道怎么样绘画的吗?下文教程就为各位带来了indesign绘画箭头的详细操作流程介绍。

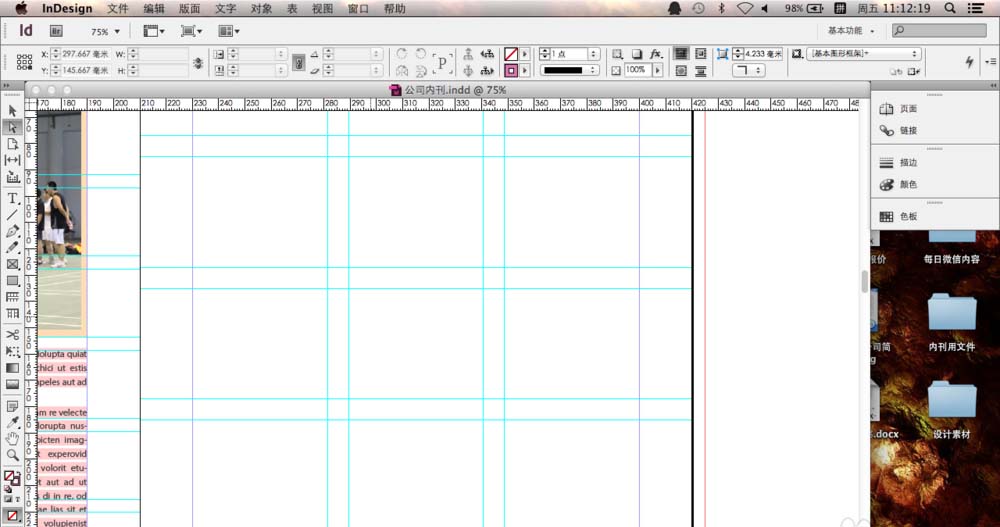
首先打开indesign软件,然后打开一个空文档,执行文件>新建。
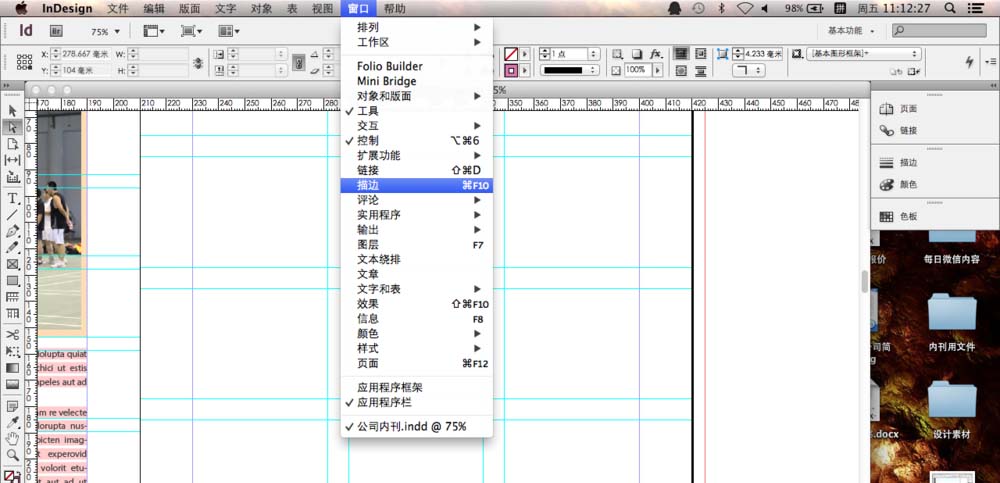
接着在indesign窗口的上面我们执行窗口>描边,打开描边窗口。
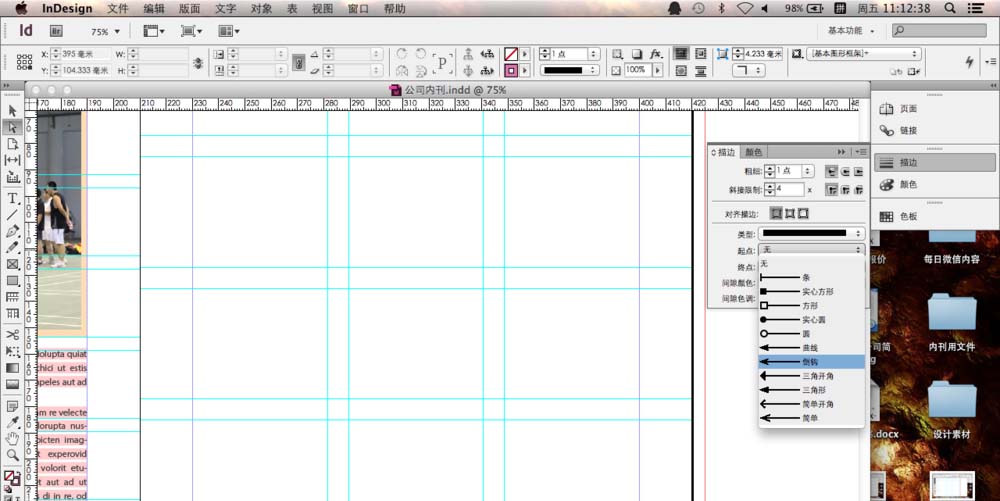
这时进入描边窗口之后我们先在左侧的工具栏中选择直线工具。

然后在描边窗口,里面有起点和终点,我们点开选择里面的箭头按钮,起点就是箭头在开始的位置,终点相反。
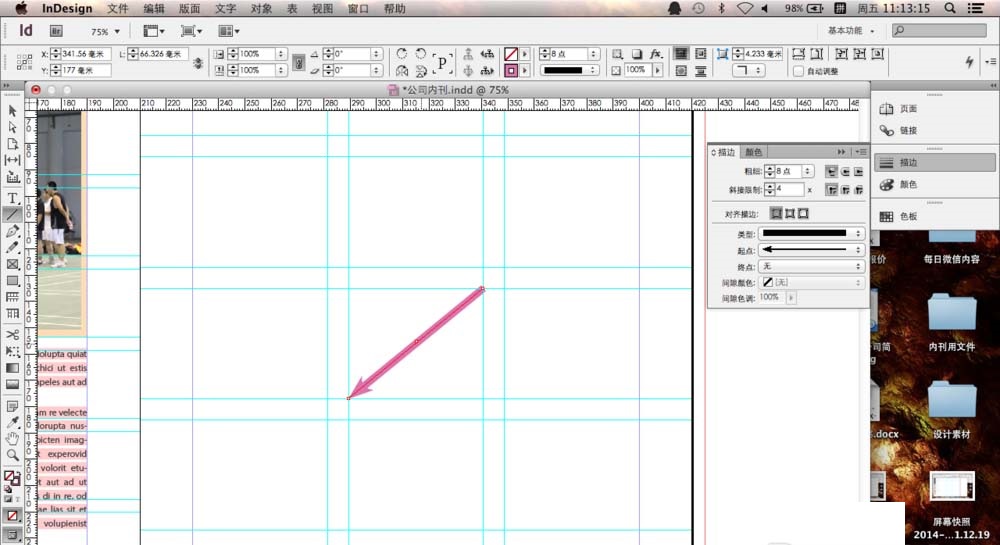
最后我们选择完成之后我们在空白的地方按住鼠标左键拖动就可以画出你想要的箭头了,颜色的话,我们选择自己喜欢的颜色就可以了。效果如下图所示。
根据上文描述的indesign绘画箭头的详细操作流程介绍,相信大家应该都学会了吧!


")
")


语音转文字!新媒体翻译者都有哪些实时语音转文本工具?")


