

一些用户在使用PPT的时候,想要在其中制作出卡通仙桃效果,各位了解操作的方法吗?下文就为你们带来了PPT设计卡通仙桃效果的具体流程介绍。

我们需要先打开PPT软件,新建一个16:9的空白文档,如图
然后我们选择多边形工具,绘制桃子,双击多边形,渐变填充颜色,如图
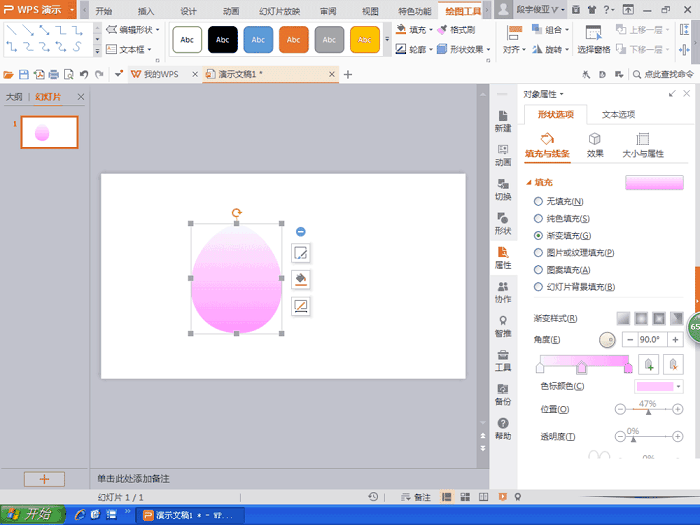
这时候发现桃子绘制好了哦

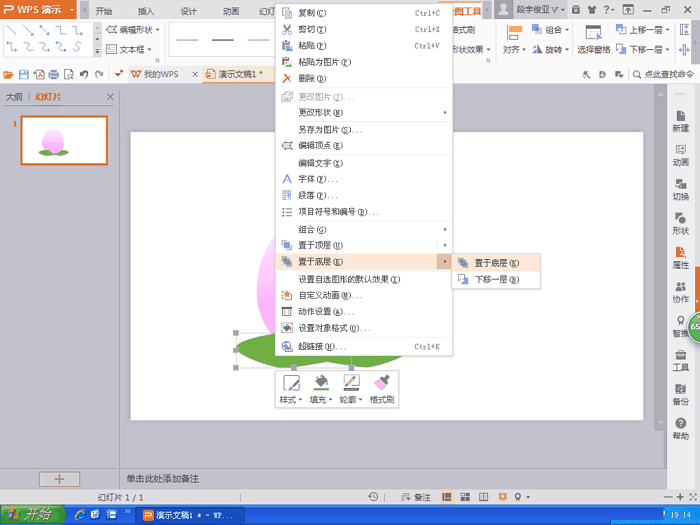
然后我们接着选择多边形,绘制桃叶,将桃叶放置底层,如图
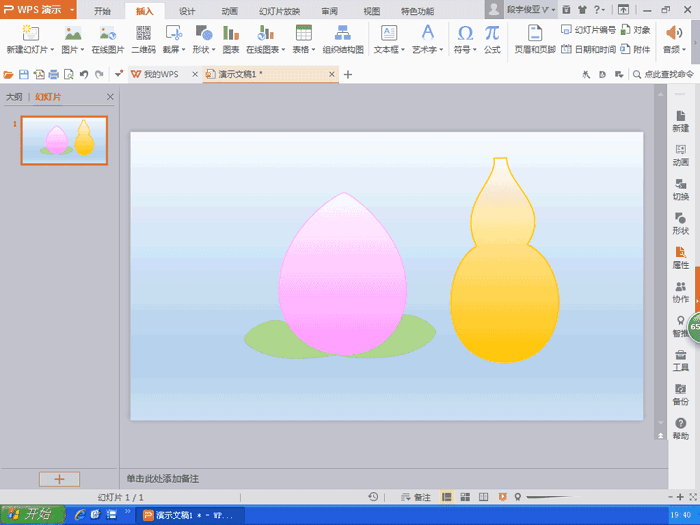
再选择设计,将背景设置淡蓝色,如图
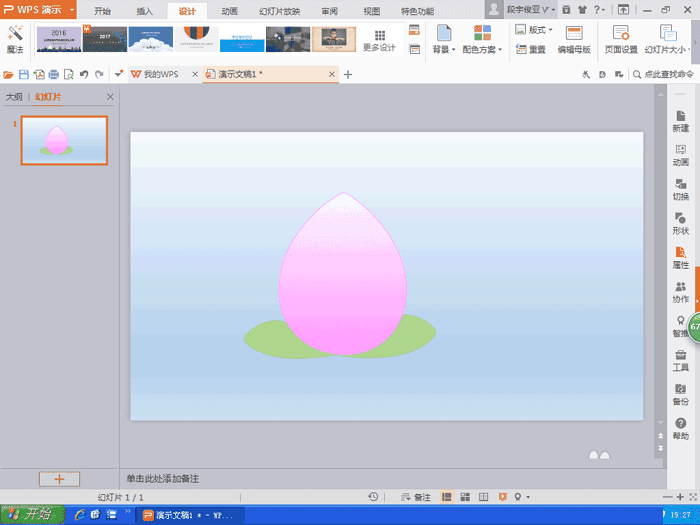
最后我们再次绘制一个宝葫芦,如图
根据上文讲解的PPT设计卡通仙桃效果的具体流程介绍,你们是不是都学会了呀!


")
")


语音转文字!新媒体翻译者都有哪些实时语音转文本工具?")


