

很多的伙伴们都在使用ppt,那么你们晓得使用ppt如何快速设计出word文档封面呢?在这里就呈现了使用ppt快速设计出word文档封面的具体操作方法。

1、打开PPT,建立空白文档。

2、点击【设计】―【幻灯片大小】―【自定义幻灯片大小】。
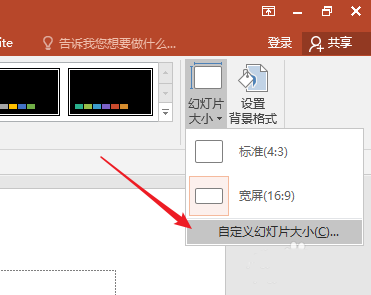
3、在打开的窗口中,【幻灯片大小】选择【A4纸张】,【方向】中选择【纵向】。

4、在弹出的窗口中点击【最大化】。

5、这样,PPT页面就变成了竖向A4纸大小。
6、然后插入图片、文字等封面元素,完成封面设置。

7、点击【文件】―【另存为】。

8、在对话框中,【保存类型】选择【JPEG文件交换格式】。

9、点击保存后,弹出提示窗口,点击【所有幻灯片】。
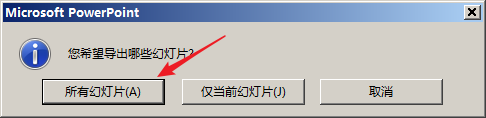
10、这样,幻灯片就被保存为了图片。

11、最后在Word文档中将该图片插入进去,并修改图片大小,就得到了Word文档封面。

按照上文讲述的使用ppt快速设计出word文档封面的具体操作方法,你们自己也赶紧去试试吧!


")
")


语音转文字!新媒体翻译者都有哪些实时语音转文本工具?")


