


一些朋友还不明白CAD迷你看图设置打印范围的操作过程,所以下面就带大家来看看CAD迷你看图设置打印范围的具体操作步骤。
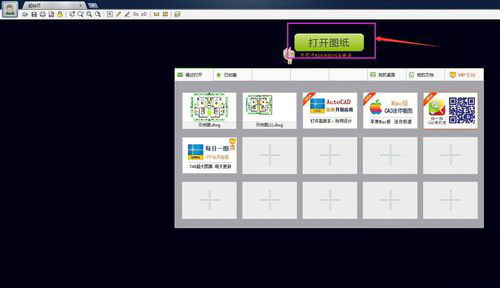
1、运行CAD迷你看图软件,打开需要打印的图纸
2、打开后,鼠标呈小手状态,滚动鼠标可放大、缩小图纸
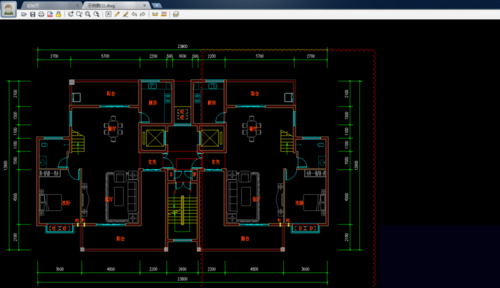
3、如下图所示,如果只打印左边的客厅和餐厅,那么点击工具栏的打印工具进入打印页面
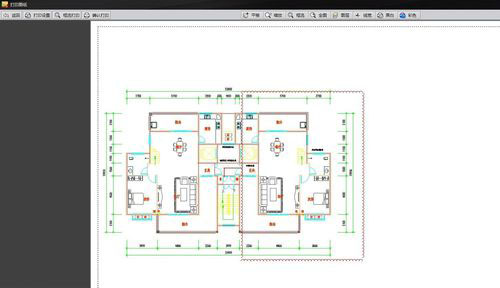
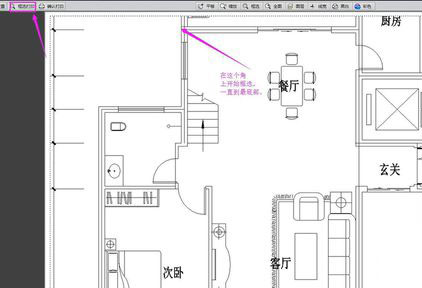
4、滚动鼠标放大图纸,选择上方的平移工具,移动到需要打印的地方
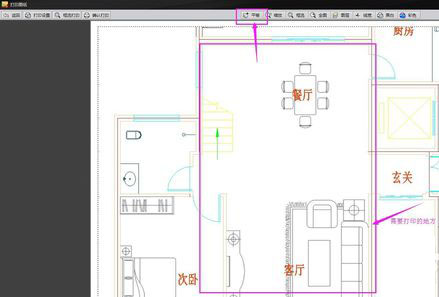
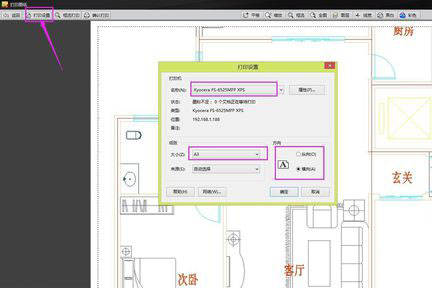
5、点击左上角的打印设置,选择打印机和合适的纸张(小编选的是A3纸横向),设置好后图纸变成黑白色
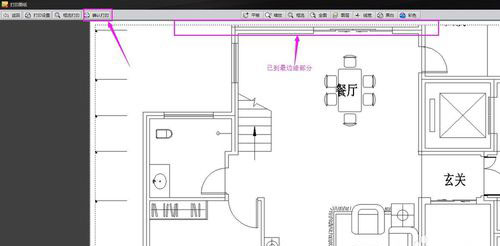
6、选择上面的框选打印,框选出左边的客厅和餐厅
7、最后选择上方的“确认打印”就ok了
上面就是小编为大家带来的CAD迷你看图设置打印范围的操作过程,希望对大家能够有所帮助哦。


")
")


语音转文字!新媒体翻译者都有哪些实时语音转文本工具?")


