很多朋友都会选择使用PS来绘制图,逼近该软件功能是相当的强大,而在今天的文章里,小编专门为大家介绍了ps制作出牛仔艺术字的详细操作过程,来看看吧!
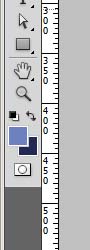
1、新建一个画布,填充白色,设置前景色和背景色,滤镜--渲染--云彩
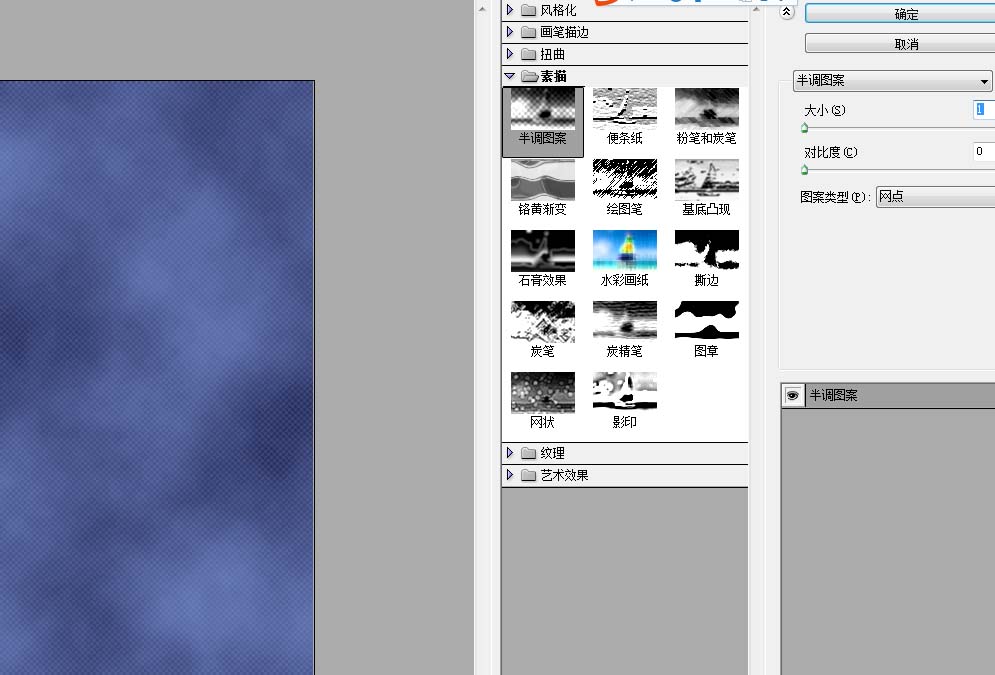
2、滤镜--素描--半调图案
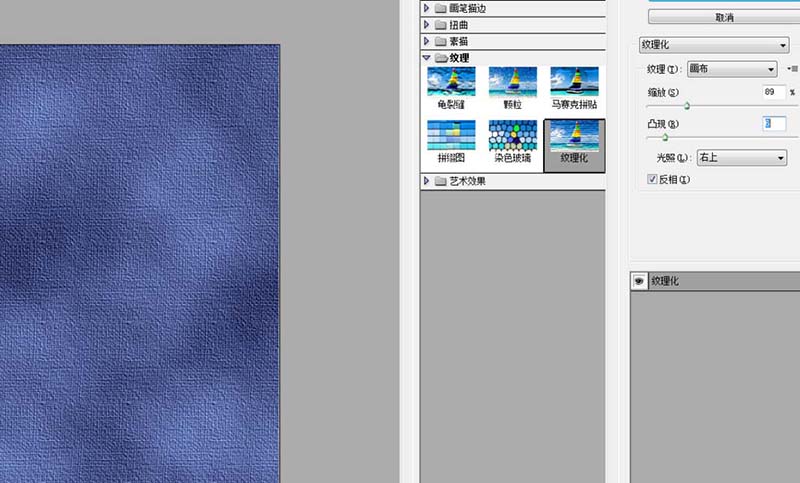
3、滤镜--纹理--纹理化
4、复制一个图层,对副本图层,滤镜--素描--绘图笔

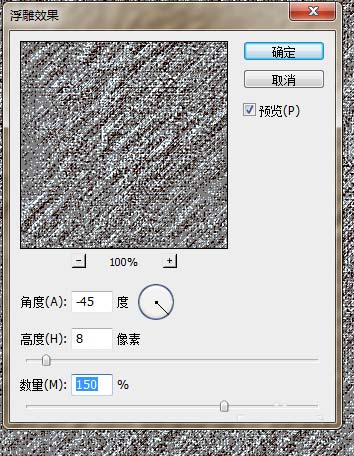
5、滤镜-风格化--浮雕效果,图层混合模式--叠加
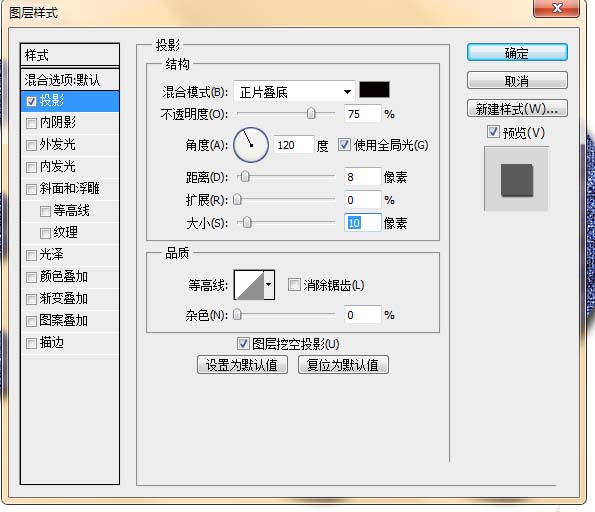
6、用文字工具输入文字,除文字图层外,其他图层合并,载入文字选区,复制,当前图层添加图层样式--投影
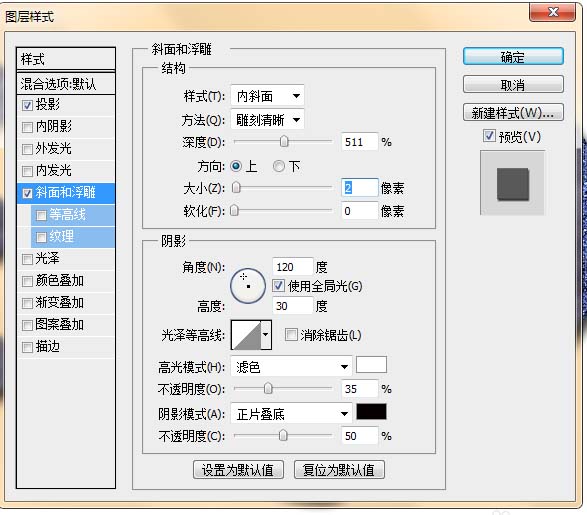
7、当前图层添加图层样式--斜面浮雕
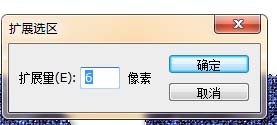
8、载入文字选区,选择--修改--扩展
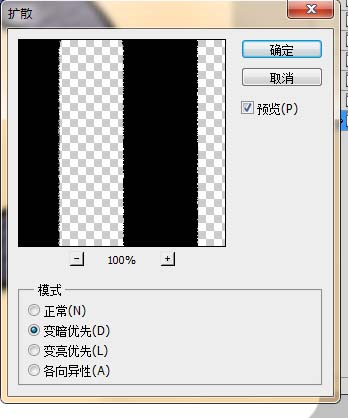
9、背景图层上,新建一个图层,填充颜色,滤镜--风格化--扩散
10、滤镜--风格化--风,编辑--变换--顺时针90度,滤镜--风格化--风,编辑--变换--逆时针90度,效果图
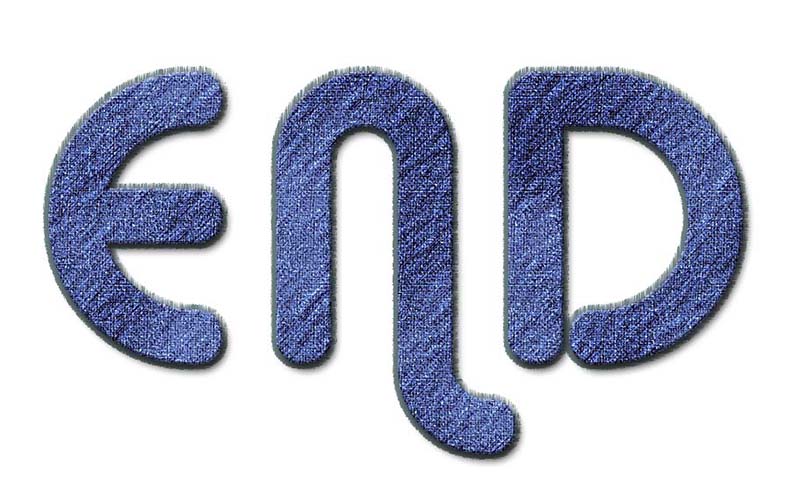
上面就是小编带来的ps制作出牛仔艺术字的详细操作过程,亲们都学会了吗?


")
")


语音转文字!新媒体翻译者都有哪些实时语音转文本工具?")