

鸡蛋大家知道,那么使用photoshop怎么绘制出一颗鸡蛋呢?下文就是使用photoshop制作出一颗鸡蛋的具体操作方法。
先用椭圆工具先画出一个大椭圆。(大小大家随意)
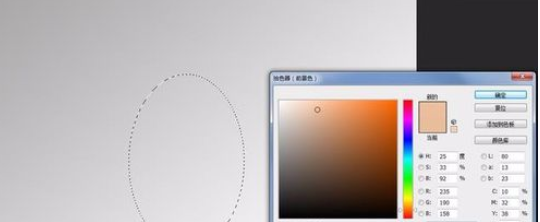
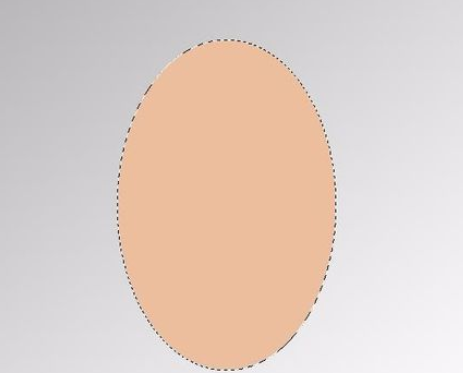
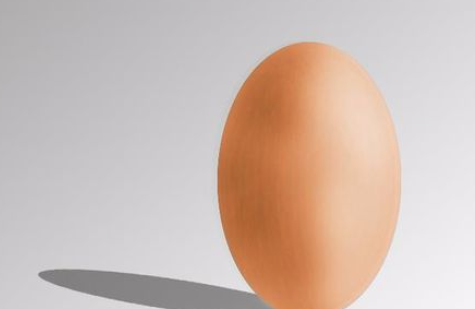
新建一个图层,在把鸡蛋的颜色填入(#ebbe9e)。
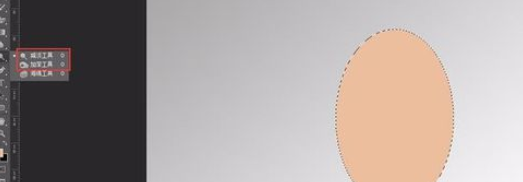
用加深工具做阴影部分,这样看起来比较立体。选择加深工具,曝光率小一点,以后基本都设置在10左右,画笔稍微大一点。加深背光的部分的阴影。
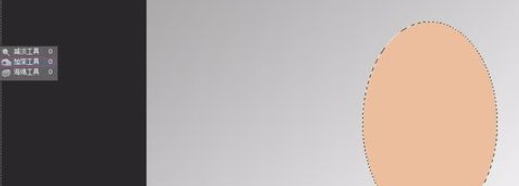
(同加深工具一致)用减淡工具给把多的阴影去掉,同时也可以做亮部光泽。
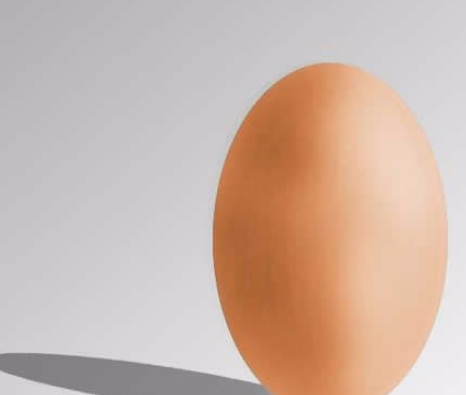
添加阴影,调整颜色
最后保存导出
上文就是使用photoshop制作出一颗鸡蛋的具体操作方法,大家都学会了吗?


")
")


语音转文字!新媒体翻译者都有哪些实时语音转文本工具?")


