

小伙伴们知道在photoshop中有个选区工具吗?那么怎么使用呢?接下来就是在photoshop中使用选区工具的详细操作方法。
打开photoshop软件。
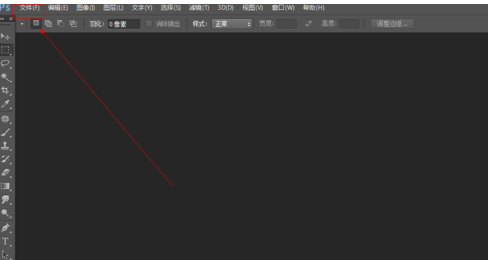
如图所示,我们点击箭头所指的“文件”这一项。
如图所示,在弹出的列表菜单中,我们点击箭头所指的“打开(O)...”这一项。

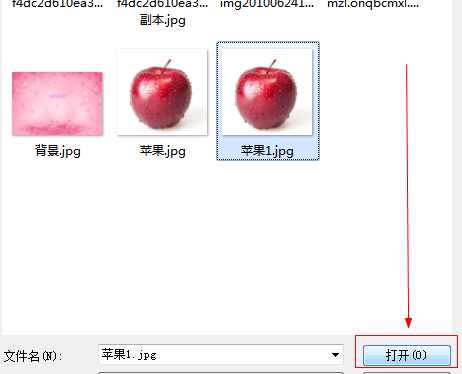
如图所示,我们选择一张图片,接下来我们点击箭头所指的“打开”按钮。
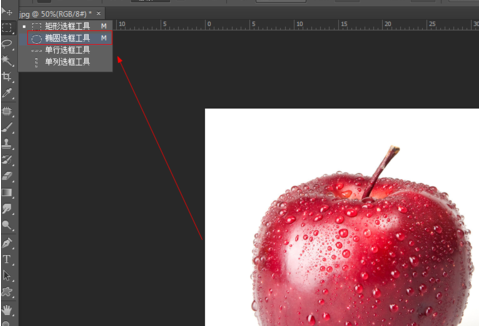
如图所示,我们点击箭头所指的选框工具。

如图所示,我们画出了蚂蚁线一样的矩形选区。
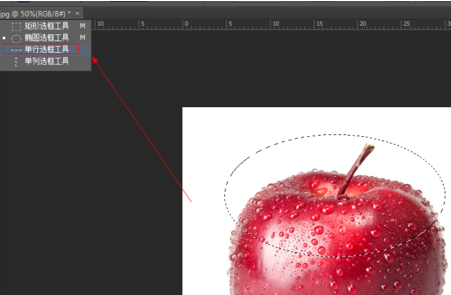
如图所示,我们点击箭头所指的椭圆选框工具。
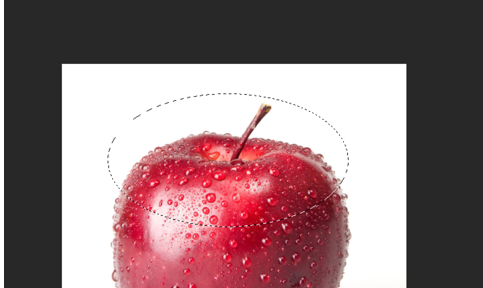
如图所示,我们画出了蚂蚁线一样的椭圆选区。
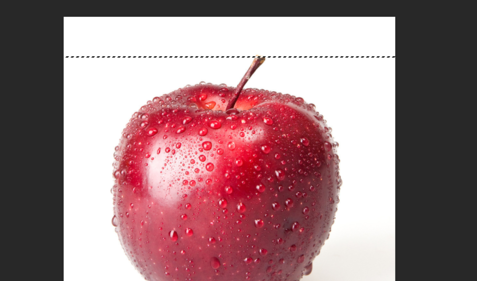
如图所示,我们点击箭头所指的单行选框工具。
如图所示,我们画出了蚂蚁线一样的单行选区。
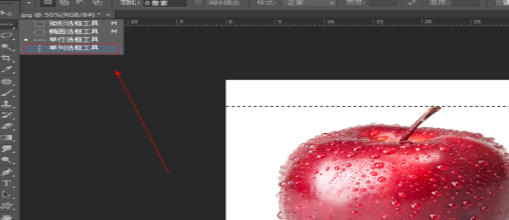
如图所示,我们点击箭头所指的单列选框工具。
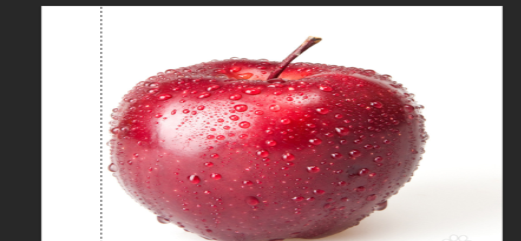
如图所示,我们画出了蚂蚁线一样的单列选区。
上文就是在photoshop中使用选区工具的详细操作方法,大家都学会了吗?


")
")


语音转文字!新媒体翻译者都有哪些实时语音转文本工具?")


