

你们知道在photoshop中如何制作出运动字吗?若是不懂就去下文看看使用photoshop制作出运动字的详细操作步骤。
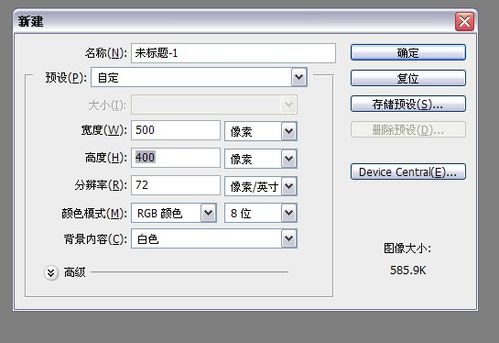
打开ps软件,新建一个文档。
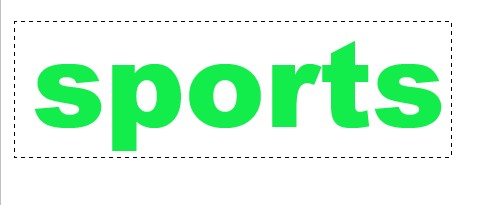
写上字。

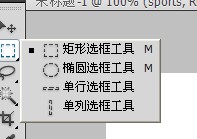
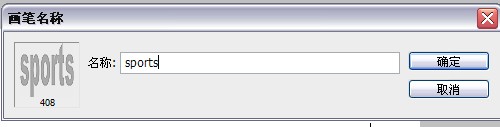
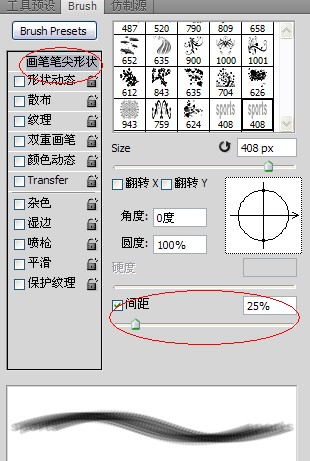
选择矩形选框工具,把字选出来,然后编辑――预设画笔。
新建一个图层,放在字图层的下面。F5调出画笔。
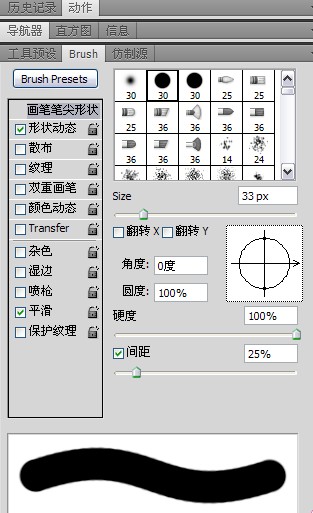
画笔笔尖形状设置如下。
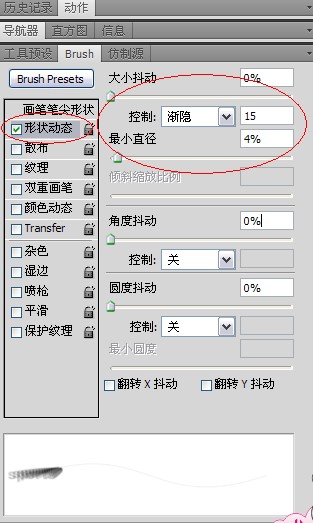
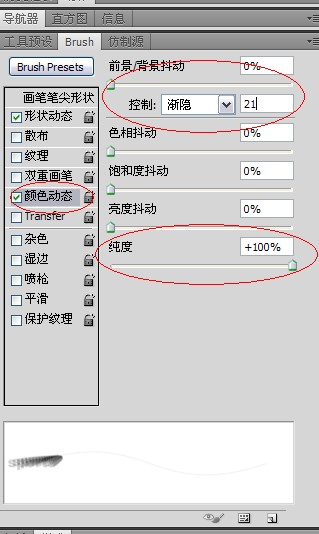
形状动态 设置参数如下。
颜色动态参数设置如下图。
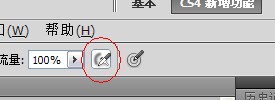
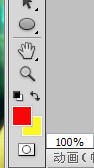
选择画笔工具最上面的那个喷枪工具。把前景色和背景色设置成自己喜欢的颜色,前景色最好设置来和字体颜色一样。安住shift键从正下方开始往下拉动。
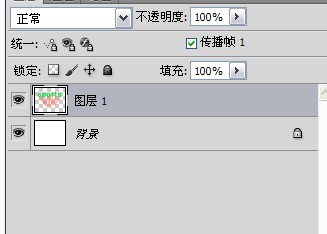
然后隐藏背景图层,把文字图层和图层1合并,按ctrl+shift+e.
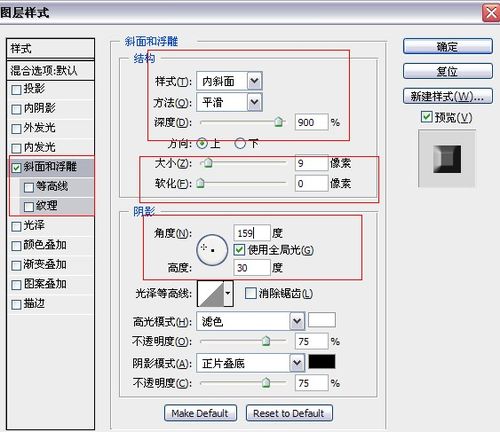
调整图层样式,双击图层即可出现该对话框。斜面和浮雕设置如下。

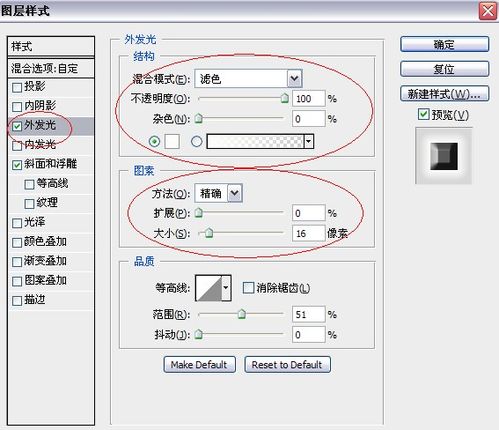
外发光的设置如下。
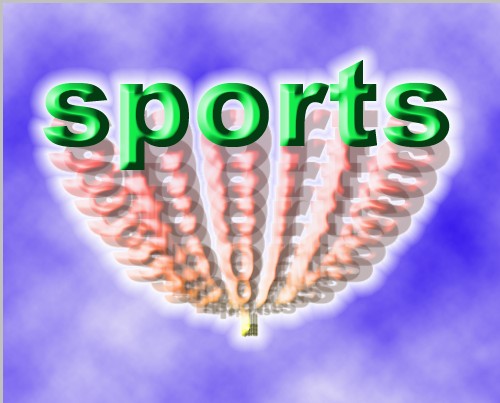
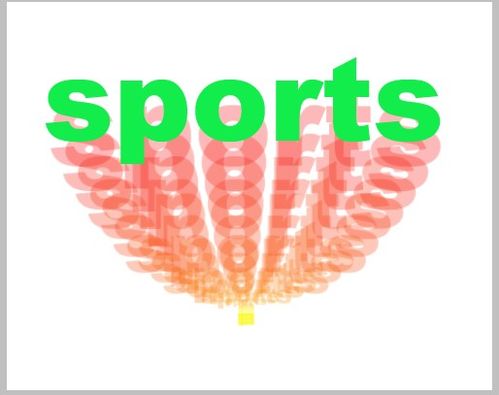
最后确定就是这样了。
以上就是使用photoshop制作出运动字的详细操作步骤,你们都明白了吗?


")
")


语音转文字!新媒体翻译者都有哪些实时语音转文本工具?")


