今天小编教朋友们利用PS为照片增添复古风格的效果,对PS有兴趣的伙伴就一起学习下吧。希望可以帮助到大家!
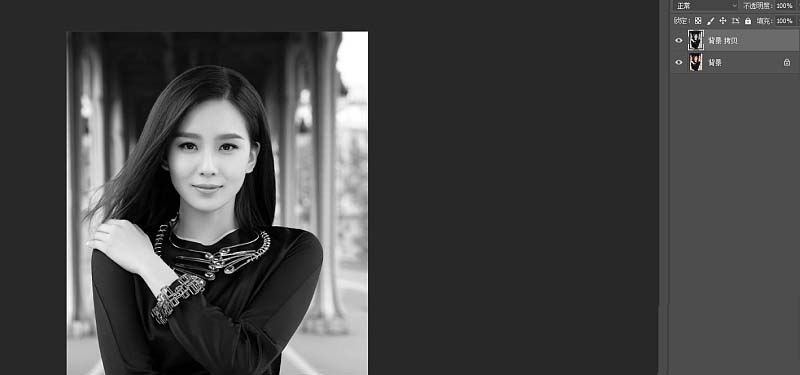
1、将人物素材拖拽进PS,按CTRL+J复制一层,按住CTRL+SHIFT+U执行去色
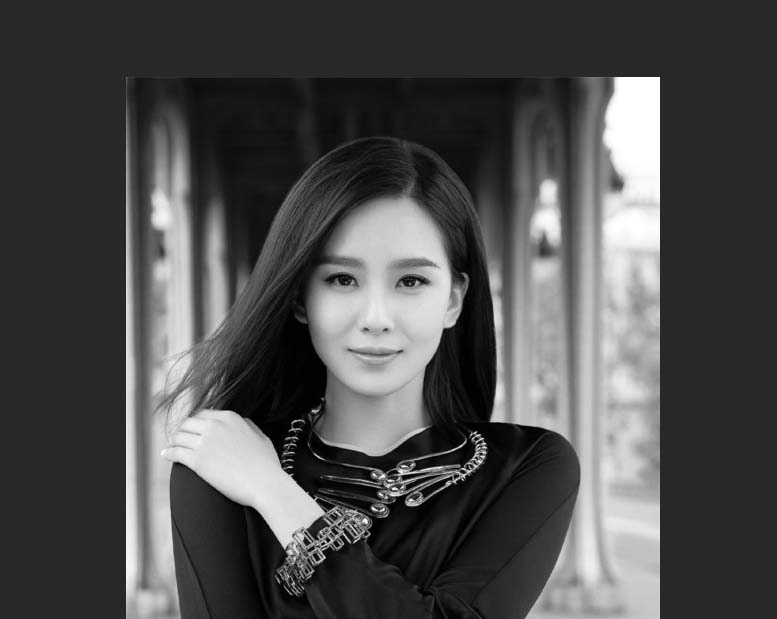
2、用裁剪工具将图层裁剪为正方形备用。
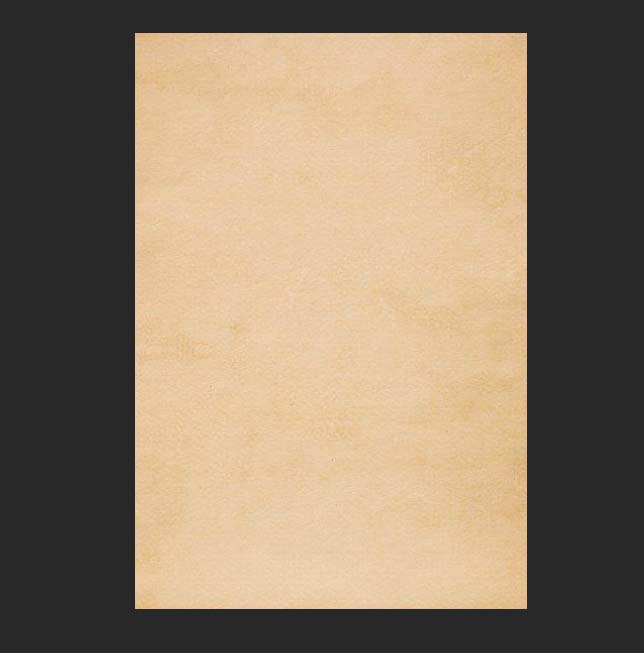
3、将背景素材拖拽进PS,应用裁剪工具裁剪成长方形。
4、将人物素材拖拽到背景素材中,按ctrl+t调整好尺寸。
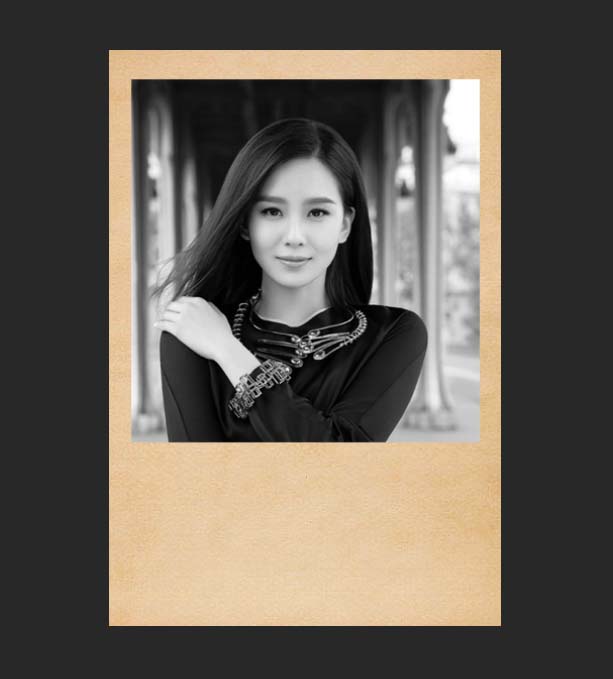
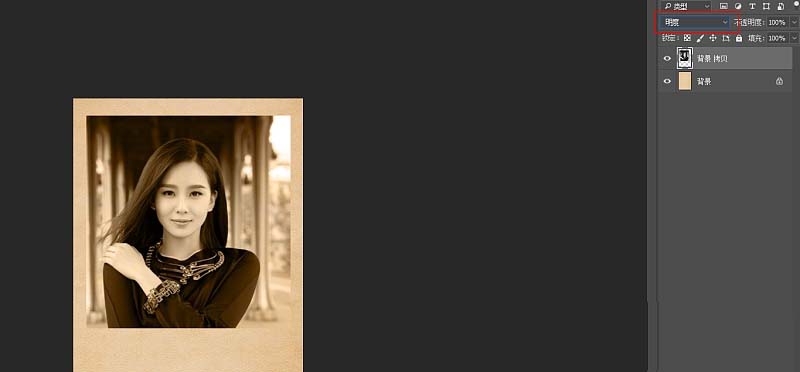
5、将人物图层的混合模式修改为明度。
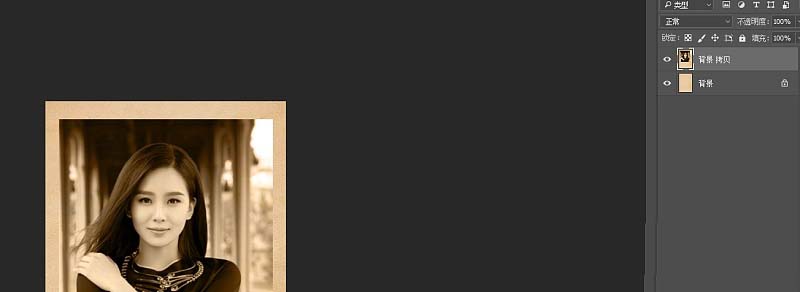
6、将背景图层复制一份选择背景和人物图层按CTRL+E进行合并。
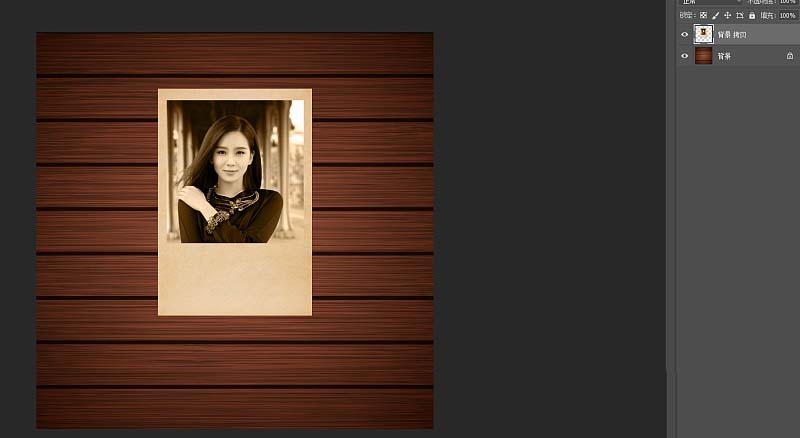
7、接下来我们将合并好的图层拖拽进另一个背景图层中。
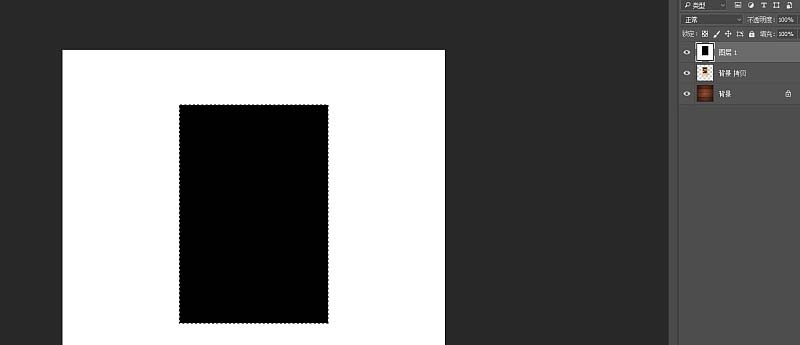
8、新建一个图层填充为白色,按住CTRL键点击照片图层找到照片的选区将其填充为黑色。
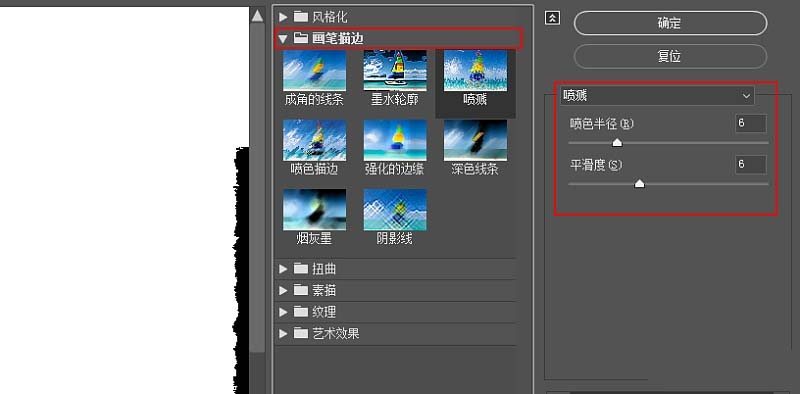
9、取消选区,点击滤镜-滤镜库-画笔描边-喷溅,数值如下。
10、选择魔棒工具,点击白色区域,选择照片图层按DELETE键,关闭最上图层的小眼睛,按CTRL+D取消选区。
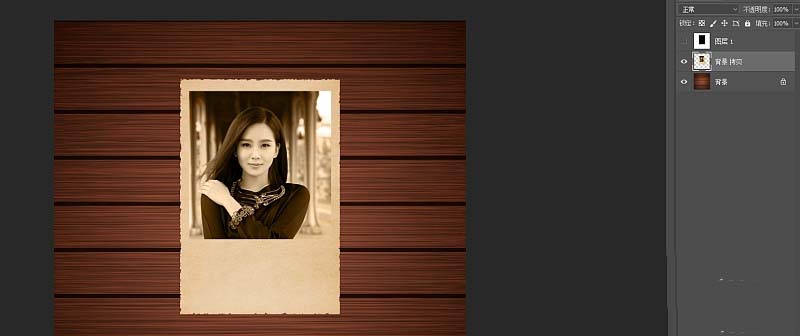
11、最后大家可以凭自己喜好在下边添加一些文字或者花纹点缀。
上文就是小编带来的利用PS为照片增添复古风格的效果的教程,你们都学会了吗?


")
")


语音转文字!新媒体翻译者都有哪些实时语音转文本工具?")