

因为拍摄环境的问题,会显得图片色彩不够丰富。今日,小编就为各位讲解在photoshop中使用色阶的详细操作步骤。
打开Photoshop,导入一张图片。
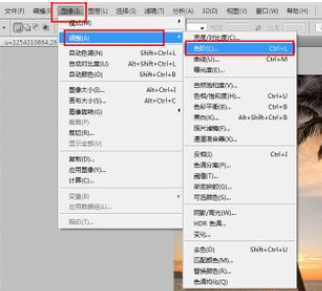
选择图像――调整――色阶打开色阶控制面板。也可以直接按ctrl+L打开。
使图像阴影部分突出:调节左侧的按钮进行调节即可。
将左侧的滑块向右滑动就可以是阴影部分变得更暗。

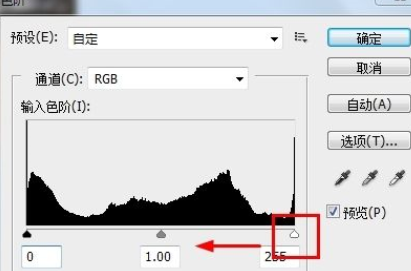
使高光部分变得更亮:向左滑动右侧的滑块就可以使图像的高光部分变得更亮。
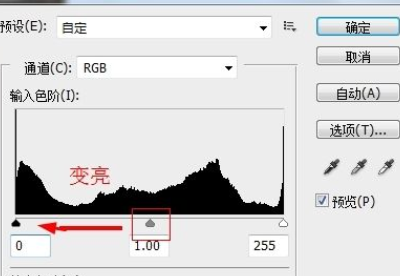
中间色调的调节:中间的滑块就是调节灰场的滑块。
需要注意的是:将中间的滑块想左滑动是将图片的灰色调亮而不是调暗,相反向右调整则是是图片变暗。

以上就是在photoshop中使用色阶的详细操作步骤,大家都学会了吗?


")
")


语音转文字!新媒体翻译者都有哪些实时语音转文本工具?")


