

有的人还不知道通过Photoshop软件怎样打造照片墙,那就赶快看一看通过Photoshop软件打造照片墙的具体操作,相信会很有帮助哦。
如何用PS制作照片墙?
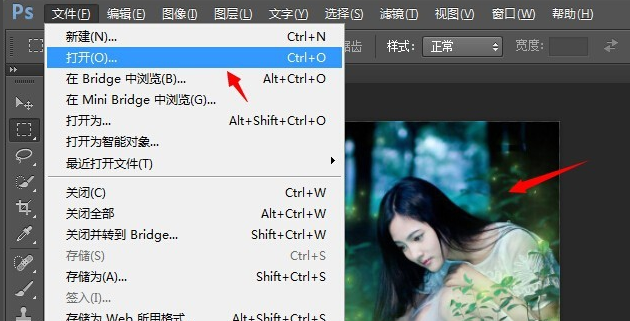
1、首先,打开Photoshop软件,从“文件”中打开自己要处理的照片,如图所示。
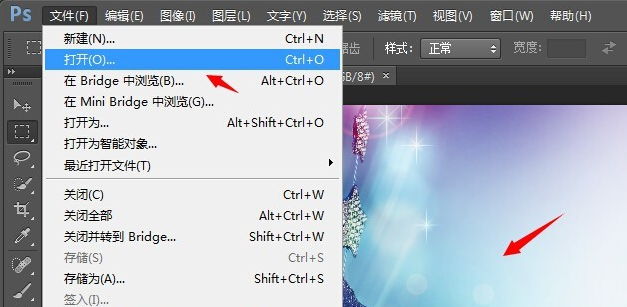
2、接着,从网络上下载好漂亮的Ps背景图案,并从“文件”中打开,如图所示。
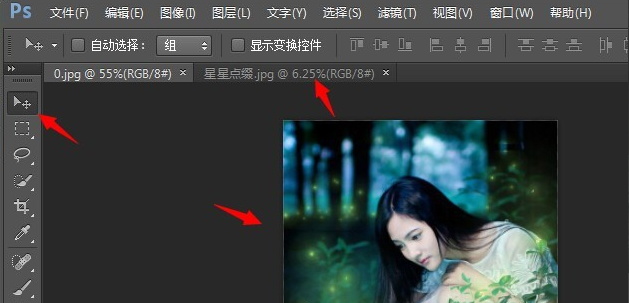
3、选中工具栏中“移动工具”,将照片拖入背景图片中,如图所示。
4、拖入以后,我们发现照片显得有些小,这时候,我们按键盘上“ctrl+T”键,即可以通过鼠标拖动调整照片大小了,如图所示。
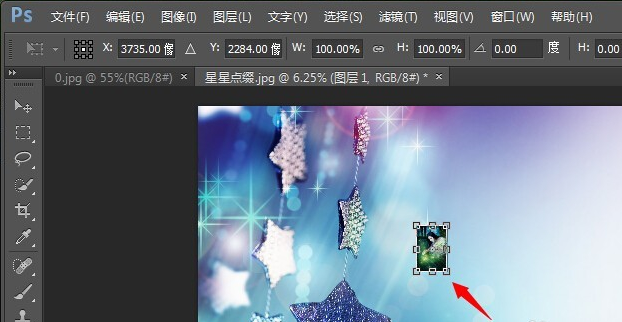
5、根据自己的需要,将照片调整为合适的大小和角度,如图所示。

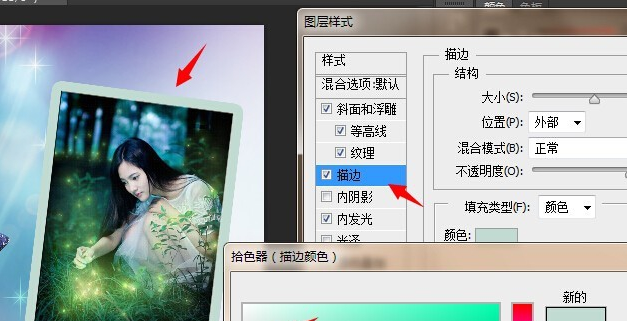
6、接着,打开图层的“图层样式”选项,勾选“描边”选项,将其边缘设置为合适的渐变颜色,如图所示。
7、如此一来,我们就可以看到漂亮的照片墙效果了!

以上就是通过Photoshop软件打造照片墙的具体操作,希望可以帮助到大家。


")
")


语音转文字!新媒体翻译者都有哪些实时语音转文本工具?")


