

你们知道在Lightroom中怎样用色调曲线修图吗?不知道也没事,以下内容就是在Lightroom中用色调曲线修图的具体操作。一起来学习吧!
方法/步骤
1、首先在基本面板把照片变成黑白。
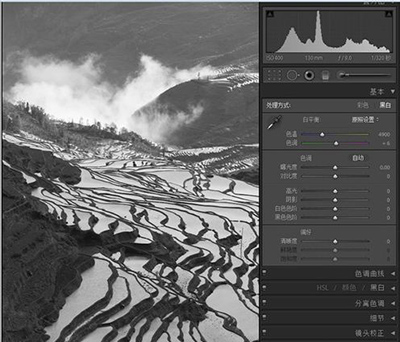
lightroom
2、在色调曲线里把暗色调调节到-100。这样梯田的层层叠叠就比较明显了,整体感觉已经不错了。
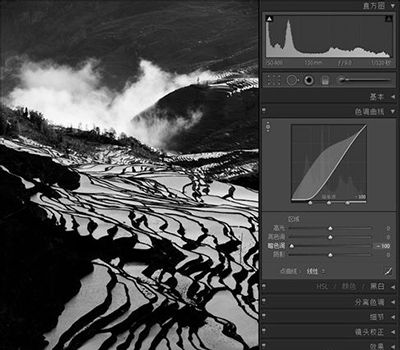
lightroom
3、再到镜头校正里面增加暗角,这里是把数量变为-100,中点数值为12。这样一张早晨蒸腾着雾气的梯田照片就出来了。
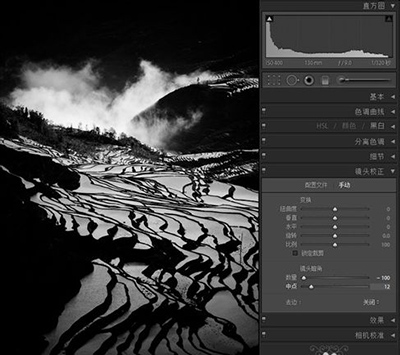
lightroom
4、对比一下后期调整前后。
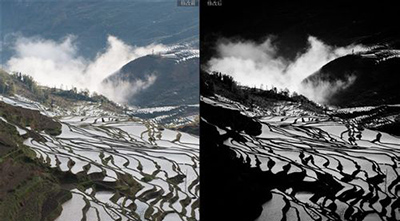
lightroom
以上就是在Lightroom中用色调曲线修图的具体操作,希望可以帮助到大家。


")
")


语音转文字!新媒体翻译者都有哪些实时语音转文本工具?")


