

本教程讲itunes无线局域网同步的具体方法,操作起来是很简单的,想要学习的朋友们可以跟着小编一起去看一看下文,希望能够帮助到大家。
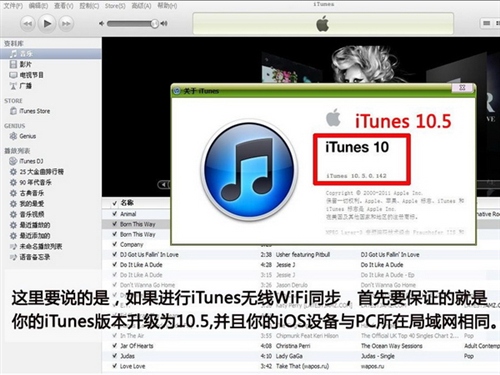
首先要保证你的iTunes版本升级为10.5版本,你的iOS版本为5以上,并且iPhone或者iPad和电脑在同一个局域网下面。
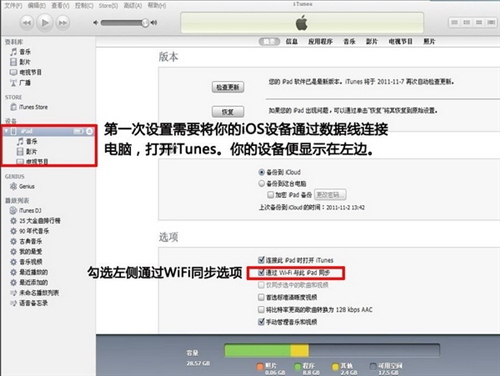
第一次先用数据线把你的设备和电脑连接好,如上图所示。
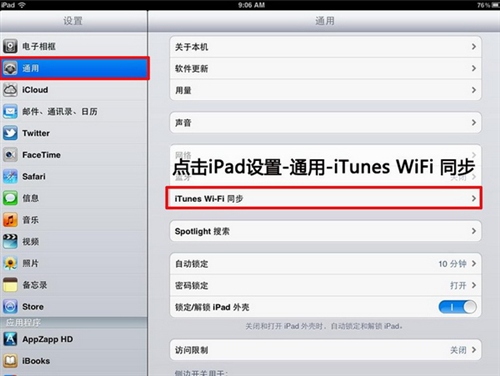
点击设置里面的通用,有一个同步设置选项。
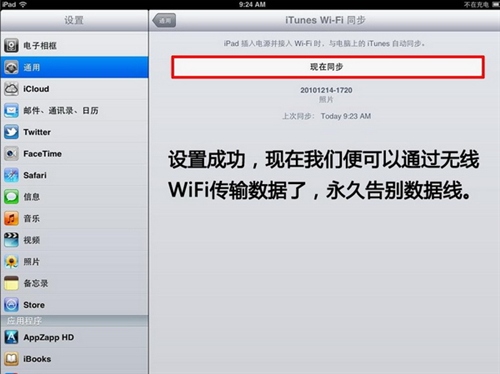
然后拔下数据线,关闭itunes再次打开。这时候下图中的现在同步就可以点了。点击同步:
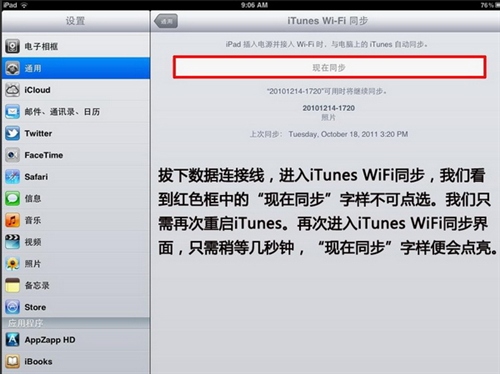
设置成功,以后我们就可以用WIFI传输数据了。
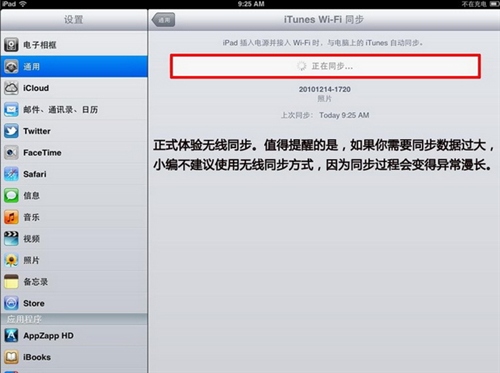
考虑到WIFI传输的速度,过大的文件传输还是用数据线吧,稳定又快速。
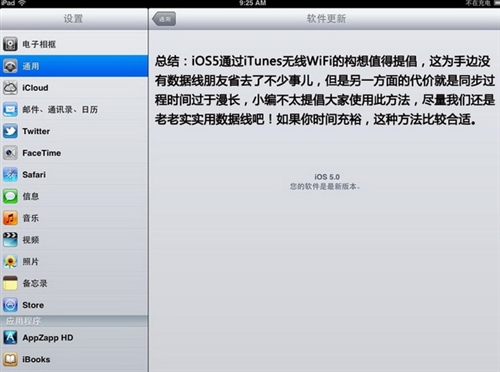
同样新增加的固件更新,也是挺耗费时间的。

总体来说,用WIFI同步免去了偶尔没有数据线的麻烦,并且对于小文件同步来说也比数据线方便很多。缺憾嘛,就是速度问题了。
以上就是itunes无线局域网同步的具体方法了,大家都学会了吗?


")
")


语音转文字!新媒体翻译者都有哪些实时语音转文本工具?")


