

你们的工作中是不是也需要使用会声会影X10呢?不过你们晓得会声会影X10中如何使用好莱坞转场特效呢?感兴趣的可以去下文看看会声会影X10中使用好莱坞转场特效的详细操作步骤。

我们需要先打开会声会影X10软件,在视频轨导入2张或6张图片(也可在覆叠轨),点击AB(转场图标)。

然后我们点击”全部“,或在素材库面板下面找到Hollywood FX ,找到后拖曳到两图片之间,点击好莱坞转场选定,然后点击右边的”选项“。

接着点击”自定义“,打开了好莱坞插件。

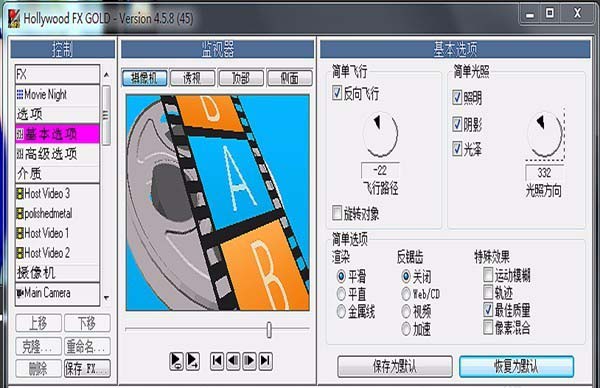
在这里,有种类繁多的转场特效。我们就以电影胶卷为例,先在FX目录窗口中点击三角,再拉滑块向下,找到“NEW HFX V5 Transitions“项目。

这时打开后,点击右下的“New Movies”打开。再预览,它的胶卷是横着动的。我们按默认的直接点击”确定“


我们回到会声会影界面,点击选定好莱坞转场,点击选项上闪动的时间,输入”5秒“,回车,就成了如下画面,再点击播放。

第二种胶卷效果操作方法和上面类似,照片是从上斜着向下。觉得满意了就在 会声会影界面上面点击”共享“,渲染输出。
若是要改变默认的效果,有许多选项可改。这里就不再赘述。

相信你们看完上文讲解的会声会影X10中使用好莱坞转场特效的详细操作步骤,应该都学会了吧!


")
")


语音转文字!新媒体翻译者都有哪些实时语音转文本工具?")


