

想要在indesign中绘画图形填充颜色,你们知道绘制的方法吗?以下这篇文章就为你们带来了indesign绘制图形填充颜色的详细步骤介绍。

首先需要将indesign软件打开,然后我们要打开一个文档,执行文件>新建>文档。

接着我们利用左侧工具栏中的T(文字工具),按住鼠标左键,在空白处添加一个文本框。

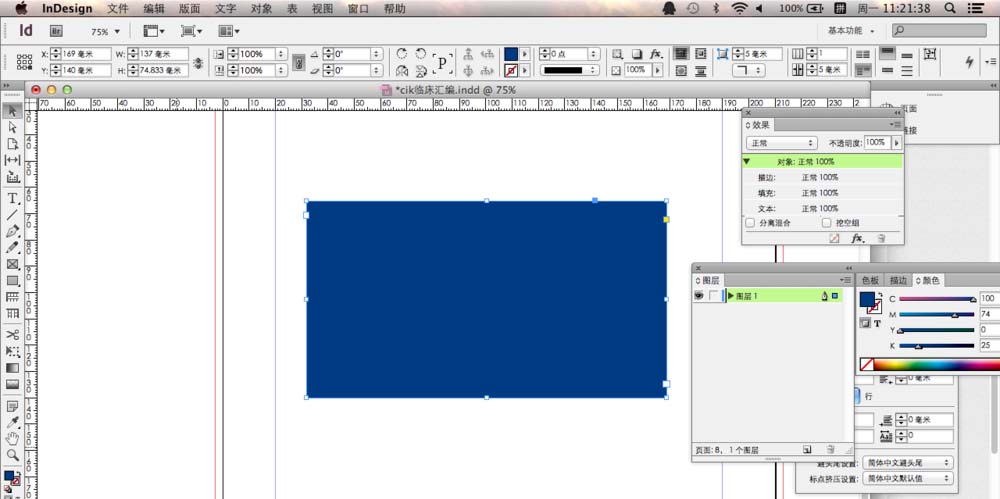
这时候我们创建文本款完成之后,我们用左侧菜单栏中的选择工具,选中该文本框。(不要出现光标在文本框内的情况,我们这是处于编辑状态而不是选中状态)

接下来选中之后我们在颜色面板中选择想要填充的颜色就可以。选择颜色就自动填充了。
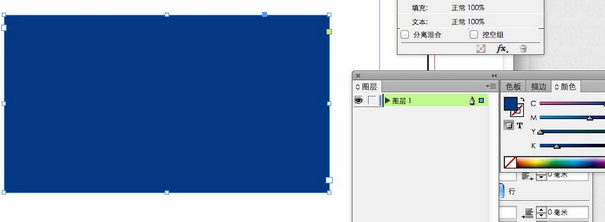
最后我们填充颜色的范围,是随文本款的大小来定的,按照你自己的需求来设定文本款的大小,就可以了。
根据上文为你们讲解的indesign绘制图形填充颜色的详细步骤介绍,你们是不是都学会了呀!


")
")


语音转文字!新媒体翻译者都有哪些实时语音转文本工具?")


