

最近有很多indesign的用户们,询问其中如何设置主页?今天在这里就为你们带来了indesign设置主页的详细操作步骤。

首先打开Indesign,新建10页,找到主页标签,可以看到上面已经有个A-主页了,为了比较好理解我们再新建一个B主页。

然后我们可以看到,所有页面上都有个小A,这是什么意思呢,这个就说明所有页面都是在A主页上进行的,可以理解为所有页面都带了一顶叫“A”的帽子,A帽子如果改变,所有页面带的帽子也会一起改变。

现在我们试一下双击A页面,

这时候在A页面左边画一个红色的方块,我们可以看到,所有页面都出现了红色的色块,就像我刚说的一样,所有页面带了A的帽子,A帽子有了红色的色块,那所有页面都会有红色的色块。

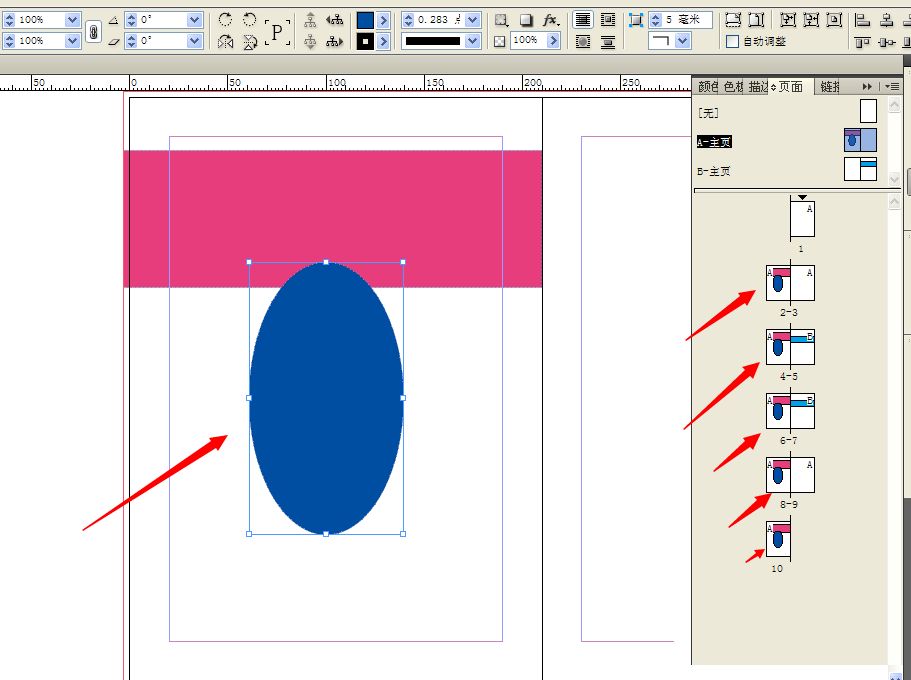
现在我们再双击B主页的右边,画一个蓝色的色块,我们可以看到,所有的页面均没有发生变化,为什么呢?因为所有的页面都带着A的帽子,而不是B的。

但是我们怎么样带上B的帽子呢,我们单击B的右页面不放,拖到想改变的页面上,页面就发生了变化,原来的A变成了B,B页面上的蓝色色块也出现了。

最后我们在主页上编辑的内容,在对应的子页面上也会发生改变,这就是关于页面的简单理解,这用处主要用于需要批量绘制图形的情况下,比如页码,页眉,页脚等。
根据上文讲解的indesign设置主页的详细操作步骤,你们是不是都学会了呀!


")
")


语音转文字!新媒体翻译者都有哪些实时语音转文本工具?")


