

本篇教程为你们带来的文章是关于Premiere软件的,你们晓得其中素材属性复制粘贴的方法吗?下文教程就为你们带来了Premiere中素材属性复制粘贴的详细步骤介绍。

首先我们需要打开Premiere软件,新建一个项目文件。

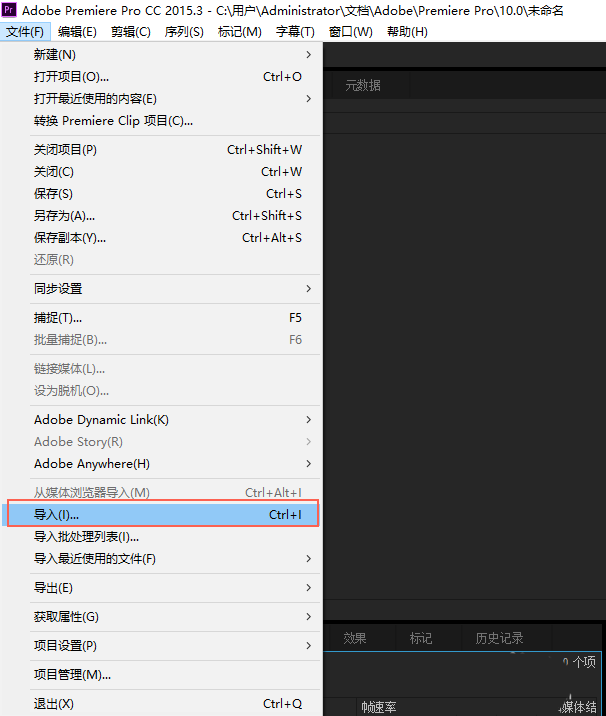
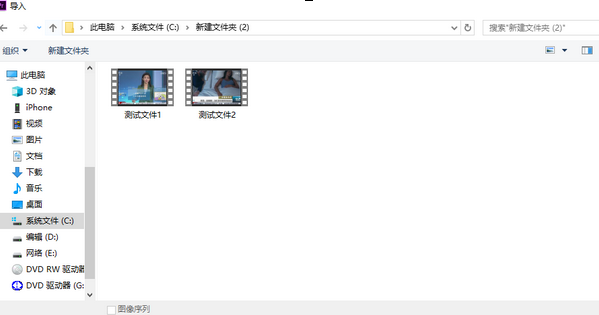
然后我们单击【开始】菜单中的【导入】按钮,或者使用CTRL+I快捷键导入需要的素材
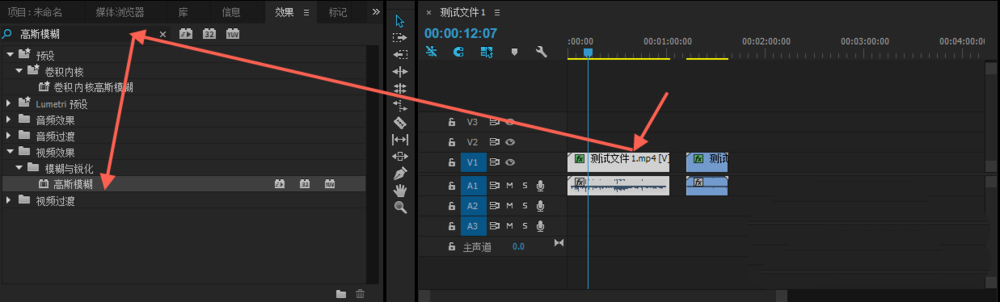
接着我们创建时间轴,将所要的文件拖动到时间序列上。本文以“测试文件1”为模板建立时间序列。

这时需要实现:对“测试文件1”施加效果之后直接复制给“测试文件2”。在时间轴中选中“测试文件1”,并在效果面板中添加“高斯模糊”效果,设定模糊度为“100”

我们再选中“测试文件1”右击在弹出菜单中单击复制按钮,或按CTRL+C完成复制。

接着选中“测试文件2”右击在弹出菜单中单击“黏贴属性”按钮
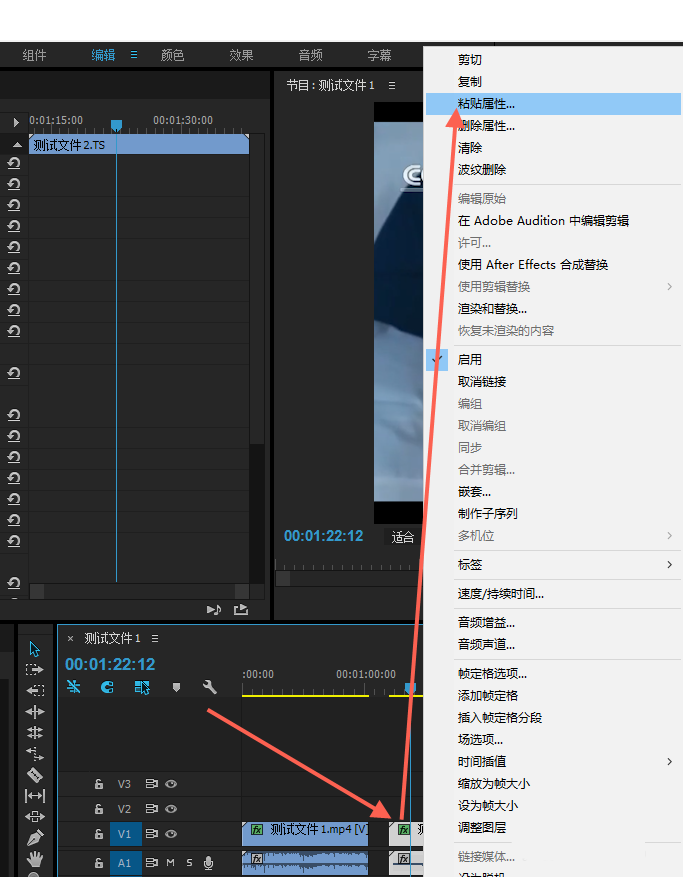
最后我们需要在弹出的“属性黏贴”对话框中选中“高斯模糊”效果,单击确定按钮即可完成相应属性的复制。

按照上文为你们讲解的Premiere中素材属性复制粘贴的详细步骤介绍,你们是不是都知道了!


")
")


语音转文字!新媒体翻译者都有哪些实时语音转文本工具?")


