

本期为你们带来的教程是关于PPT的,你们晓得PPT中是怎么设置可撤销操作步数的呢?下文就带来了PPT中设置可撤销操作步数的具体操作方法。

打开PPT,建立空白文档。
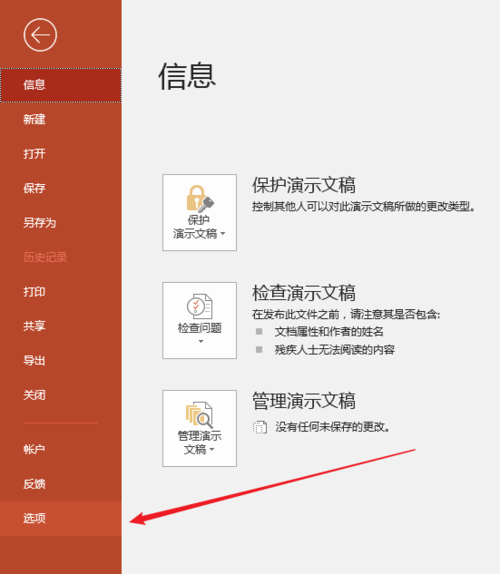
点击【文件】―【选项】。
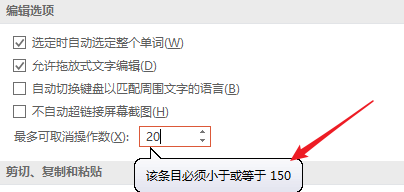
在打开的选项窗口中,点击左侧的【高级】,在右侧的【最多可取消操作数】中,软件默认的是25,即最多可以撤销之前的25步操作。

25步有时是不够的,所以直接在框中输入更多的数量。但是,可撤销步数不是无限制的,当输入的数量太大,会出现提示,最大只能输入150。
所以,就输入150,点击【确定】。
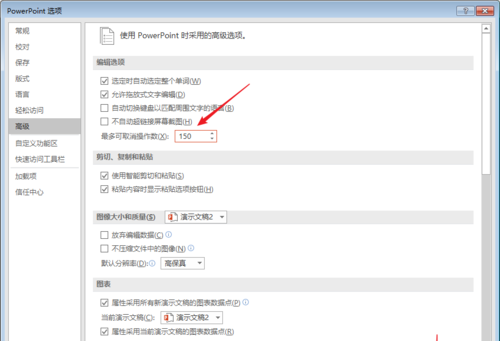
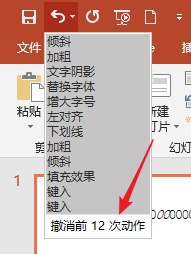
这样,在编辑PPT时,就可以最多撤销之前150步操作。就为自己留下了更多的“后路”。
根据上文描述的PPT中设置可撤销操作步数的具体操作方法,你们是不是都学会啦!


")
")


语音转文字!新媒体翻译者都有哪些实时语音转文本工具?")


