

很多的工作都需要使用Photoshop这款软件,那么你们知道使用Photoshop如何让照片变清晰呢?今天在这里就为大伙带来了使用Photoshop让照片变清晰的具体操作方法。

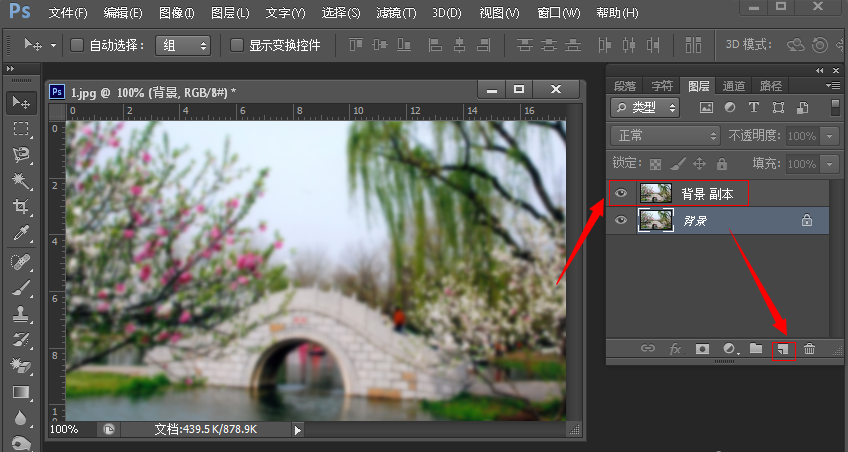
打开Photoshop,导入需要处理的图片,选中背景层,拖动至【新建图形按钮】上,复制出背景副本;
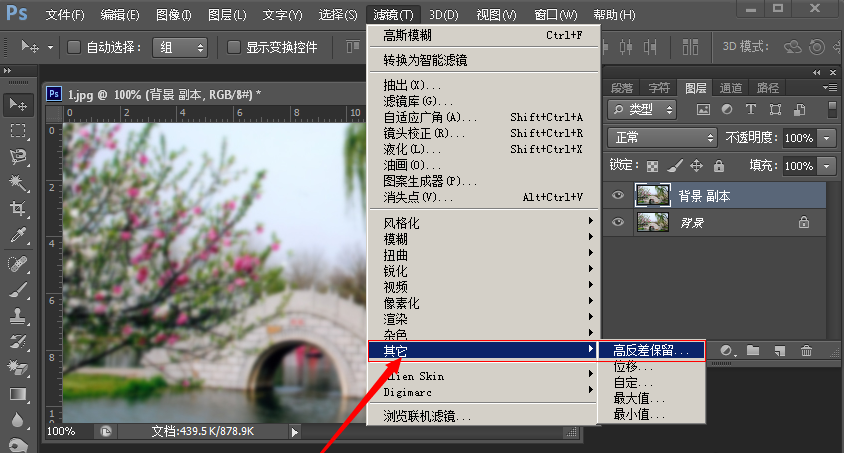
点击菜单栏的滤镜――其他――高反差保留,半径值根据图片情况来定,一般2到5左右;

在图层面板中将图层混合属性更改为【叠加】;

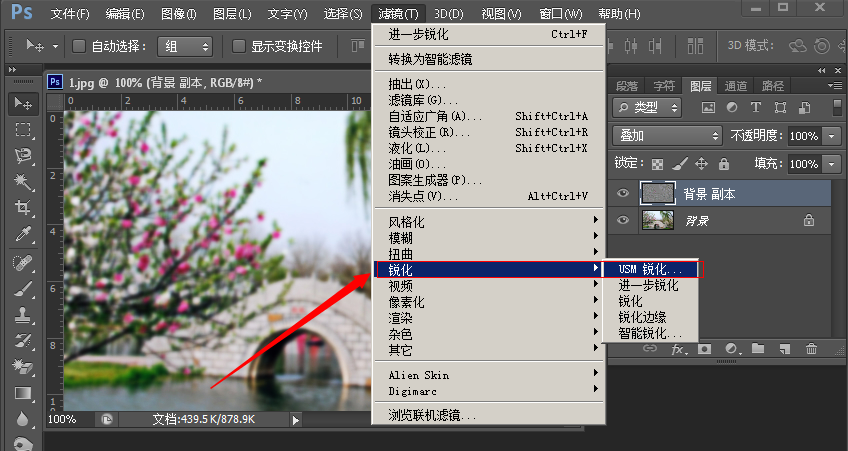
点击菜单栏的滤镜――锐化――USM锐化,数值根据图片的情况来定;

点击菜单栏的图像――调整――亮度/对比度(亮度、对比度数值根据图片的情况自己来定),然后保存文件。

看完了以上为你们描述的使用Photoshop让照片变清晰的具体操作方法,你们自己也赶紧去试试吧!


")
")


语音转文字!新媒体翻译者都有哪些实时语音转文本工具?")


