

今日为你们讲解的教程是关于PPT软件的,不过你们知道使用PPT如何制作出卡片式吗?今日在此就呈现了使用PPT制作出卡片式的具体操作流程。

1、打开PPT,建立空白文稿。

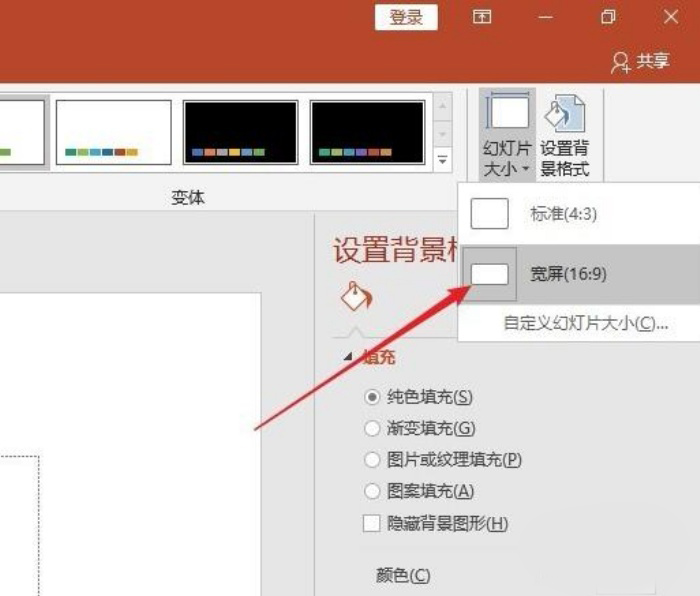
2、版面设置为16:9,利于后续卡片风格的体现。
3、绘制全屏矩形,填充双色渐变或多色渐变,或者直接插入双色渐变或多色炫彩的图片,作为背景图。

4、根据版面排布,插入一个或多个无边框白色矩形或圆角矩形。

5、为矩形设置幅度很小的灰色阴影,使得阴影有种若隐若现的效果,矩形有种悬浮的感觉。

6、接着在白色矩形中添加文字,文字字体笔划不宜过粗,颜色使用饱和度低的黑色。

7、同样在矩形中插入图片,图片不宜过大,大量留白。

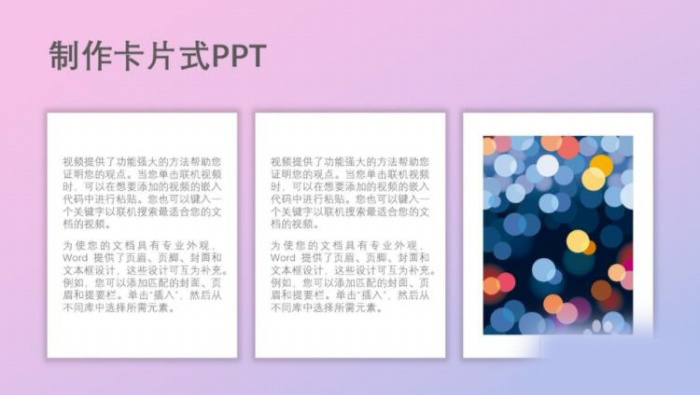
8、最后,再插入本页标题。

9、这样,一个简洁、干净的卡片式PPT就做好了。
看完了以上为你们描述的使用PPT制作出卡片式的具体操作流程,你们自己也赶紧去试试吧!


")
")


语音转文字!新媒体翻译者都有哪些实时语音转文本工具?")


