

??几乎所有的照相馆都需要使用ps这款软件,那么你们了解使用ps如何绘画出米老鼠头像矢量图吗?下文就为大伙带来了ps绘画出米老鼠头像矢量图的具体操作方法。

??1、按Ctrl+N键,新建立一个文件,大小:800 x 600像素、72分辨率、RGB模式。如图所示:

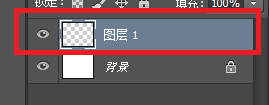
??2、按Ctrl + Shift + Alt + N键新建“图层 1”,如图所示:
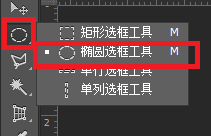
??3、在工具箱中选择“椭圆选框工具”,如图所示:
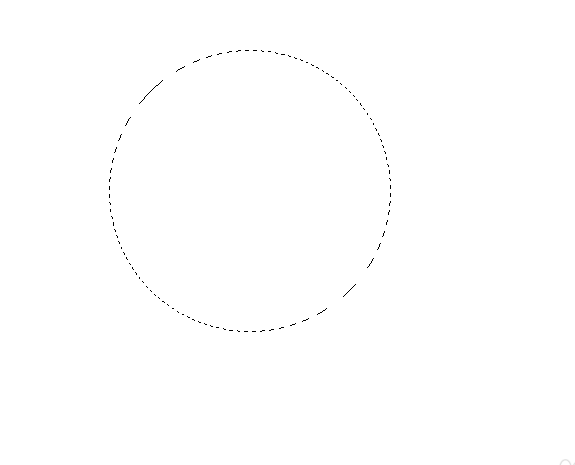
??4、按住Shift + Alt 键画出一个正圆,如图所示:
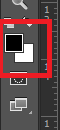
??5、设置前景色为黑色,如图所示:
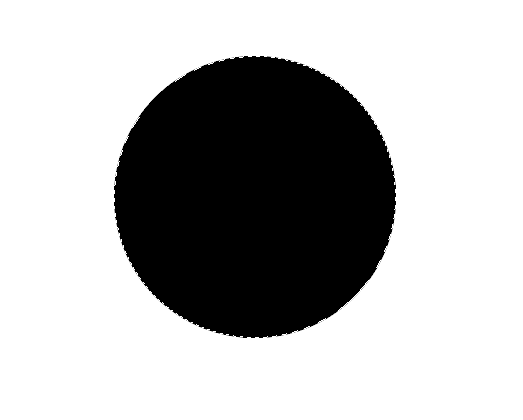
??6、按Alt + Delete 键 填充前景色,如图所示:
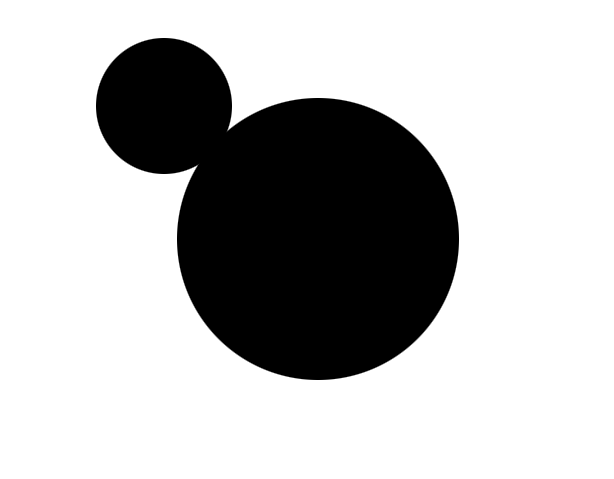
??7、再新建“图层2”,绘制第一只耳朵,如图所示:
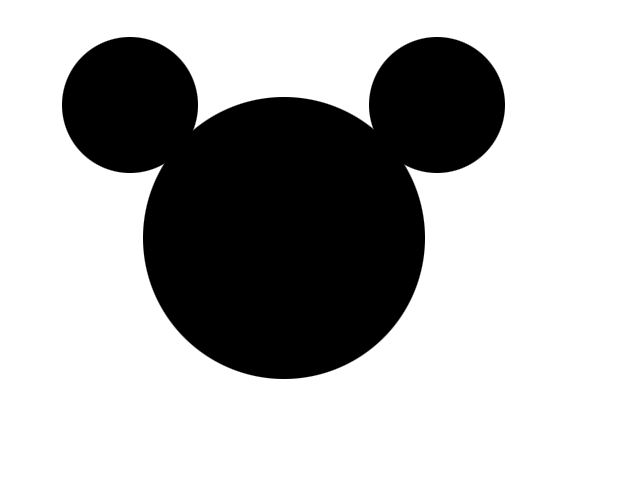
??8、选择移动工具,按住Alt键复制出另外一只耳朵,如图所示:
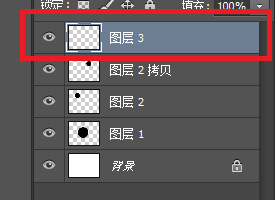
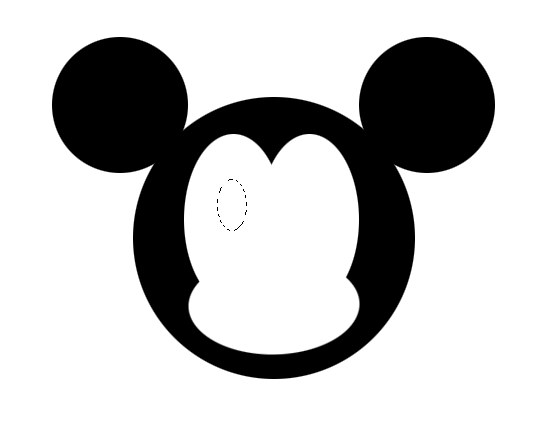
??9、新建“图层3”,画出一个椭圆,如图所示:
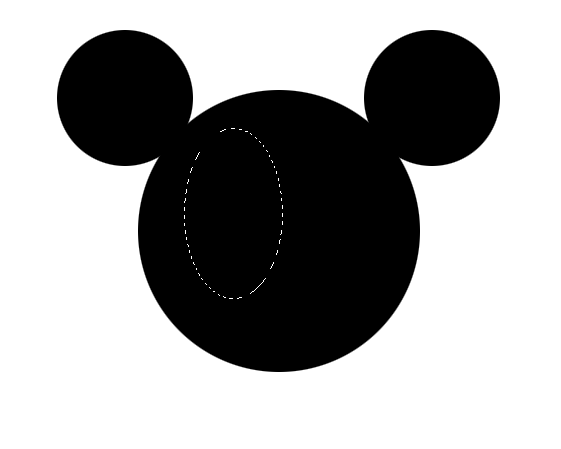
??10、将椭圆选区填充为白色,如图所示:
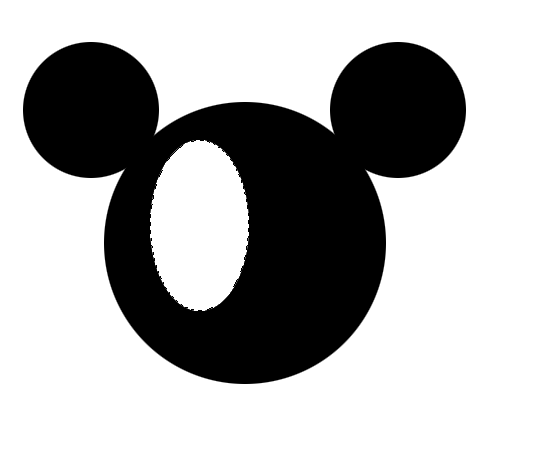
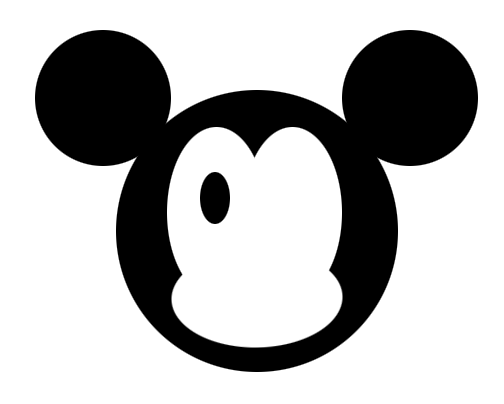
??11、选择移动工具,按住Alt键复制出另一个白色椭圆,如图所示:
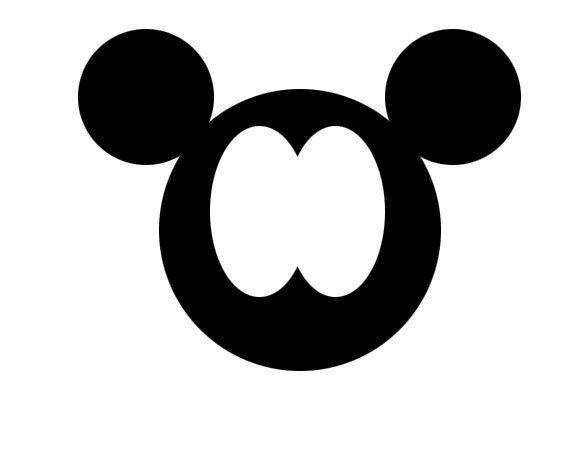
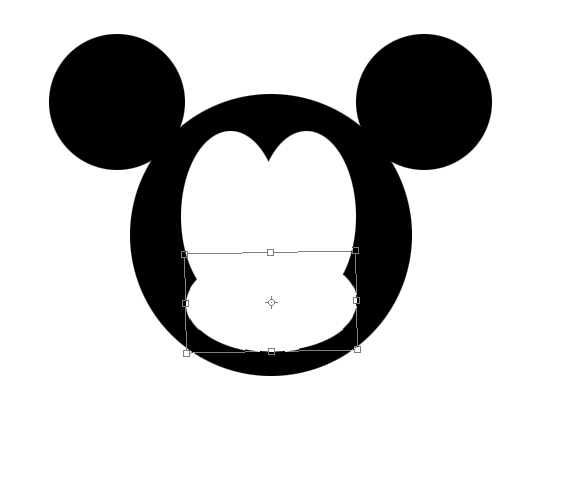
??12、再复制一个椭圆,按Ctrl + T键,旋转图形,如图所示:
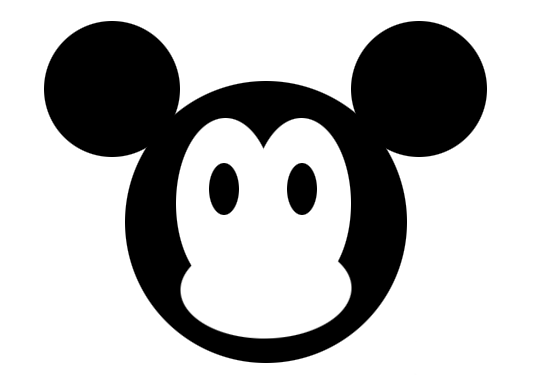
??13、继续用“椭圆选框工具”绘制出眼睛,如图所示:
??14、填充前景色(黑色),如图所示:
??15、选择移动工具,按住Alt键复制出另外一只眼睛,如图所示:
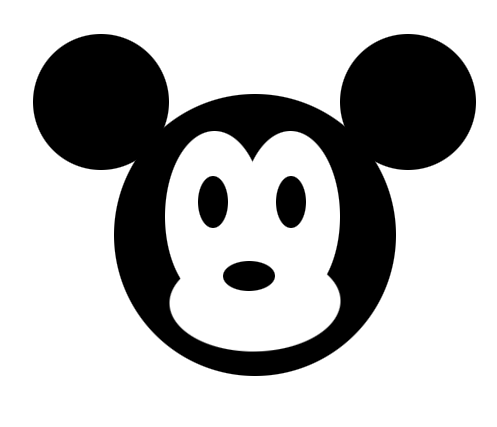
??16、绘制鼻子,如图所示:

??17、至此。
??按照上文分享的ps绘画出米老鼠头像矢量图的具体操作方法,你们自己也赶紧去试试吧!


")
")


语音转文字!新媒体翻译者都有哪些实时语音转文本工具?")


