想知道使用PS设计出文字人想效果吗?那可以跟随小编一同去下文看看使用PS设计出文字人像效果的具体操作方法。

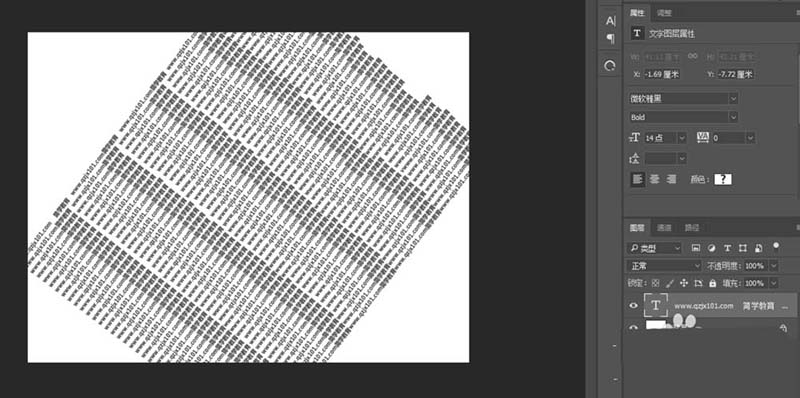
1、新建文件,选择“横排文字工具”输入文字,多复制一些,覆盖整个画布(文字空隙不要太大,文字也不要太大)

2、选择图层,按住快捷键“Ctrl+T”打开自由变换,旋转一下角度
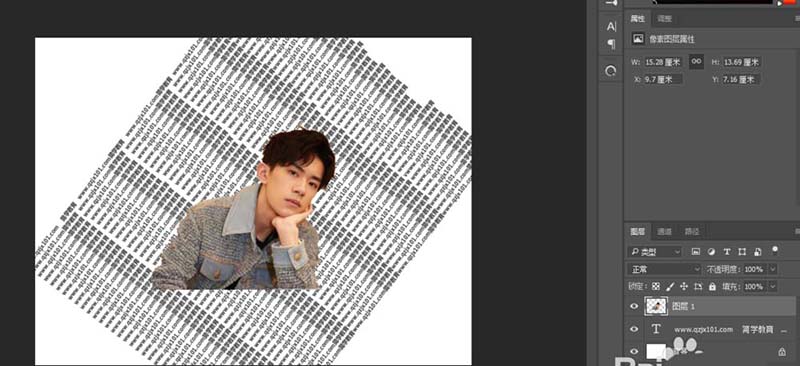
3、打开素材图片,将其拖放到文字的上方,选择钢笔工具将其人物抠出来
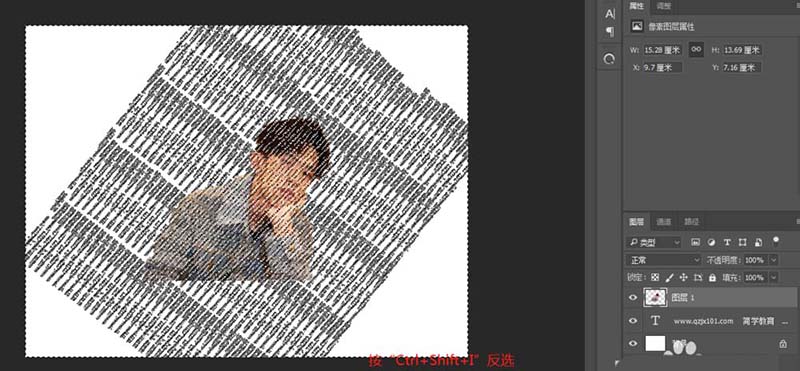
4、按住Ctrl+鼠标左键单击文字图层的图层缩览图,创建文字的选区
5、按住快捷键“Ctrl+Shift+I”进行反选,删除多余的部分,按“Ctrl+D”去除选区。
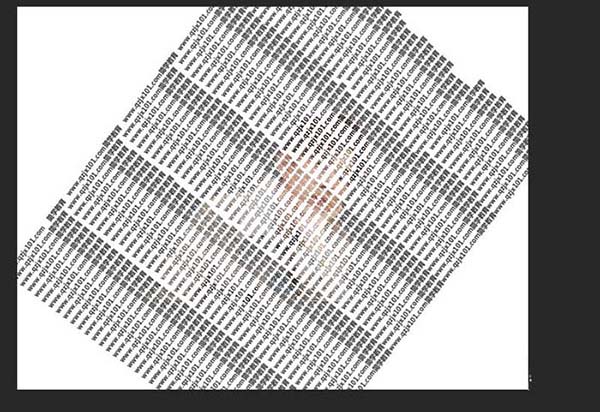
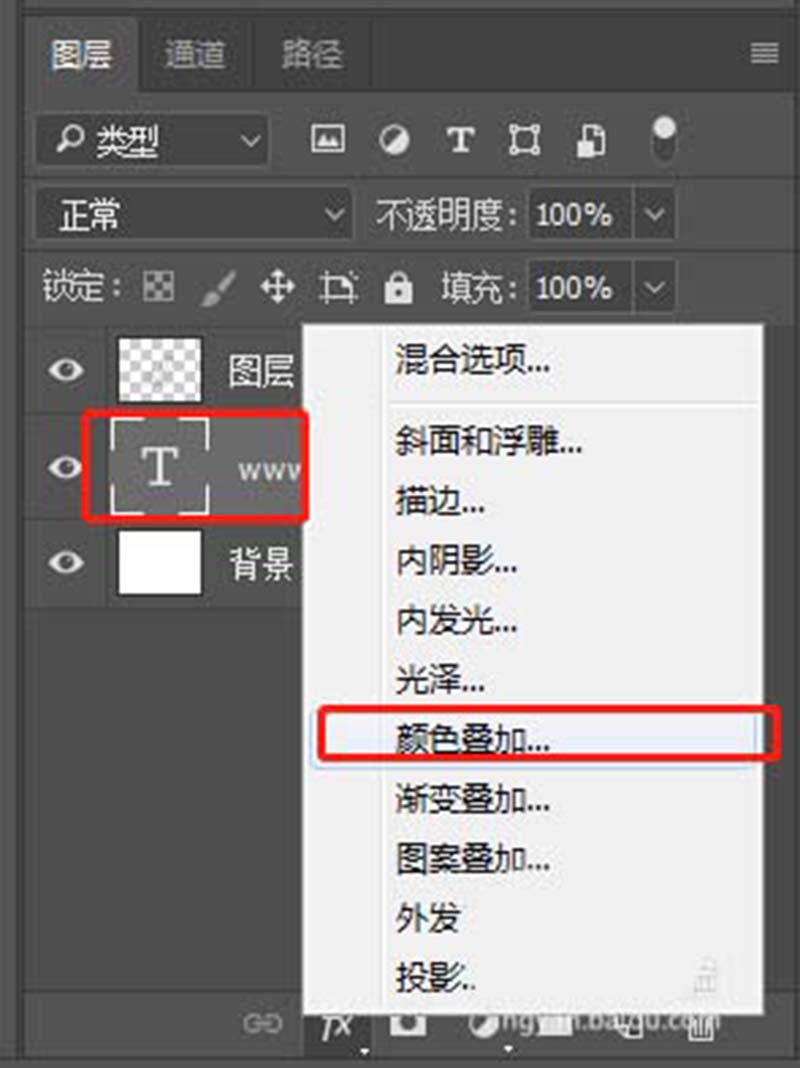
6、选择文字图层,为文字添加一个“渐变叠加”更换一个颜色。
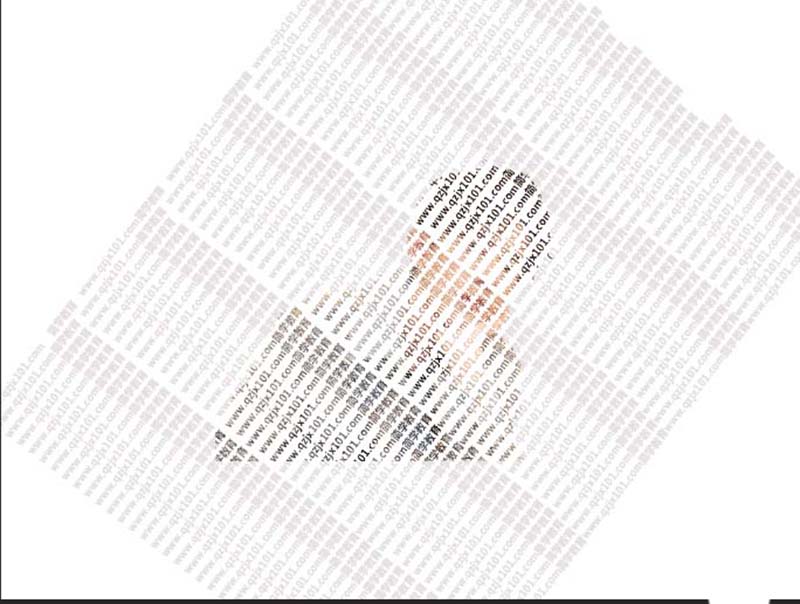
7、最终效果
看完上文讲解的使用PS设计出文字人像效果的具体操作方法,你们是不是都学会啦!


")
")


语音转文字!新媒体翻译者都有哪些实时语音转文本工具?")