


想必有些朋友还不熟悉blender自定义窗口布局的操作步骤,而下面笔者就分享了blender自定义窗口布局的操作教程哦,快来学习吧。
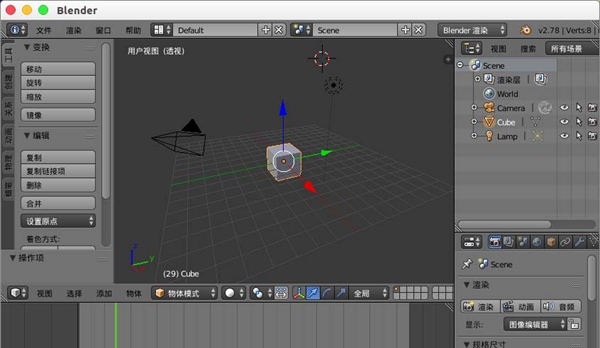
1、blender默认的窗口是这样的,看似好像每个位置都是固定的功能一样。
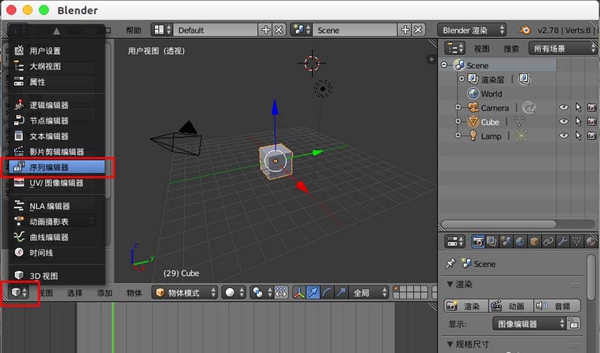
2、但是我们可以通过每个功能布局上的面板左侧修改功能,比如我们把默认的“3d视图”窗口设置为“序列编辑器”。
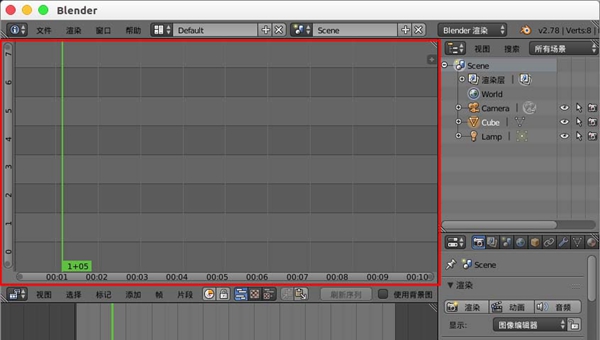
3、 这样我们的3d试图位置就变成序列编辑器窗口了。
4、如果要添加功能窗口,可以鼠标左键选择角落的“斜线”,向一侧拖动。
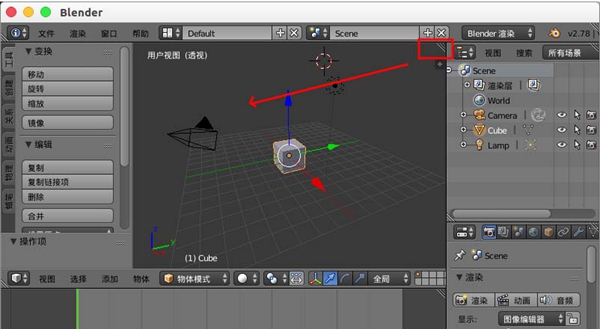
5、这样我们就可以拖出一个新的功能窗口。
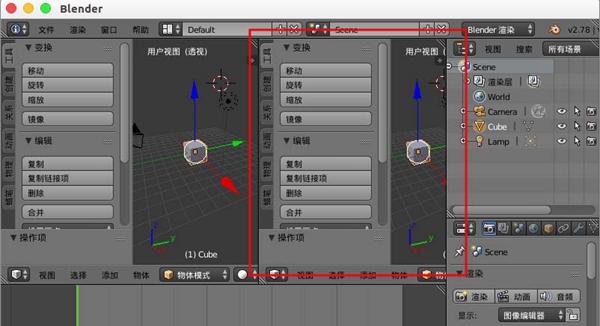
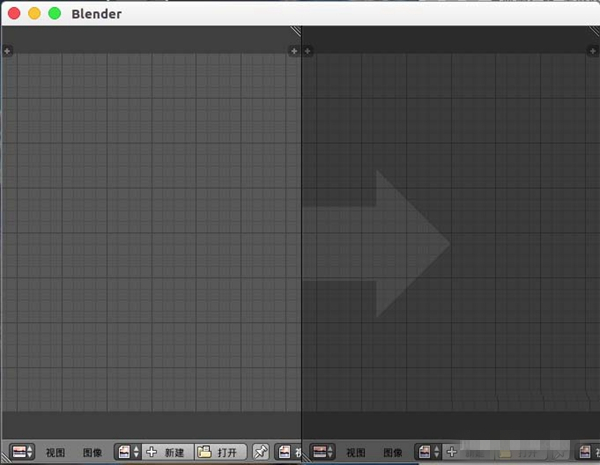
6、如果我们想合并的话,可以选择角落的“斜线”,向反方向的窗口拖动,出现透明的箭头就可以合并了。
7、我们合并到最后只留一个功能窗口。
上面就是小编为大家带来的blender自定义窗口布局的操作步骤,希望对大家能够有所帮助哦。


")
")


语音转文字!新媒体翻译者都有哪些实时语音转文本工具?")


