不少伙伴用PS处理图片的过程里,常会用到高反差保留工具,该功能类似于锐化,今日小编就给大家讲解PS中高反差保留工具的具体使用过程,看下文!
打开Photoshop软件,导入图片素材,

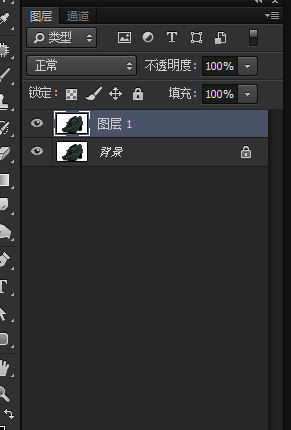
在用高反差保留之前要先复制一层,
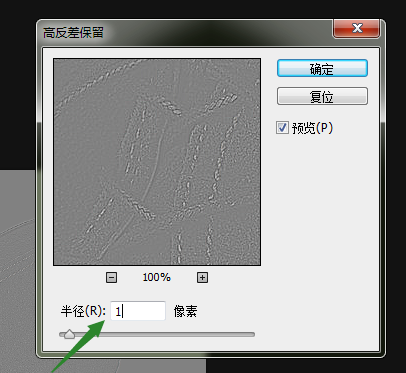
在菜单栏上选择滤镜――其他――高反差保留,

弹出高反差保留对话框,建议半径参数为1,主要还是看自己的需求,点击确定,
在图层混合模式,把正常改成线性光,
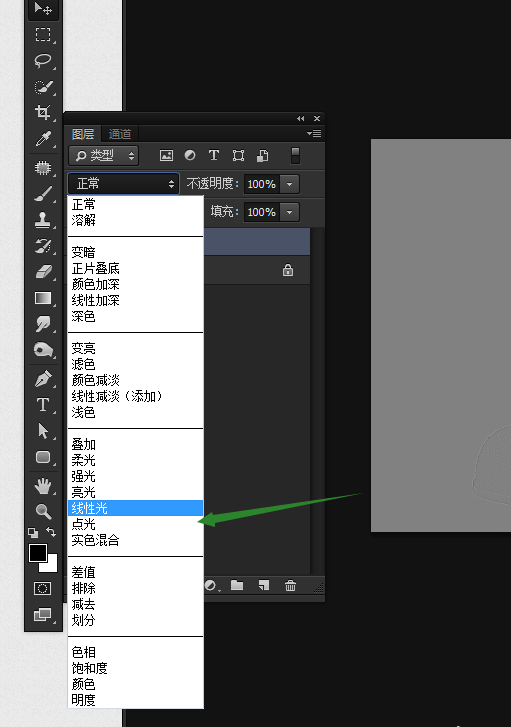
线性光后,看起来锐化过度,

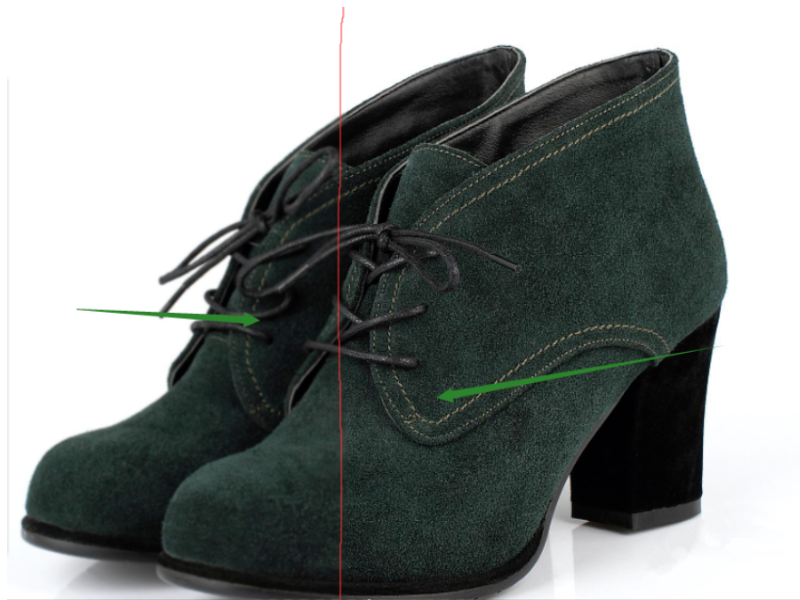
调一下不透明度,根据自己的需求来调整,看看效果图,左边是原图,右边是高反差保留。
上面就是小编为大家带来的PS中高反差保留工具的具体使用教程,希望对大家能够有所帮助哦。


")
")


语音转文字!新媒体翻译者都有哪些实时语音转文本工具?")