

今天就讲解win7系统打开iis功能的操作过程,一起去看看win7系统打开iis功能的操作步骤吧,相信会有帮助哦。
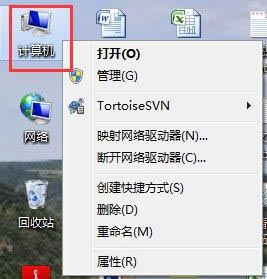
1、首先点击“计算机”。如图所示:
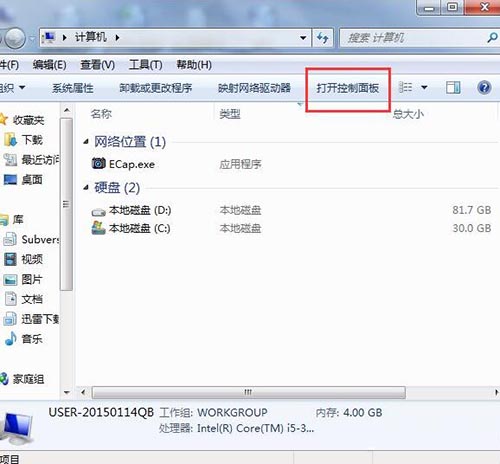
2、点击“打开控制面板”。如图所示:
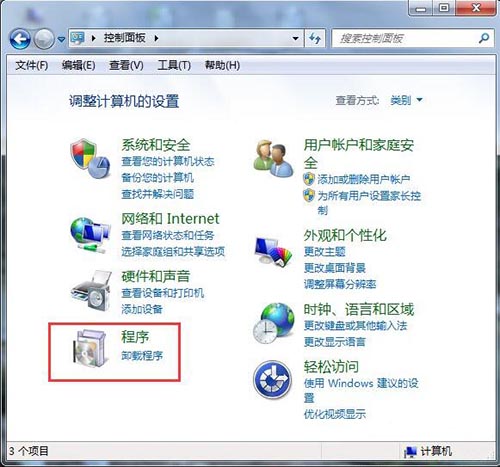
3、点击“程序”。如图所示:
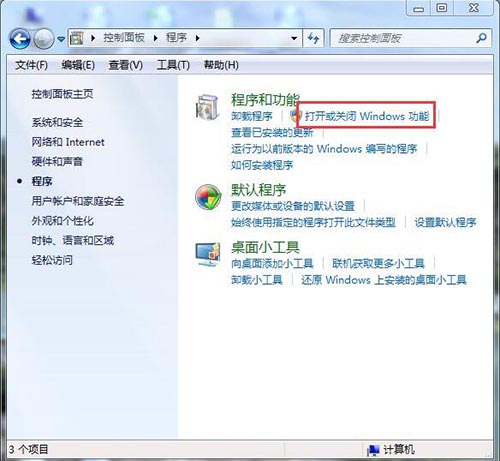
4、点击“打开或关闭Windows功能”。如图所示:
5、在弹出的对话框中按下图箭头操作将正方形框内都打上勾,然后点击“确实”。如图所示:

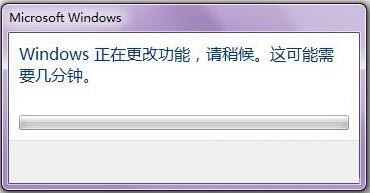
6、在此界面出现后,耐心等待几分钟。如图所示:
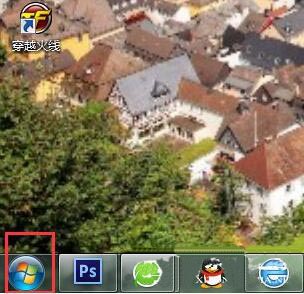
7、待其成功安装后,回到桌面,点击“开始”。如图所示:
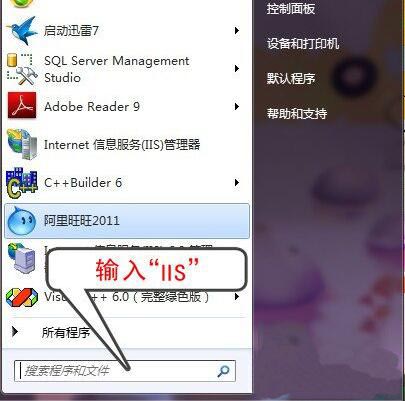
8、在搜索框中输入“IIS”。如图所示:
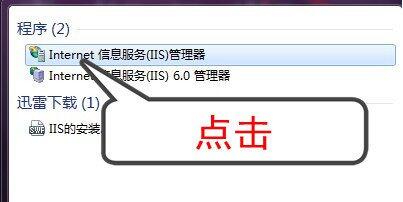
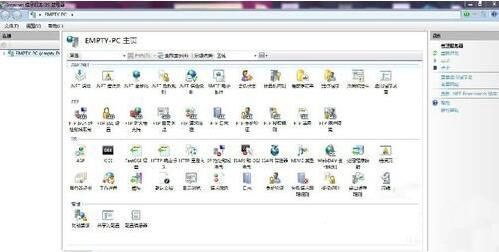
9、点击“Internet信息服务(IIS)管理器”。如图所示:
10、当出现如下界面时,说明你已经成功安装“IIS”,此时你就可以用“IIS”对你的网站进行测试了。如图所示:
上面就是小编为大家带来的win7系统打开iis功能的操作步骤,希望对大家能够有所帮助哦。


")
")


语音转文字!新媒体翻译者都有哪些实时语音转文本工具?")


