

下面小编介绍Word2016插入复选框的具体操作,想必不少朋友也期待看到Word2016插入复选框的教程,那就一起去下文看看吧!
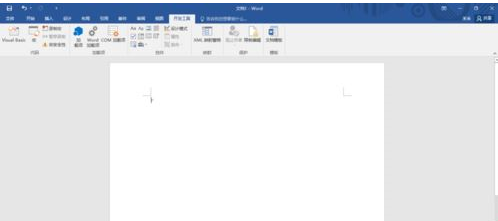
打开Word2016并新建一个文档。
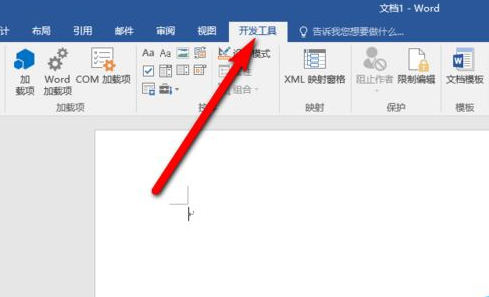
点击菜单栏上的”开发工具“。
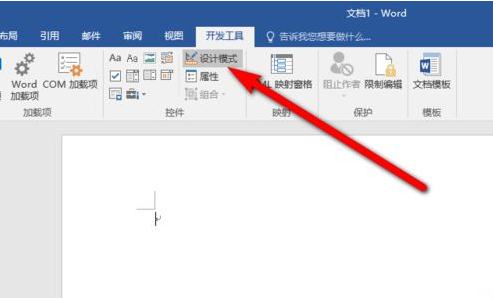
将模式切换到”设计模式“,点击”设计模式“。
在文档中输入我们将要使用的内容。

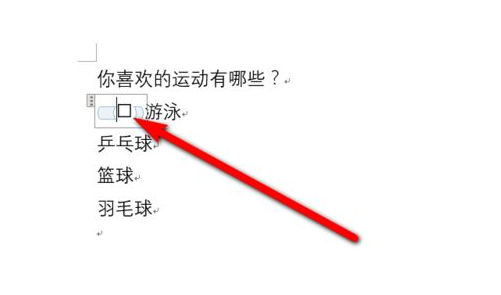
将光标定位到需要添加复选框的位置上。

鼠标单击”复选框内容控件“。
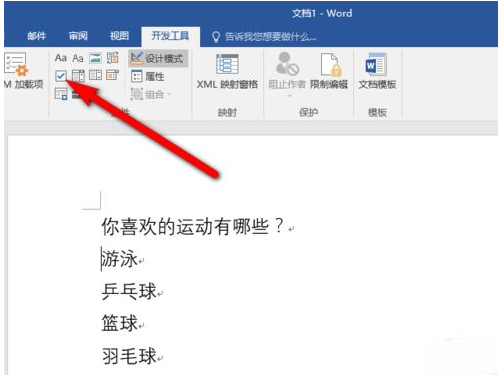
这时候就添加成功了。
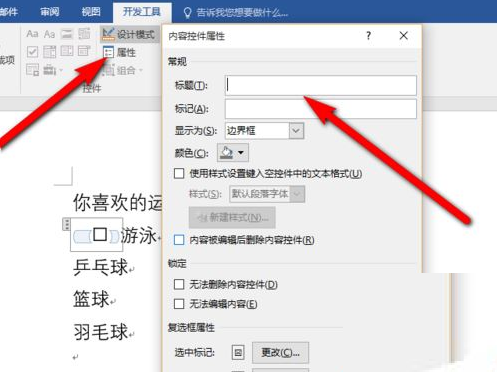
点击”属性“可以对控件进行相应的设置。
上面就是小编带来的Word2016插入复选框的具体操作教程,小伙伴们都学会了吗?


")
")


语音转文字!新媒体翻译者都有哪些实时语音转文本工具?")


