

本篇教程讲解了与photoshop相关的内容,详情请看下文利用photoshop制作出燃烧宝剑的详细步骤,一起来学习下吧。
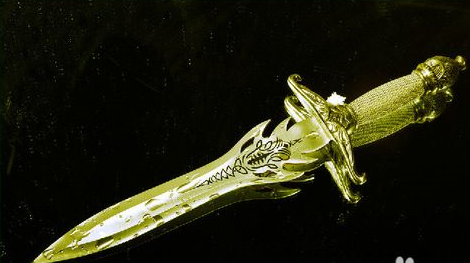
我们首先用PHOTOSHOP打开原图。
我们首先按CTRL+L调整色阶,通道选蓝,调整数值如下。
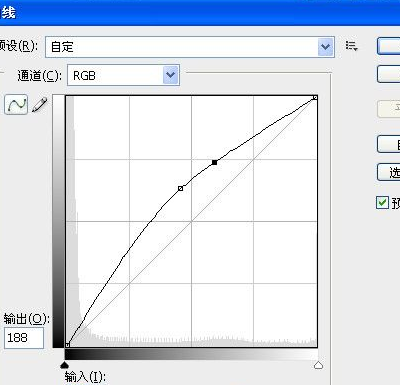
再按CTRL+M,调整曲线,调整效果如下。
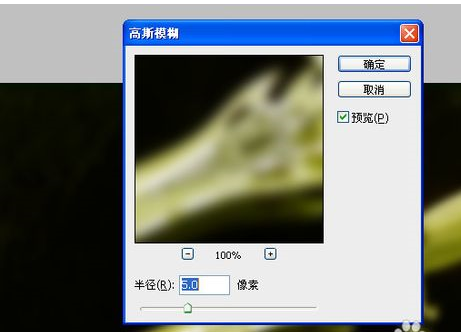
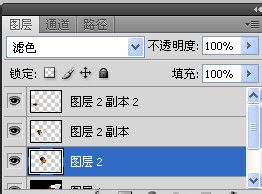
我们按CTRL+J,将图层复制一层。再执行滤镜-模糊-高斯模糊。
现执行滤镜-风格化-照亮边缘
参数如下,得到如下效果。
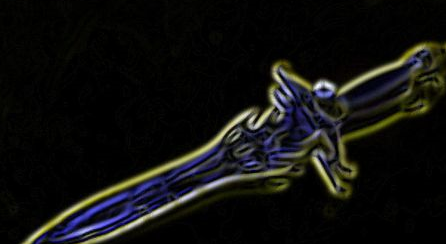
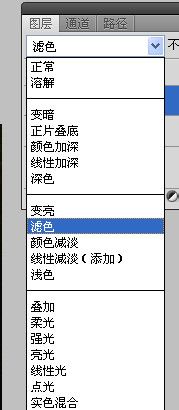
将图层一模式改为滤色,效果如下。
图层一执行滤镜-扭曲-海洋波纹
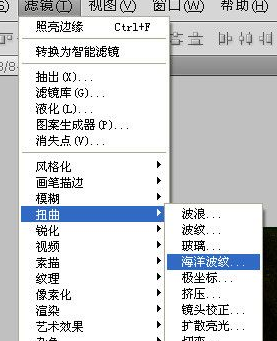
执行参数如下,效果如下。
我们再按CTRL+U,调整色相饱和度,记得勾上着色。
效果如下,我们再用橡皮擦擦掉剑柄上的火焰。
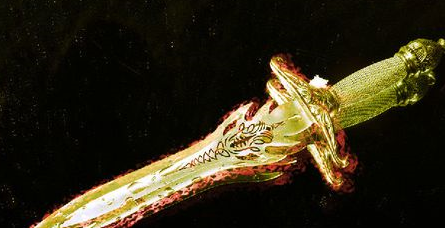
我们可以再拷入火焰图片,可以多拷几层,按CTRL+T进行图片的形状变换,图片属性设为滤色。最终效果如下。
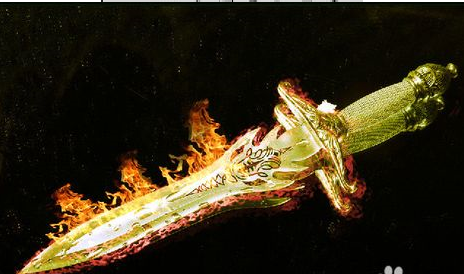
上文就是小编讲解的利用photoshop制作出燃烧宝剑的详细步骤,大家都学会了吗?


")
")


语音转文字!新媒体翻译者都有哪些实时语音转文本工具?")


