

在photoshop中如何绘画出卡通画呢?在此,就为大家讲解利用photoshop绘画出卡通画的详细步骤,赶紧一起去下文看看吧。
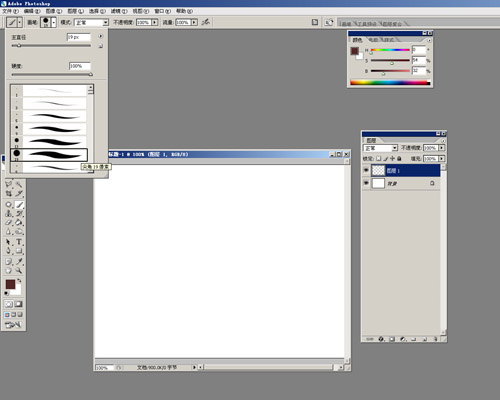
首先打开photoshop,新建一个画布,为了和背景分开,我们需要新建一层。然后选画笔工具,把笔刷调整到合适大小,我这里是用19号笔刷。
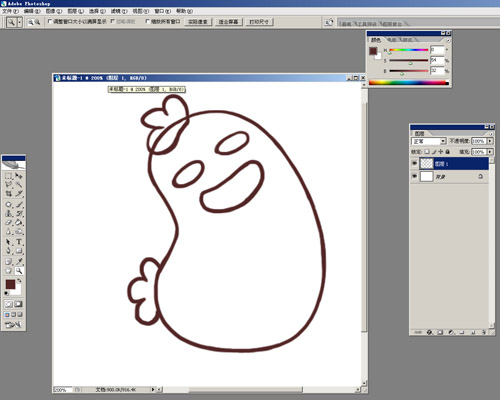
然后在画布上画出一个茄子的轮廓。

从头顶开始逐一画出鸡冠、眼睛、嘴巴和尾巴。
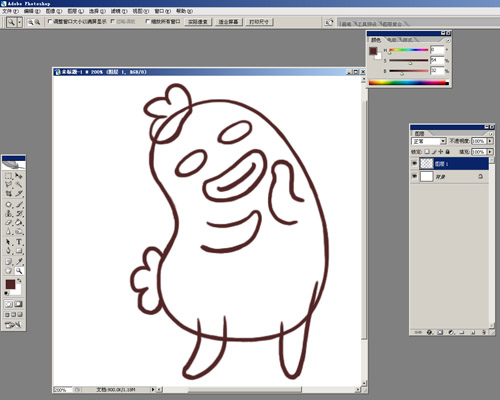
进一步画出卡通小幺鸡的手和脚。
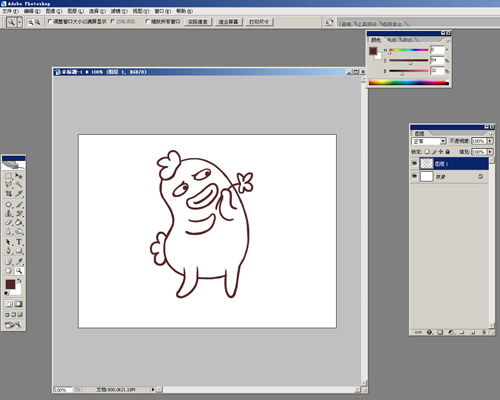
增加眼睛的细节,可以点缀上一朵小花,然后用橡皮工具把多余的线条擦去。
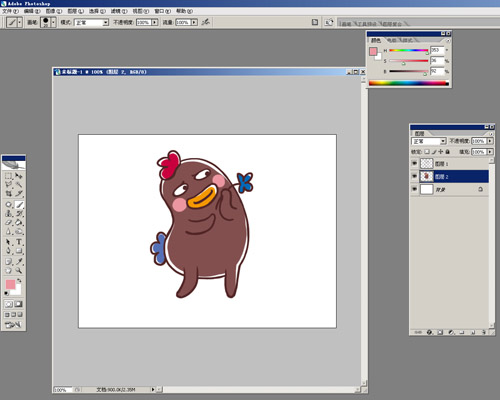
新建一层,拖至线条层下面。在这层涂上身体的颜色,可以保留部分边缘。

选择适合的颜色,逐一涂上鸡冠、尾巴、腮红、嘴巴的颜色,小鸡的颜色完成。
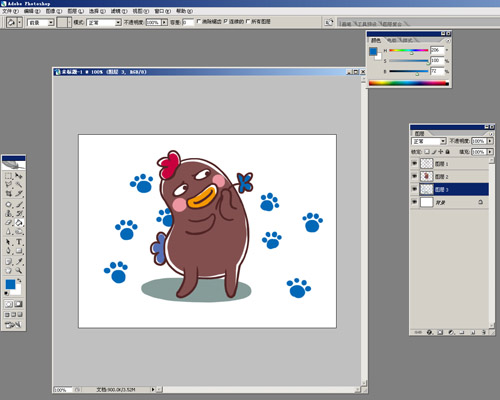
在身体图层下新建一层,画出阴影,和一些装饰的小图案。
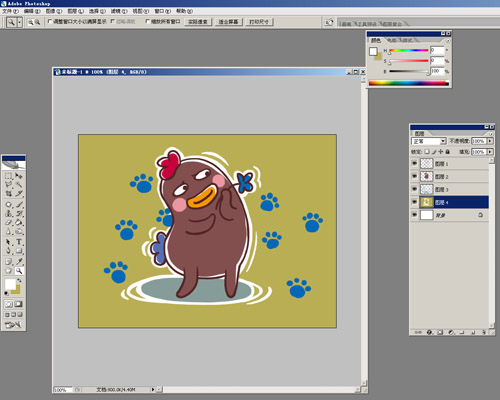
再建立一层,填充自己喜欢的背景色。

使用画笔在背景层上画出强调轮廓,会让画面看起来更突出。
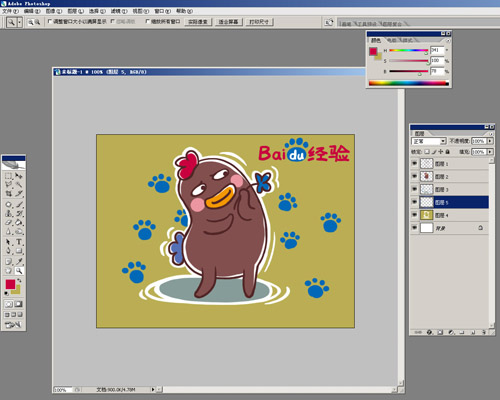
最后,可以在画布上添加一些文字和标识,这样一副完整的卡通画就完成了。
上文就是小编讲解的利用photoshop绘画出卡通画的详细步骤,大家都学会了吗?


")
")


语音转文字!新媒体翻译者都有哪些实时语音转文本工具?")


