

photoshop是款不错的软件,不过怎么样制作动作呢?不太了解的就去下文好好学习下使用photoshop制作动作的详细操作步骤。
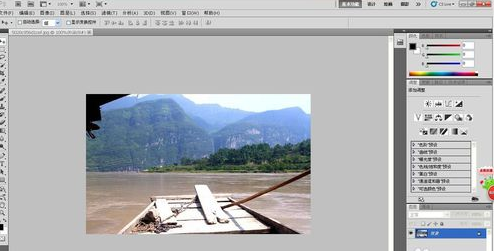
首先打开你需要的图片,
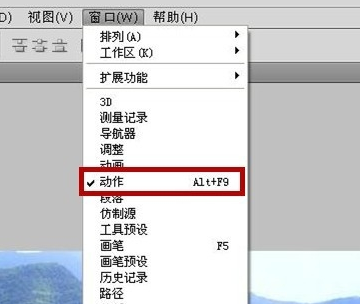
看到右边工具栏中是否有动作这个标签,如果没有的话,点击上方的窗口,选择下面的动作。是不是就可以看到咯。
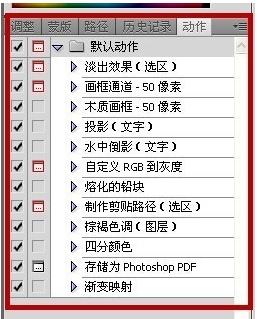
在看到右边动作已经存在一些基本自带的动作。好,现在我们来创建一个新的动作。点击下方的新建图片。
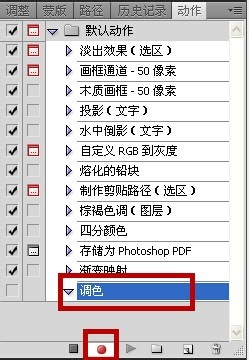
这个时候弹出来的对话框,我们修改一下新动作的名称,例如叫调色
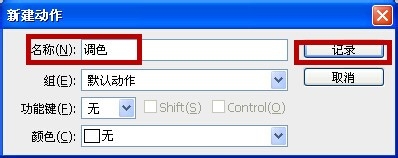
这个时候,就已经开始了记录动作了咯。看到下方那个跟录像很像的红点图标了吗,这个就是表示已经开始记录动作了。
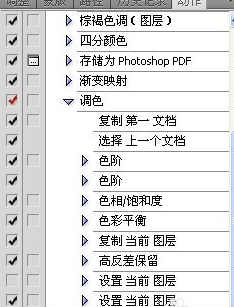
每次你进行操作,都能在右边和好的记录下来。

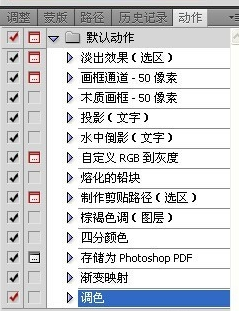
直到你的记录动作全部完成之后,点击下方的小方块按钮,表示记录已经结束了。
好了,每次进行同样操作,只要打开图片的情况下,点击下方的向右这个箭头,是不是一瞬间就已经完成之前的操作了呢。很神奇吧。
上文就是使用photoshop制作动作的详细操作步骤,大家都学会了吗?


")
")


语音转文字!新媒体翻译者都有哪些实时语音转文本工具?")


