

今日小编就为各位伙伴们讲解利用photoshop制作出波浪字的详细步骤,赶紧一起去下文学习下吧。
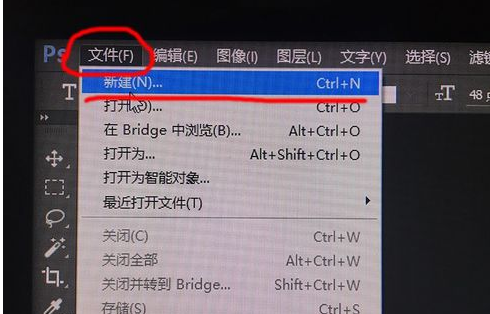
首先先建立一个图板,“文件”-->“新建”,然后在新建对话框里填写高度与宽度,如下图

我们在左侧工具栏找到“横排文字工具”,在图板打上字,如下图

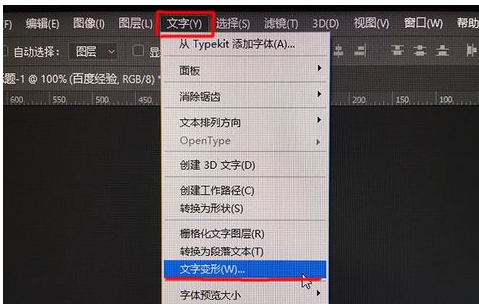
我们在上方工具条找到“文字”-->“文字变形”,如下图一
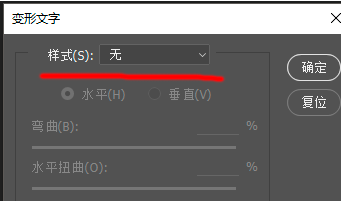
弹出“变形文字”对话框,如下图二
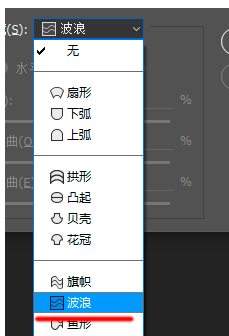
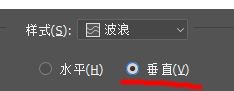
我们在“样式”中,选择波浪,如下图一
然后在下面选择“垂直”,如下图二
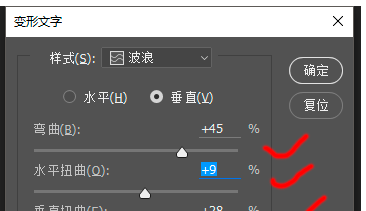
开始设置余下的参数,跟着下图一进行设置
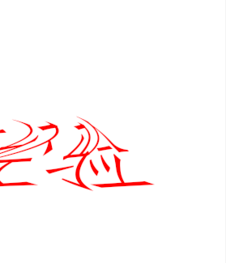
设置完毕后,确定即可,波浪效果字就做好了!
上文就是小编讲解的利用photoshop制作出波浪字的详细步骤,你们都学会了吗?


")
")


语音转文字!新媒体翻译者都有哪些实时语音转文本工具?")


