

以下的教程是小编为大家讲解的使用ps制作出游戏币促销字体的操作步骤,感兴趣的就赶紧去下面看看吧。
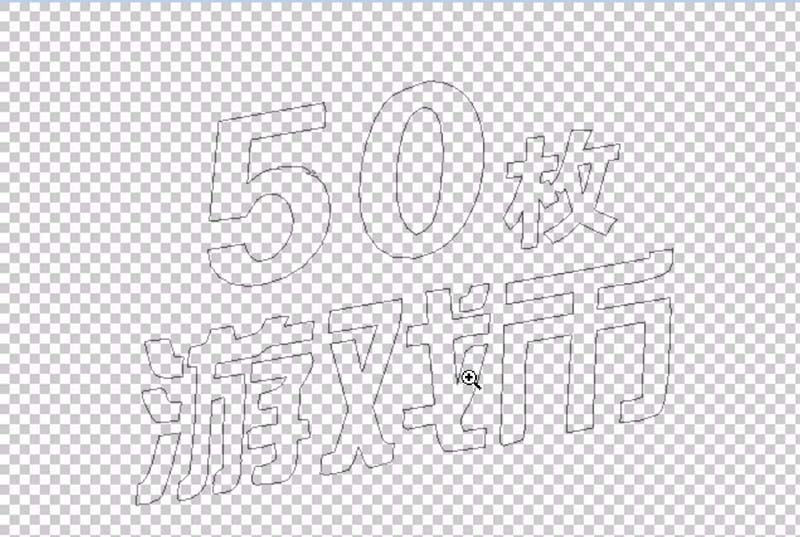
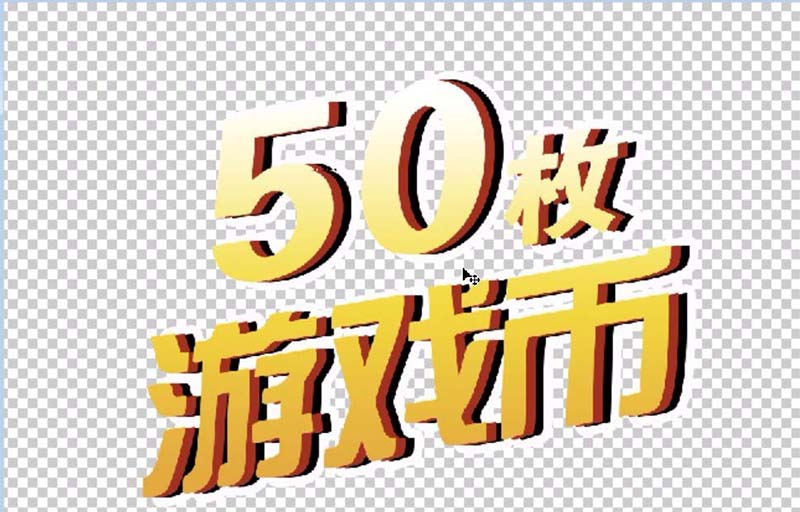
1、首先,我们打出所需要的文字,再经过适当的变形之后,成为最终的形状,我们把这个形状保存为路径。这就是促销字体设计的基础所在。
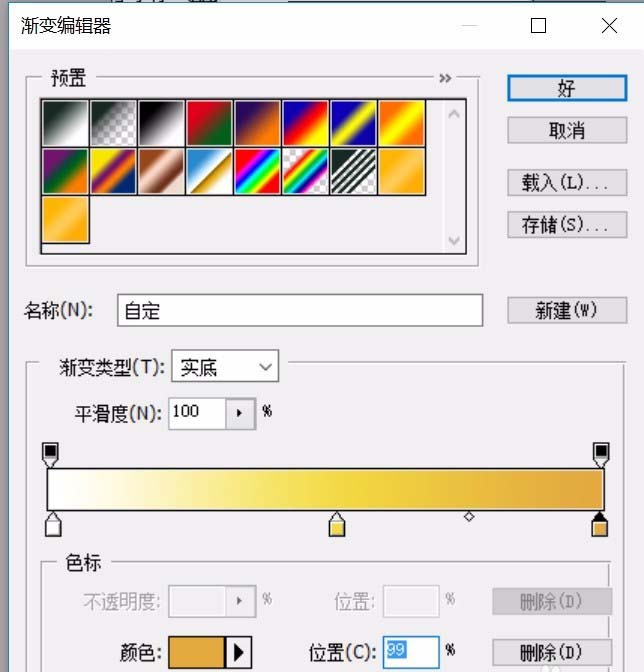
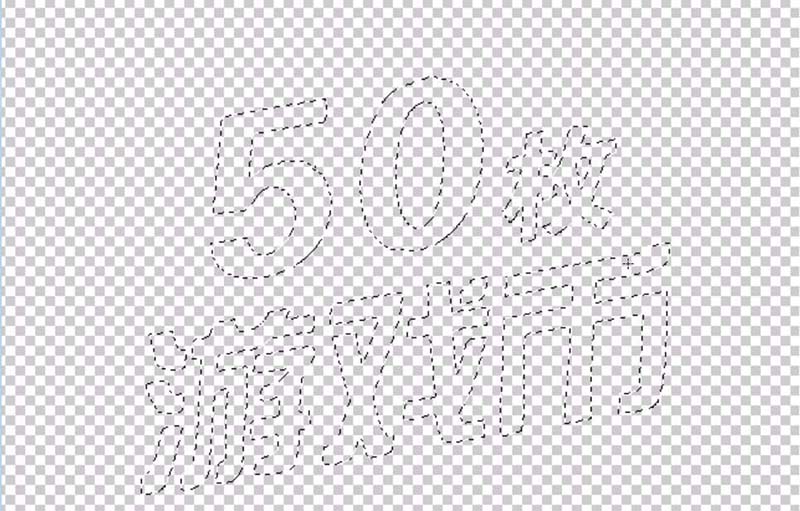
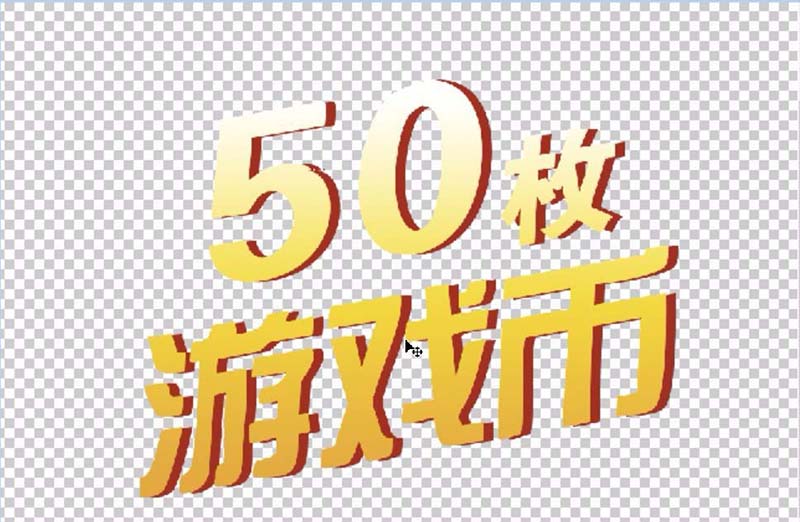
2、点开渐变色设置工具,我们做一个从白色到橙黄色的渐变,把之前保存的文字路径转换成选区,选择渐变工具,我们从上往下拖拉,从而有了一个渐变色的促销字体。这就是第一个文字图层。
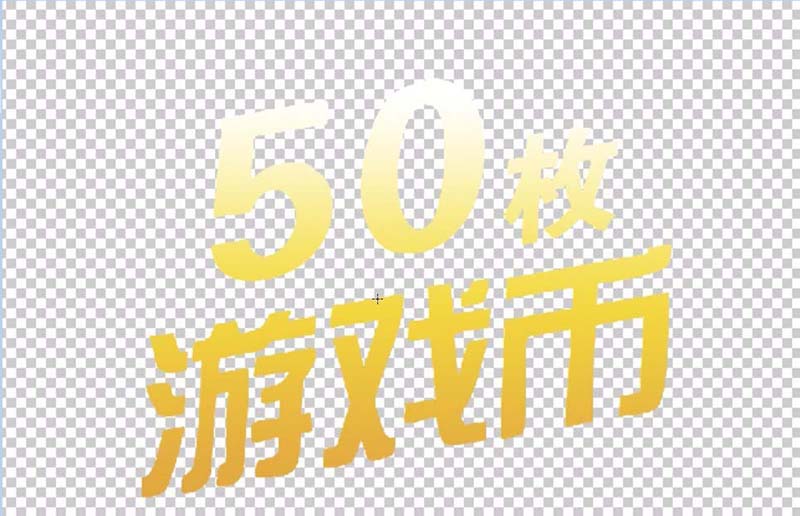
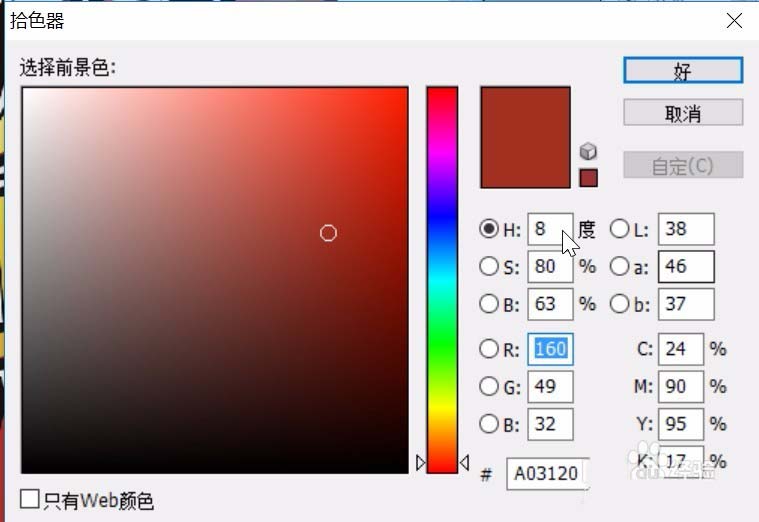
3、选择酒红色作为前景色,我们新建设一个文字图层,把文字图层的选区置入,我们填色后取消选区,选择三角形的移动工具,我们把这个酒红色的文字图层向左向下两次,从而让文字有了一个阴影。
4、继续复制当前图层为新的图层,我们做一个白色描边的图层效果。
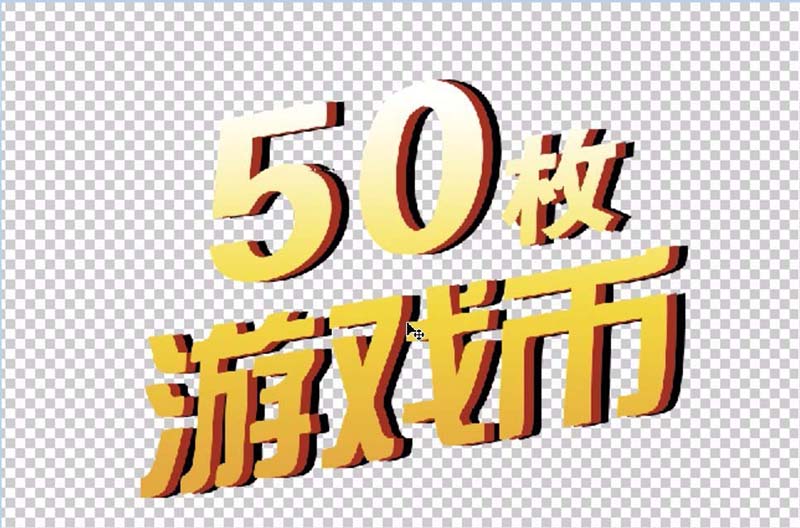
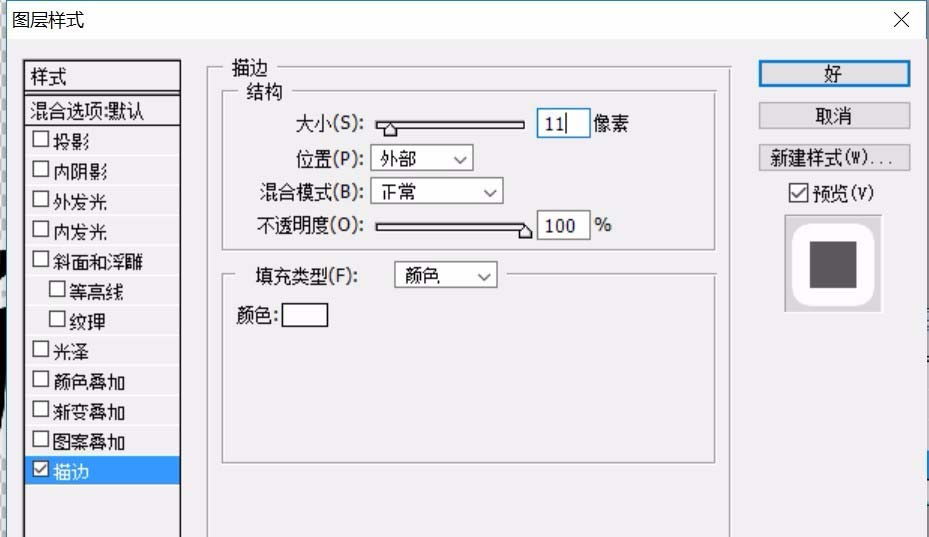
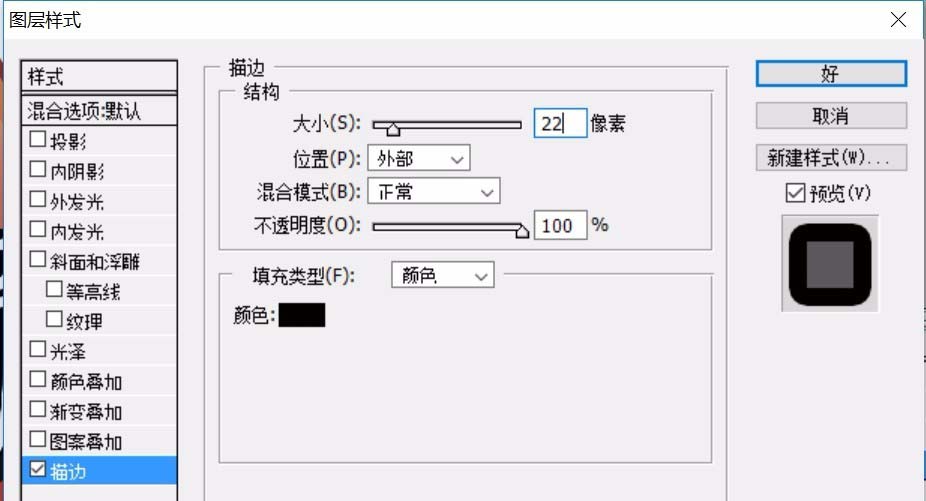
5、继续复制当前图层为新的图层,我们做一个黑色描边的图层效果,这个描边要大一些,超过白色的描边。
6、文字图层效果做结束之后,我们再选择矢量圆形工具,拉出一个正圆形,把路径转换成为一个选区,再从上到下拉出一个橙色的渐变,从而让促销字体设计最终完成。


上文就是小编带来的使用ps制作出游戏币促销字体的操作步骤,你们都学会了吗?


")
")


语音转文字!新媒体翻译者都有哪些实时语音转文本工具?")


