

这篇内容,是为各位讲解使用photoshop制作出纹理字的详细操作步骤,相信很多用户很是期待,那就赶紧去下文学习学习吧。
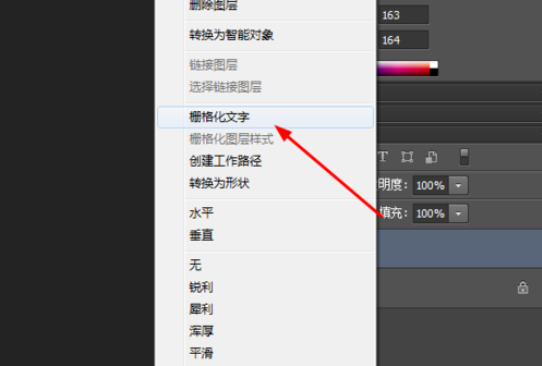
在ps软件中,新建一个800*800的文档,背景色为黑色,写上灰色的字体,然后栅格化文字,如图所示
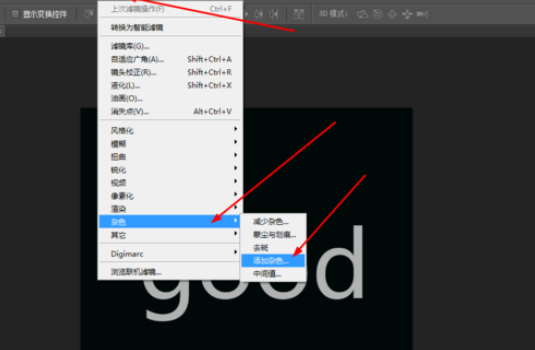
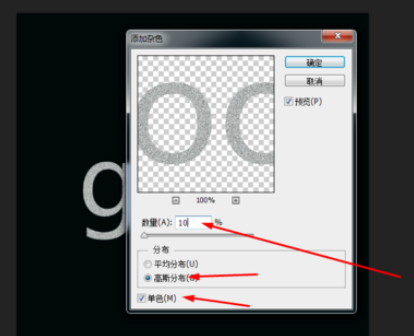
接着在滤镜中添加杂色,如图所示
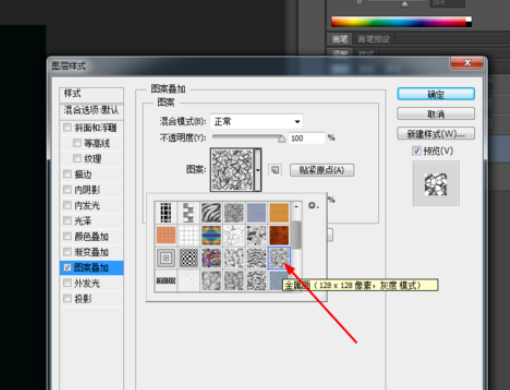
然后双击图层的图层样式调整一下图案叠加,如图所示
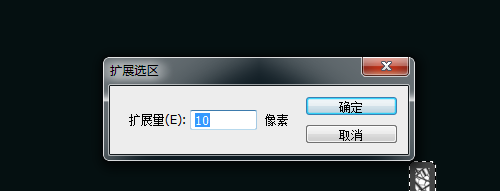
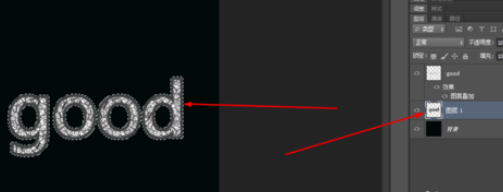
按ctrl点击字体的图层生成选区,然后在菜单栏上选择扩展,在字体的图层新建一个图层,填充深灰色,如图所示

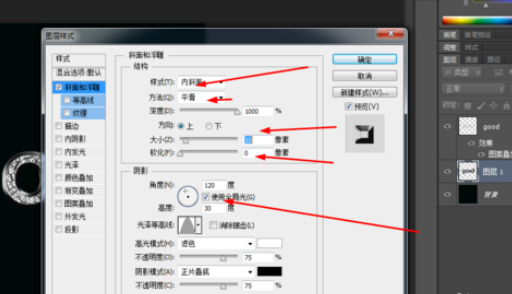
双击图层1的图层样式,调整一下斜面浮雕,如图所示
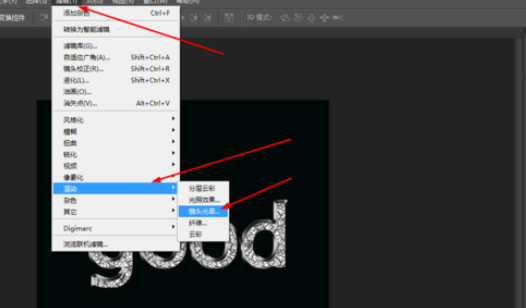
最后合并所有的图层,然后在滤镜中添加镜头光晕,如图所示
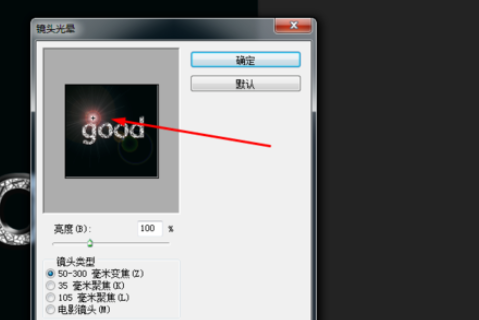
效果如下图所示

上文就是使用photoshop制作出纹理字的详细操作步骤,你们都学会了吗?


")
")


语音转文字!新媒体翻译者都有哪些实时语音转文本工具?")


