

本章节为同学们讲解关于photoshop的教程,想学习的就去看下文使用photoshop制作出科技壁纸的详细操作步骤。
在ps软件中,新建一个800*800的文档,前背景色为黑白,然后在滤镜中添加云彩,如图所示

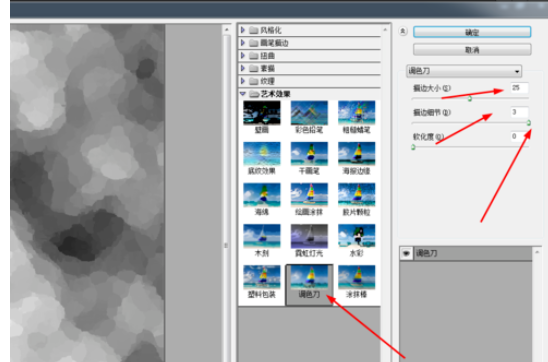
然后在滤镜库中添加调色刀
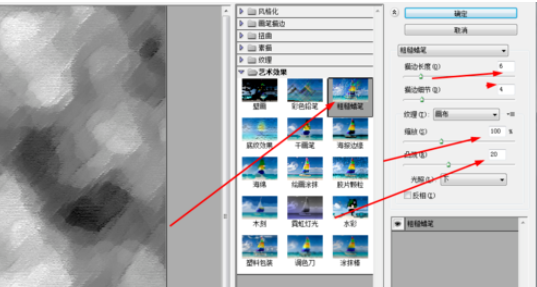
接着再到滤镜库中添加粗糙蜡笔,如图所示
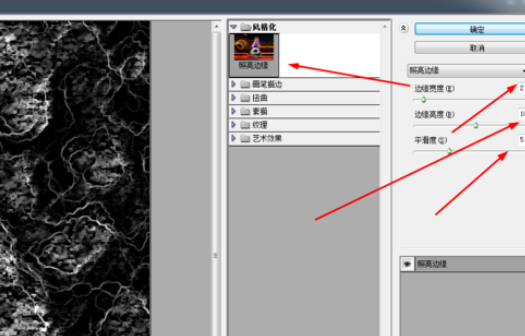
在图像的滤镜库中添加照亮边缘,如图所示
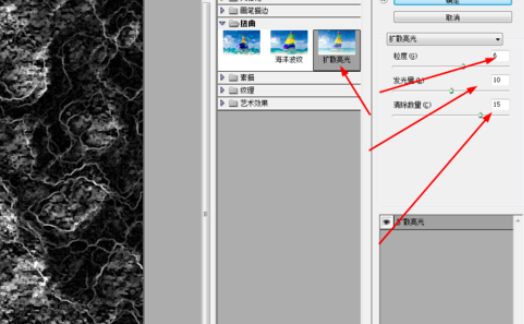
然后在滤镜库中添加扩散亮光,如图所示
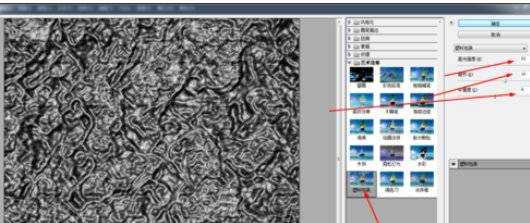
再到滤镜库中添加塑料包装,如图所示
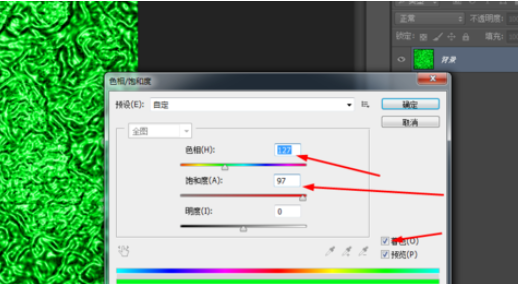
再按ctrl+u,调一下色相饱和度,如图所示
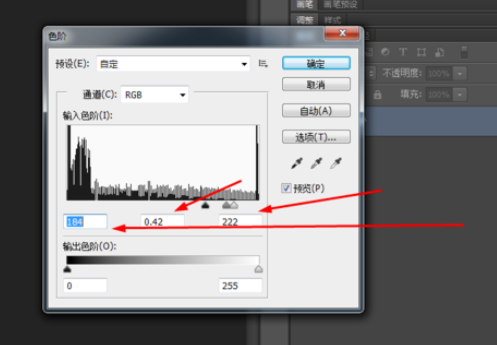
再按ctrl+l,调一下色阶,如图所示
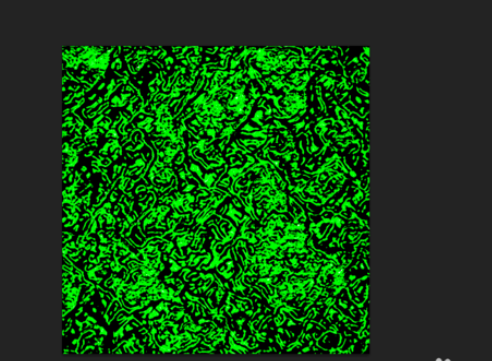
效果如图所示
上文就是使用photoshop制作出科技壁纸的详细操作步骤,你们都学会了吗?


")
")


语音转文字!新媒体翻译者都有哪些实时语音转文本工具?")


