

使用indesign,却不懂indesign给文字增加投影效果的操作步骤,伙伴们可以去下文了解了解indesign给文字增加投影效果的详细教程,相信对大家一定会有所帮助的。
1、首先我们要新建一个文档,执行新建>文档。

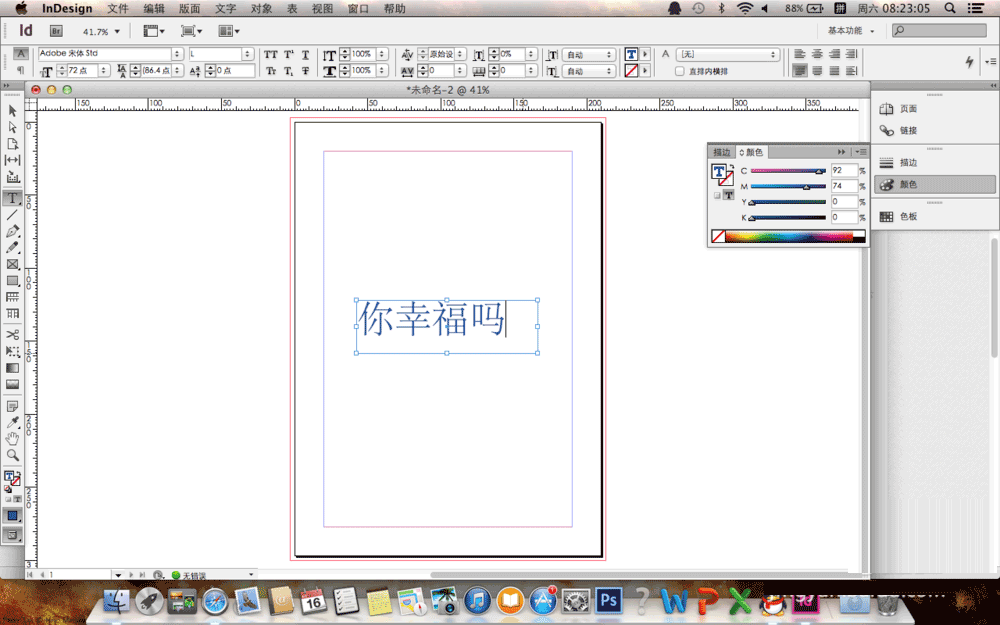
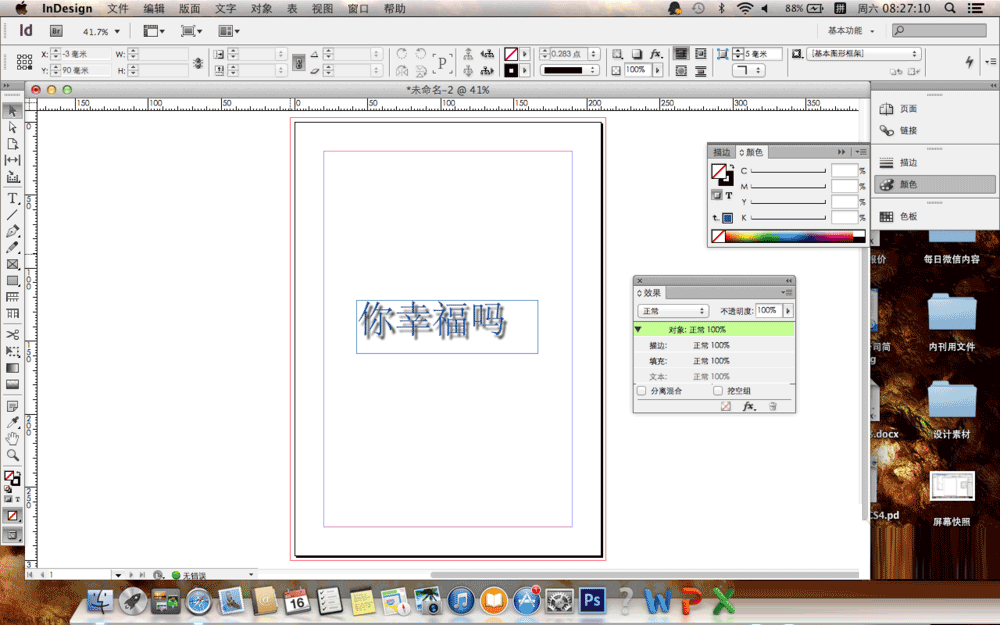
2、新建文档之后,我们利用左侧T文字工具,在文档的空白处输入文字。
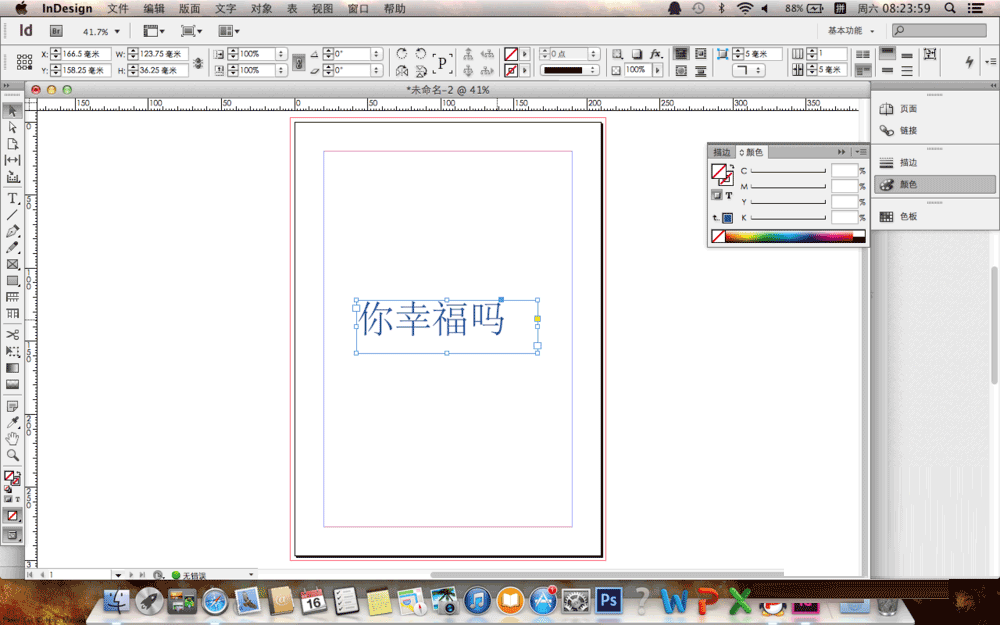
3、输入文字完成之后,我们用左侧的选择工具,选定文字框,(注意不是文字)
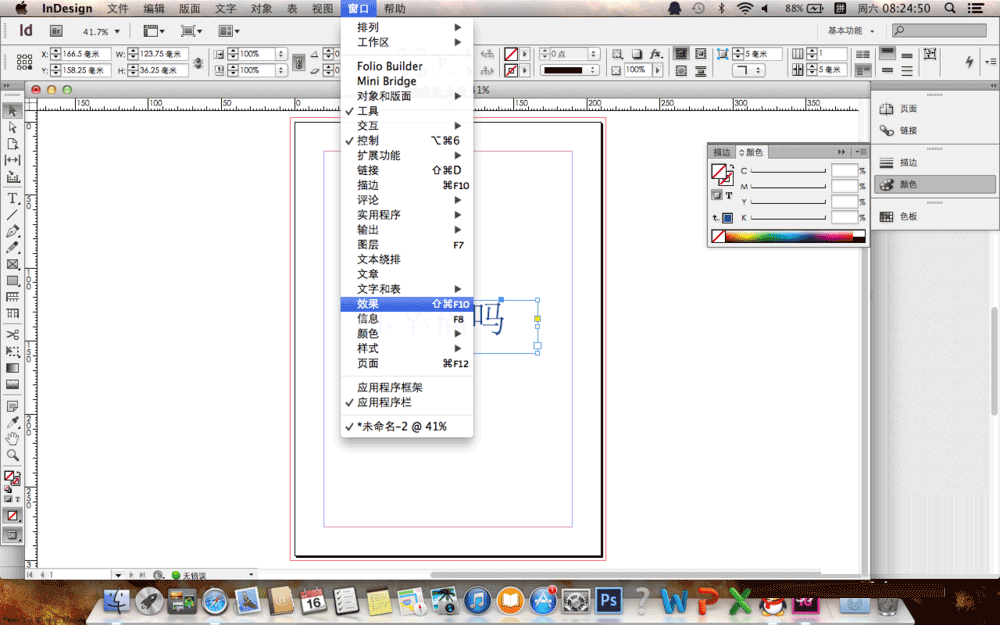
4、这时候我们在软件上方的工具栏中找到窗口,执行窗口>效果,打开效果面板。
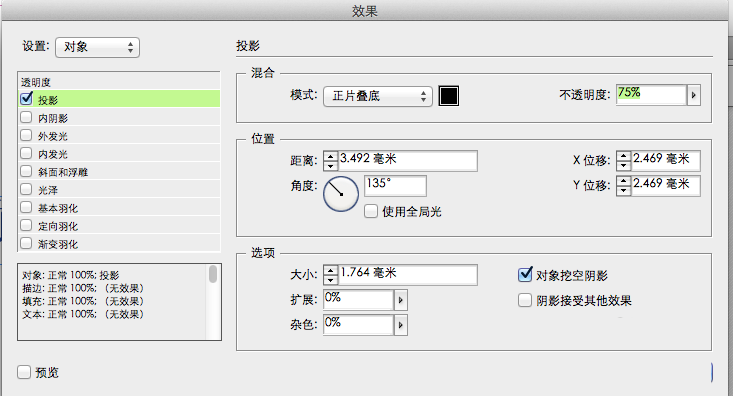
5、在效果面板中,我们在下方选择fx这个选项。点击进入。在二级菜单中选择投影选项,进入投影面板。
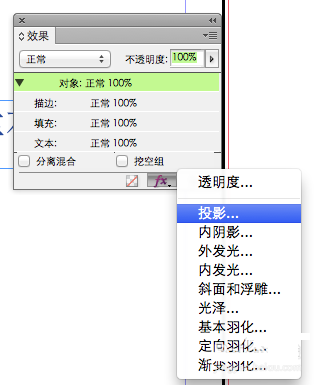
6、在投影菜单中设定你需要的投影数值,完成之后点击确定,是不是文字就出现了投影效果了。
上面就是小编带来的indesign给文字增加投影效果的详细教程,你们都学会了吗?


")
")


语音转文字!新媒体翻译者都有哪些实时语音转文本工具?")


