

本篇文章分享的是通过gimp打造木雕凹陷文字图案教程,若是大家对此感兴趣可以随小编来学习一下哦。
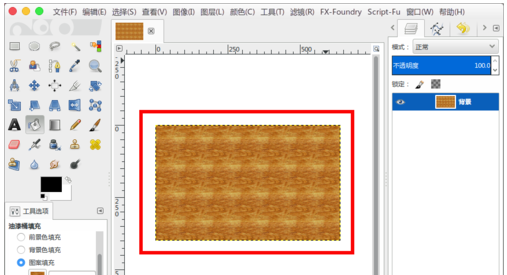
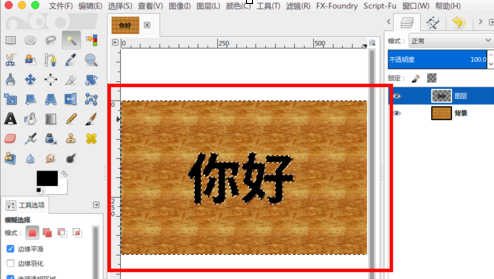
使用gimp打开木板图片。
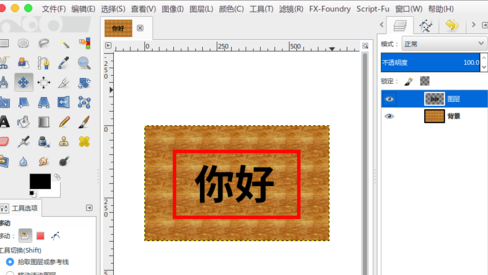
把文字图案图片也作为图层打开。
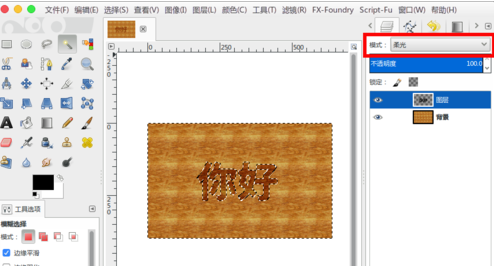
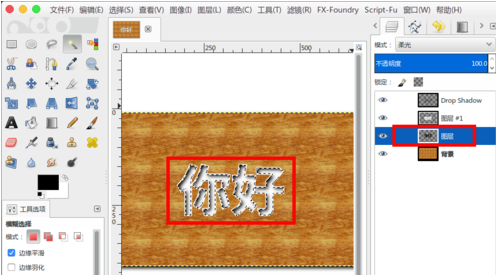
选择这个“文字图层”在“模式”中选择“柔光”。
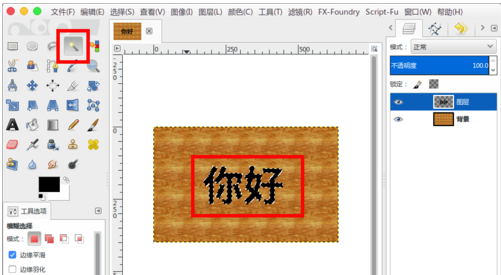
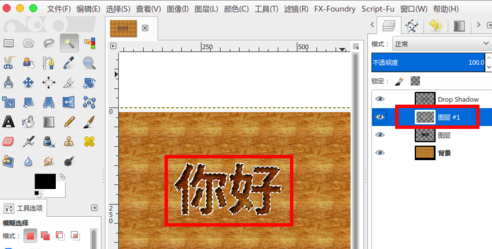
使用模糊选择工具选择这个文字,然后“ctrl+i”反选。
接着菜单“滤镜”--“光源和阴影”--“投影”。
位移XY都设置“5”,模糊半径设置“15”,不透明设置“100”然后确定开始生成(这个数值根据自己图片的大小等灵活调整)。
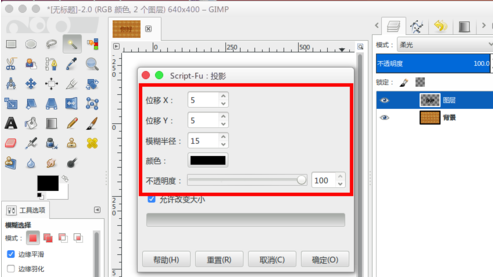
生成完成就有点凹陷的效果。
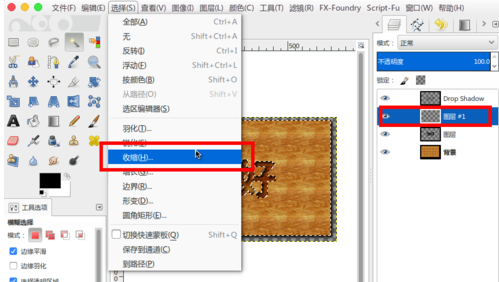
接着在文字图层的上面创建一个“透明图层”,然后菜单中“选择”--“收缩”。
弹出的窗口,收缩距离设置“2”然后确定。
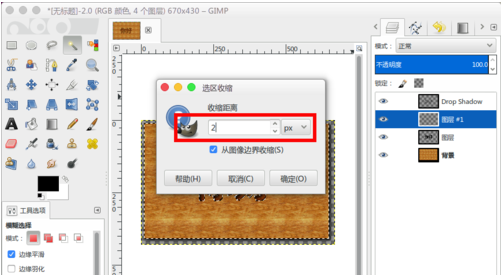
然后“ctrl+i”反选,并且“填充白色”。
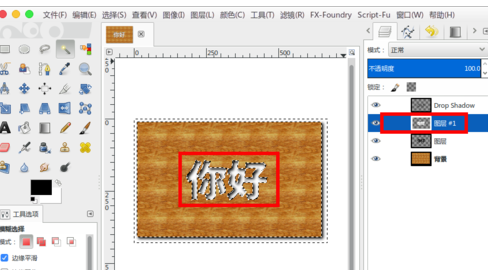
接着选择“文字图层”中的文字。
然后选择顶部的“白色图层”,按“delete”删除就可以得到白色边。
然后把这个白色图层模式也设置成“柔光”就可以得到凹陷的木雕文字图案效果了。
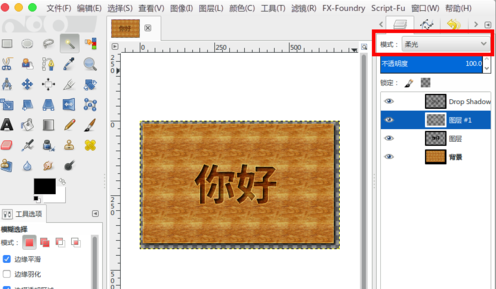
以上就是通过gimp打造木雕凹陷文字图案教程 ,希望可以帮助到大家。


")
")


语音转文字!新媒体翻译者都有哪些实时语音转文本工具?")


