

虽然Windows已经升级到了10,但是仍有不少人在使用Win7,以下内容是在Win7中创建系统还原点的具体步骤讲解,一起来学习吧,希望可以帮到你们!
Win7系统创建还原点教程:
1.选择我的电脑,右键,选择属性,打开“系统”窗口
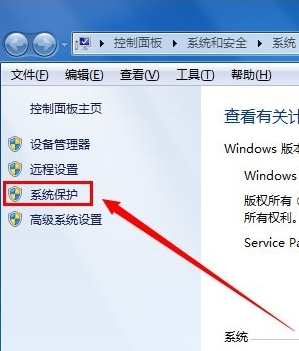
系统保护
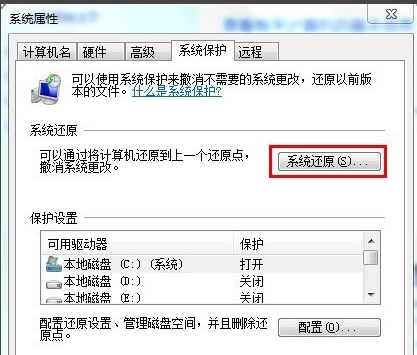
2.在“系统”窗口的左侧打开“系统保护”链接,此时为“系统属性”对话框下的“系统保护”选项卡
系统属性
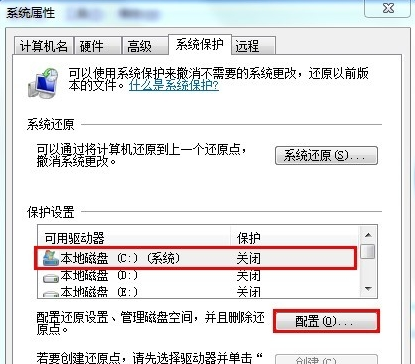
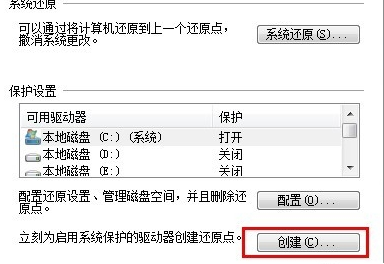
3.在“保护设置”中选中需保护的驱动器,点击“配置”按钮,配置需系统还原的驱动器
保护设置
4.此时打开对话框,在还原设置选项组下,选择还原内容,可选择“系统设置和以前版本的文件”,点击确定按钮
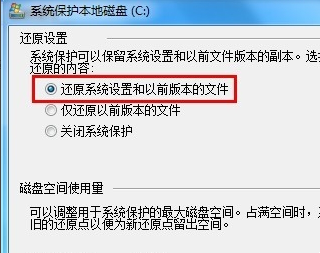
系统设置和以前版本的文件
5.点击“创建”按钮,此时弹出对话框,输入对还原点的描述,可以为命名为“还原点”,选择“创建”按钮完成创建,
创建
6.此时显示“正在创建还原点”进度条,过段时间会完成创建,系统提示“已成功创建还原点”

已成功创建还原点
以上就是在Win7中创建系统还原点的具体方法了,大家都学会了吗?


")
")


语音转文字!新媒体翻译者都有哪些实时语音转文本工具?")


