WPS被广泛应用,那在WPS中怎样使用关系图?下面就是在WPS中使用关系图的具体操作,很简单哦,看完之后你也来试试吧!
一、插入关系图的方法
1、打开wps,点击上方工具栏中的插入,在插入的下面就会出现一栏插入的工具。

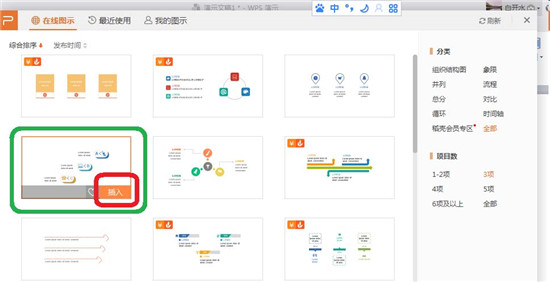
2、找到并点击“关系图”,在弹出的在线图示中,点击免费并且喜欢的关系图示的右下角的“插入”,图示就会插入到wps的页面中。
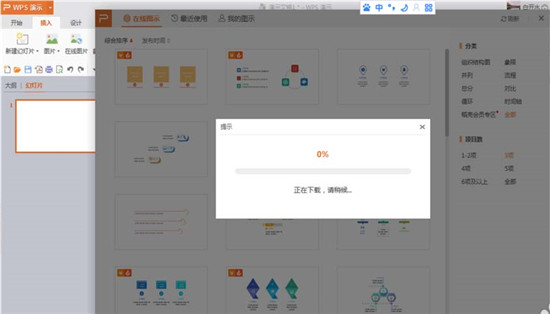
3、在线图示下载完毕,下载提示自动消失,关系图就会自动出现在wps的页面中。
二、更改图示个数的方法
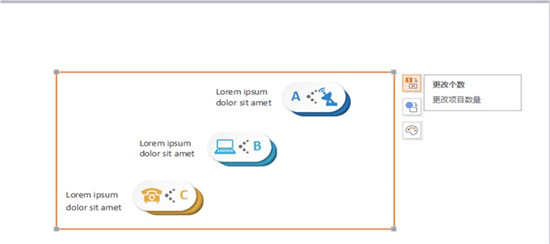
1、选中图示,点击图示的边框,在边框的右侧出现三个工具,最上边的就是更改图示个数的工具。
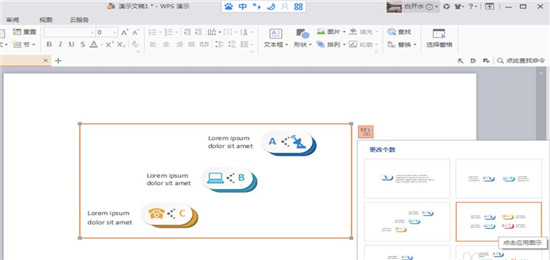
2、点击“更改图示个数”,右侧就会出现从1个到很多个图示的示意图,我选择了四个图示的图例,点击就可应用到wps中了。
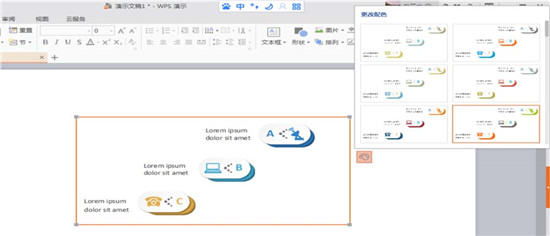
三、更改图示配色的方法
1、点击图示边框右侧的第三个工具,那个就是更改图示配色的工具,再出现的各种配色中选择插入喜欢的配色方案即可。
以上就是在WPS中使用关系图的具体操作,希望可以帮助到大家。


")
")


语音转文字!新媒体翻译者都有哪些实时语音转文本工具?")