

今天为大家讲解了使用PowerPoint软件制作立体翻页特效的方法,相信通过学习,大家一定会有更多的了解的!
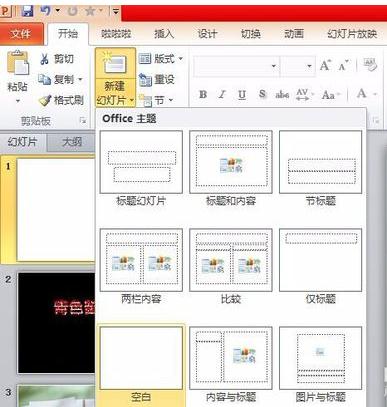
首先打开ppt,在菜单栏中选择开始--新建幻灯片--空白
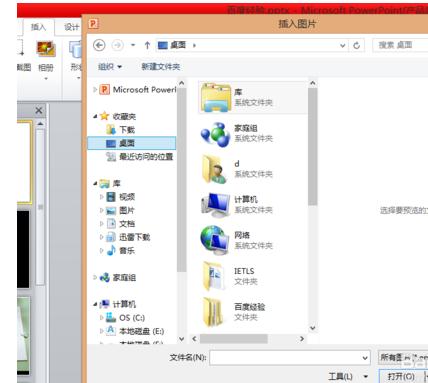
接着在菜单栏中选择插入--图片--选择预先下载的图片打开
调整图片的大小

在菜单栏中的插入选项卡中选择形状,选中矩形
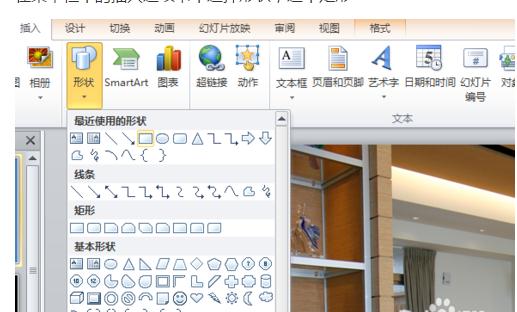
绘制一个矩形,调整大小
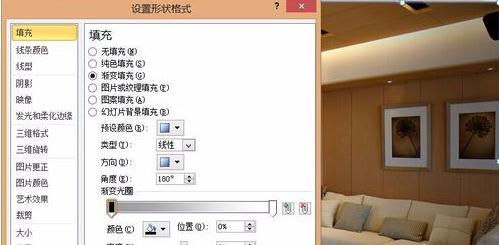
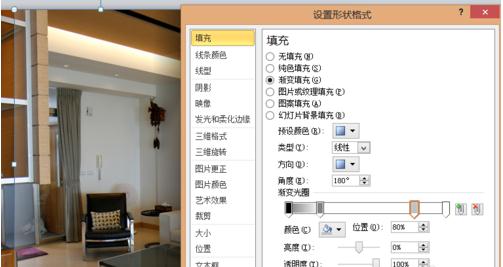
选中这个矩形,右键点击,选择设置形状格式,选择渐变填充,渐变光圈左边为黑色,透明度61%,右边为白色,透明度100%,方向设置为线性向左
同样绘制一个矩形,光圈设为四个,中间两个透明度100%,位置分别在25%,75%,左边颜色为黑色,透明度49%,右边颜色白色,透明度75%
调整完矩形的摆放,完工啦

以上就是小编带来的如何使用PowerPoint制作立体翻页特效全部内容,希望可以帮助到大家。


")
")


语音转文字!新媒体翻译者都有哪些实时语音转文本工具?")


