


如今,很多软件都自带同步功能,今天为大家介绍的就是火狐浏览器同步书签的具体操作,一起看看吧!
一、注册用户信息,设置同步。
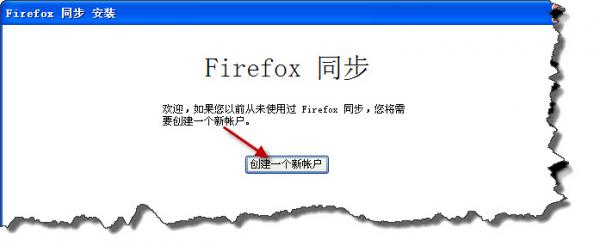
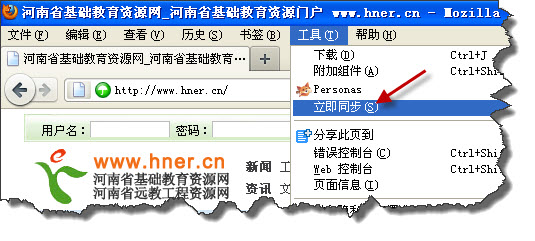
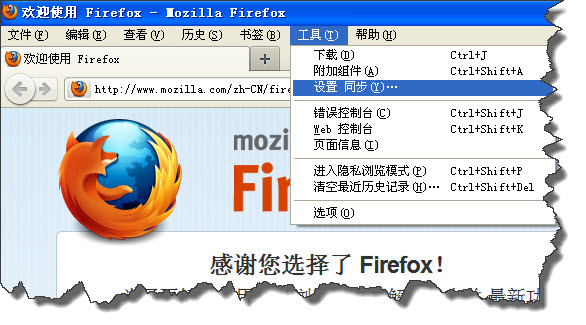
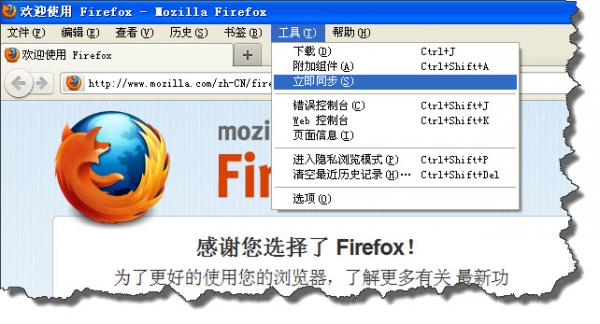
1、以下步骤注册用户,设置同步选项。单击Firefox浏览器“工具”下的“设置同步”命令按钮。

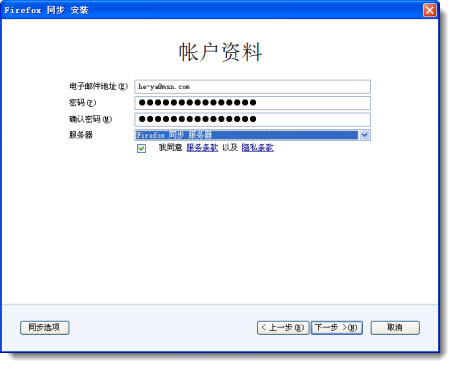
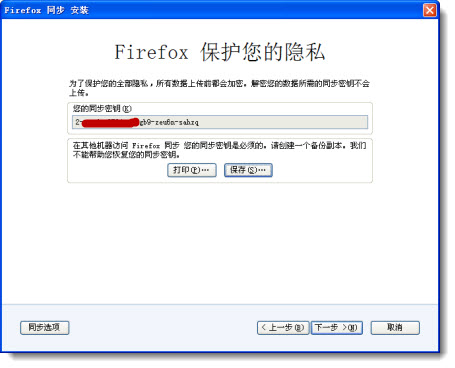
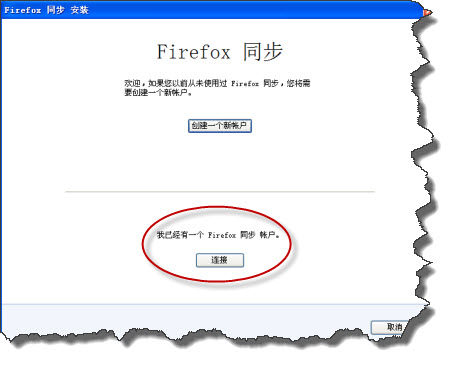
2、需要一个电子邮件帐户作为同步帐户,设置同步密码及同步服务器。
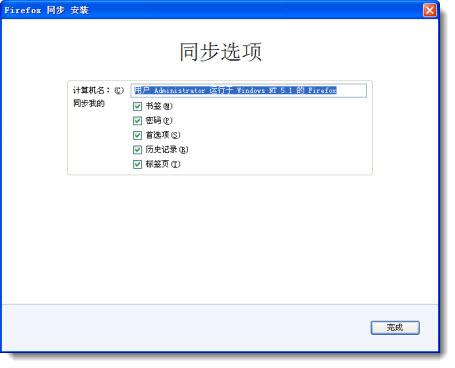
3、设置同步内容:书签(收藏夹内的内容)、密码、首选项、历史记录和标签页。
二、使用Firefox的同步功能
Firefox的同步功能使用比较简单:上传数据和下载数据。
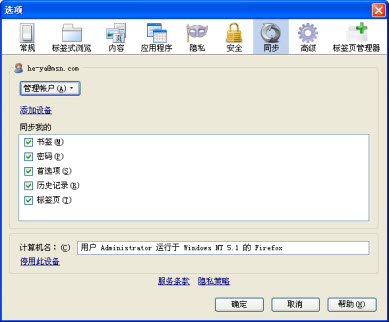
由于有时我们使用的不是自己的计算机,当离开计算机时要注销。在Firefox“选项”菜单中找到“同步”选项卡,单击“停用此设备”来注销登录。
当我们离开自己的计算机到其它地方后就可以把远程服务器上的信息数据同步(下载)到本地计算机上。以下操作步骤是到其它计算机上把远程服务器上的数据同步(下载)到本机或者把本机的数据同步(上传)到同步服务器上。
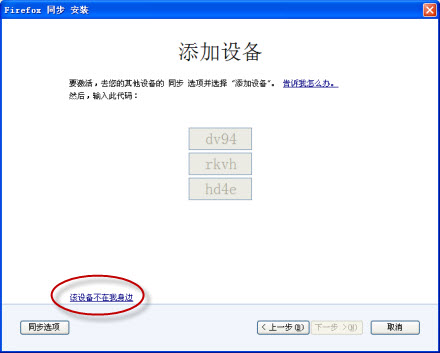
这样就可以让本机的数据与Firefox同步服务器上的数据保持同步,就可以看到以前收藏夹内的内容了,当然把新收藏的网址上传到同步服务器。Firefox同步功能使用非常方便,个人感觉比任何一个网络收藏夹好用。
以上就是小编给大家带来的火狐浏览器同步功能介绍,大家都学会了吗?


")
")


语音转文字!新媒体翻译者都有哪些实时语音转文本工具?")


