

本教程讲word2010制作简历模板的具体方法,操作起来是很简单的,想要学习的朋友们可以跟着小编一起去看一看下文,希望能够帮助到大家。
word2010制作简历模板的步骤
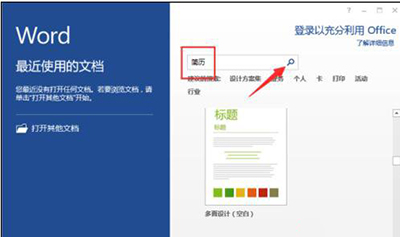
步骤一:鼠标左键双击计算机桌面Word2010程序图标,将其打开运行。在打开的Word2010程序窗口,在右侧的搜索框中输入“简历”然后再点击搜索按钮。如图所示;
步骤二:在跳转到新建简历页,在类别区域中选择自己需要的类别,并点击“类别”左侧的下拉按钮,选中自己需要的简历模板。如图所示;

步骤三:点击选中的简历模板后,这个时候会弹出一个对话框,我们直接点击对话框中的“创建”按钮。如图所示;

步骤四:点击创建按钮过几秒中后,系统会自动跳到另外一个Word文档编辑窗口,在这篇文档中已经包含了我们选中的简历模板。如图所示;
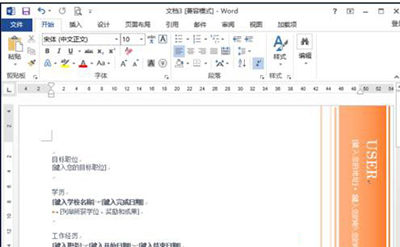
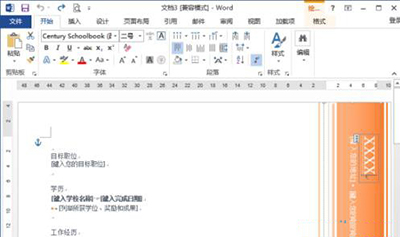
步骤五:之后再简历模板中,根据我们的实际情况进行内容填写即可。如图所示;
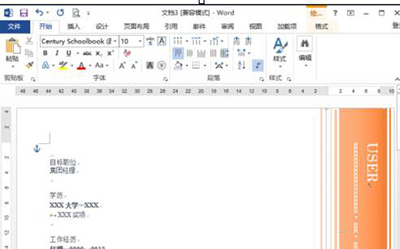
步骤六:全部输入好之后的效果。如图所示;
以上就是word2010制作简历模板的具体方法了,大家都学会了吗?


")
")


语音转文字!新媒体翻译者都有哪些实时语音转文本工具?")


