

相信大家都有遇到过在网上找的图片不清晰的问题,小编根据此问题带来了利用PS软件调整图片清晰度的详细操作方法,进来的伙伴们抓紧来看一下吧!

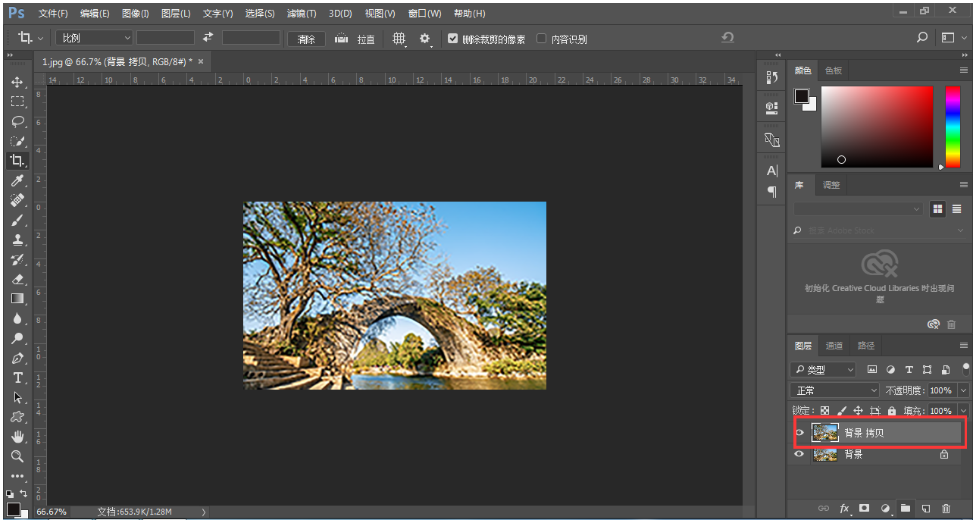
打开Photoshop软件,导入一张事先准备好的图片,复制图层,
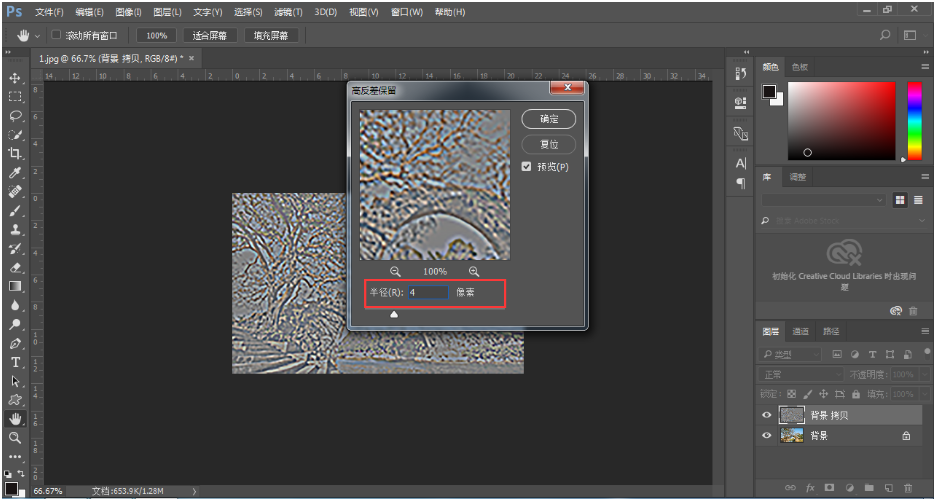
在菜单栏中点击【滤镜】――【其它】――【高反差保留】,半径数值为4,
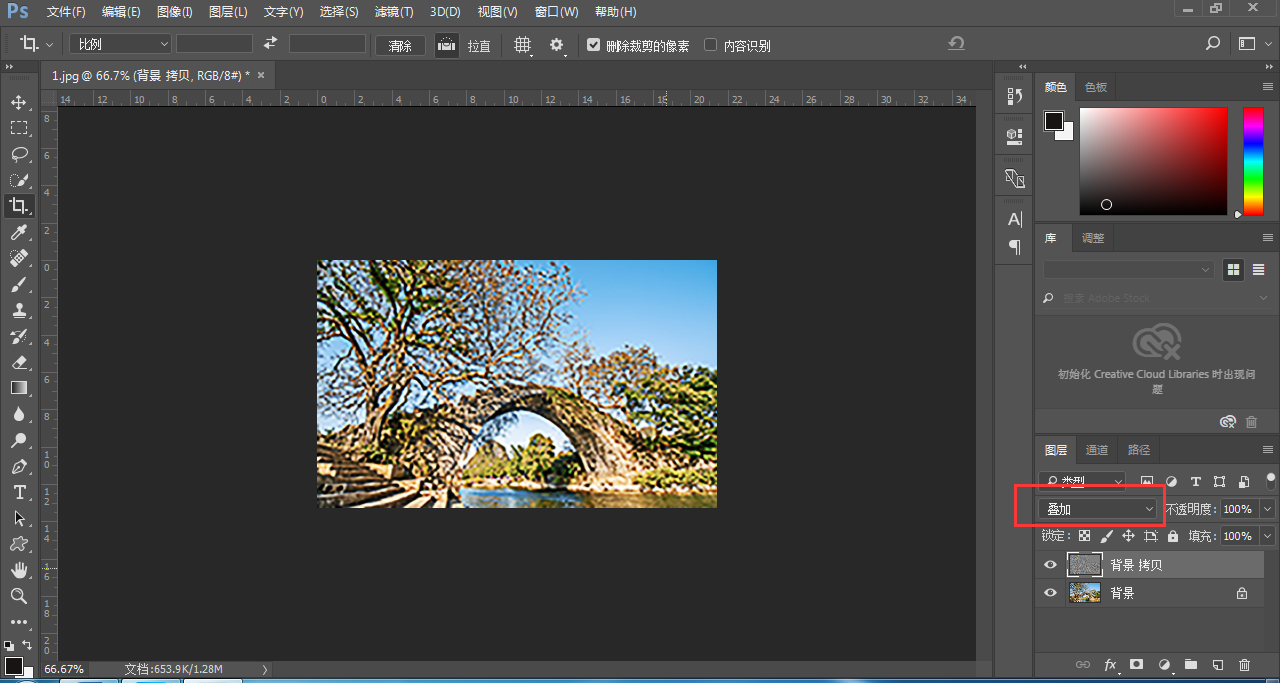
然后在图层面板上,把属性变为【叠加】,如图,
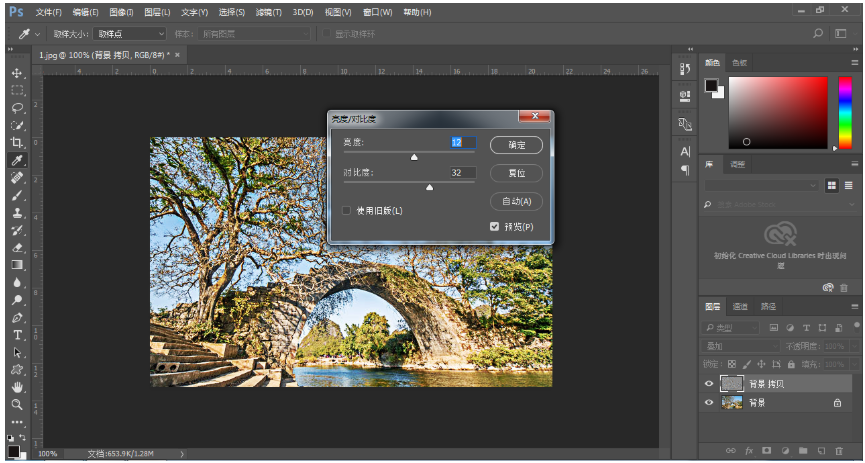
在菜单栏中点击【图像】――【调整】――【亮度/对比度】,弹出对话框,调整高度、对比度,点击确定,
处理完成,图片变清晰了,效果如图。

学习本篇文章,通过利用Photoshop软件调整图片的清晰度的详细操作方法,大家都一定学会运用了吧。


")
")


语音转文字!新媒体翻译者都有哪些实时语音转文本工具?")


