??很多人都在使用ps,不过你们知道使用ps如何更改gif动图吗?下面文章内容就带来了ps更改gif动图的具体步骤介绍。

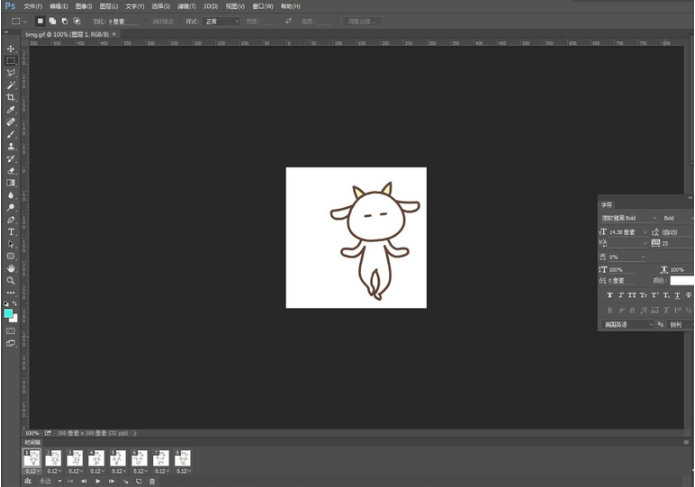
??打开Photoshop软件,导入一张GIF动图,把时间轴打开,点击窗口――时间轴,
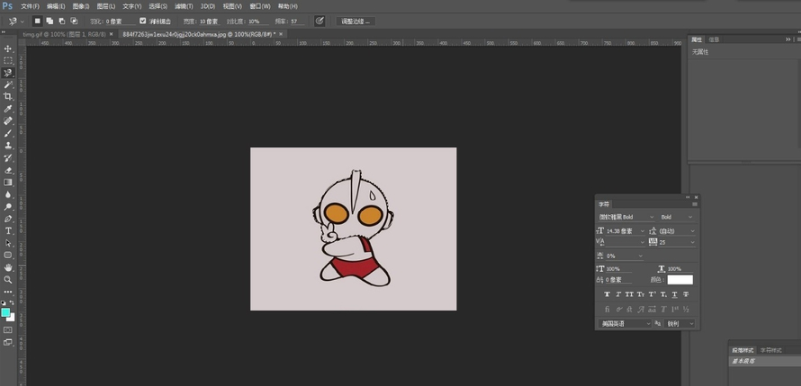
??在PS中打开一张人物图片,使用多边形套索工具或者钢笔工具,把人物脸部抠出来,我这里用的是套索工具,
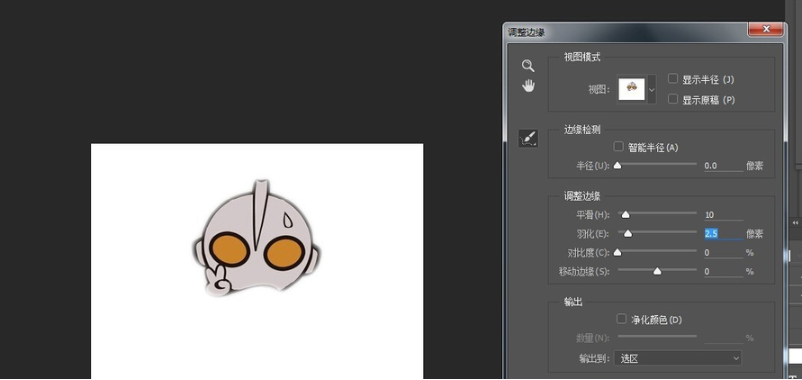
??抠图完成,按住鼠标右键――建立选区,现在我们来羽化图片,选择――调整边缘,让图片边角变得模糊一点,
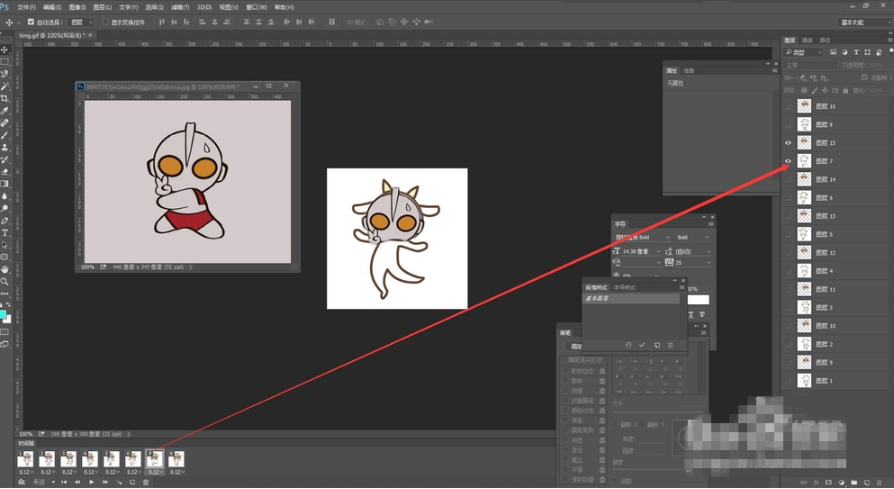
??把抠出来的图片移到GIF动图上,放在需要遮挡的部位,
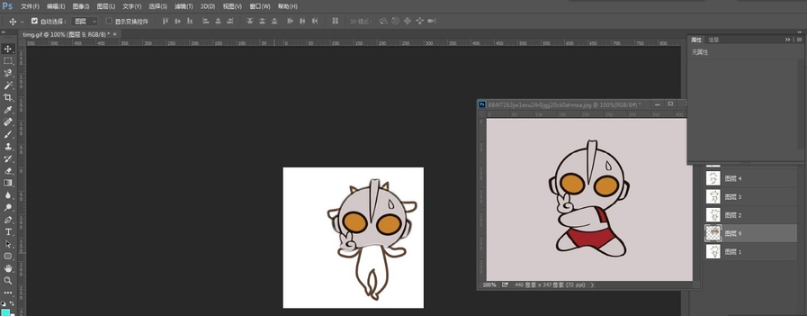
??类似上一步操作,选择时间轴上的每一帧,将图片覆盖住你要P的那张图片,
??注意:覆盖之后要检查图层,每个时间轴对应的图片上只显示时间轴图片以及对应覆盖的图片。
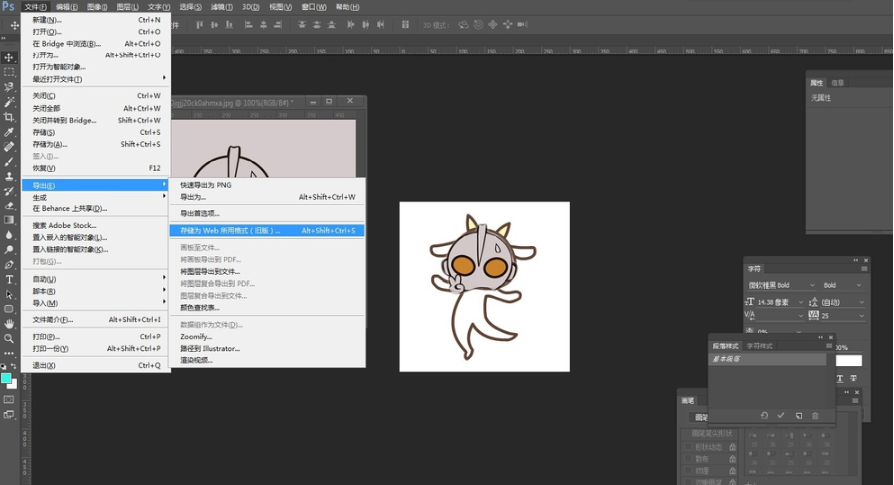
??保存图片,点击菜单栏中的文件――导出――储存为Web所用格式,格式选择GIF,
??看完了上文为你们讲解的ps更改gif动图的具体步骤介绍,你们自己也赶快去试试吧!


")
")


语音转文字!新媒体翻译者都有哪些实时语音转文本工具?")