想制作一个文字有内部阴影的效果,你们知道使用wps2019怎么添加吗?下文就为你们打来了wps2019中为文字添加内部阴影的具体操作流程。

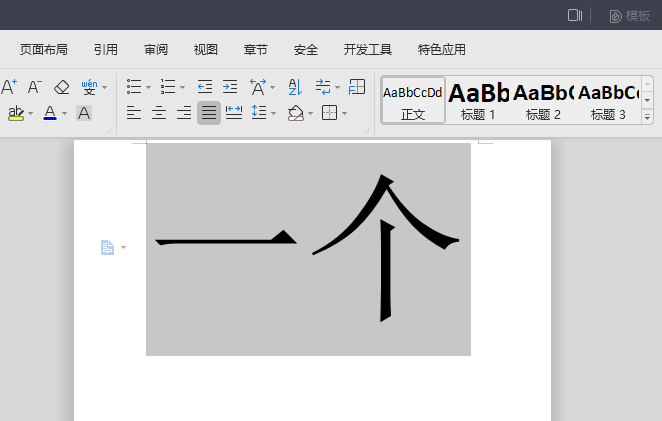
1、首先,我们打开wps2019,然后在里面输入一些文字;

2、之后我们选中这些文字;
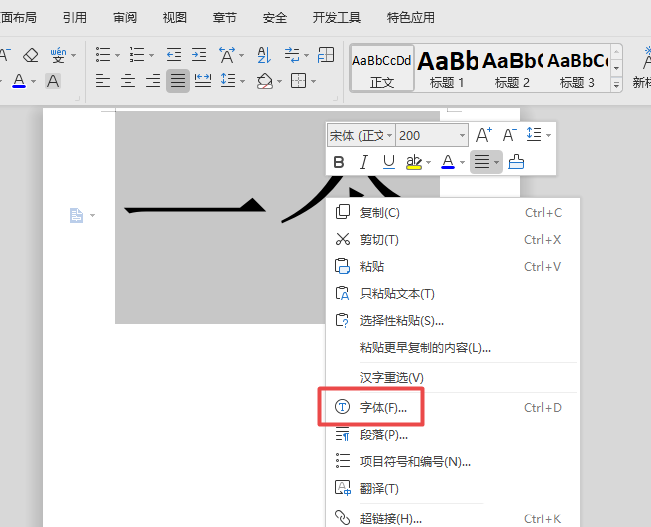
3、然后我们右击选择字体;
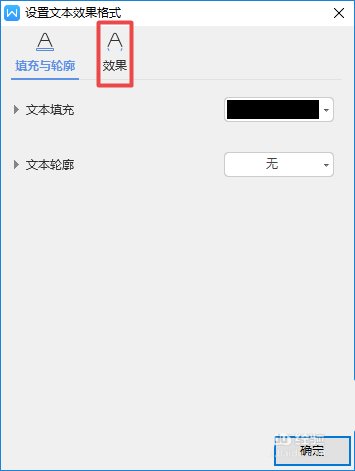
4、之后我们点击文本效果;
5、然后我们点击效果;
6、之后我们点击阴影边上的下拉箭头,弹出的界面,我们点击内部的一个样式;

7、之后我们点击颜色边上的下拉箭头;
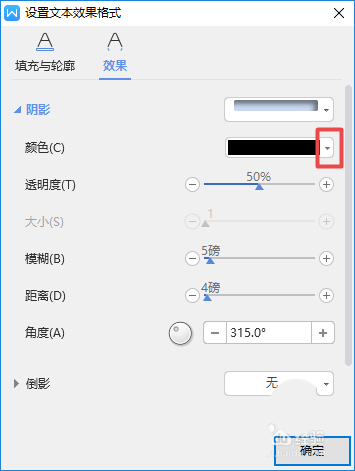
8、弹出的界面,我们点击黄色;
9、之后我们点击确定;
10、然后我们再点击确定;
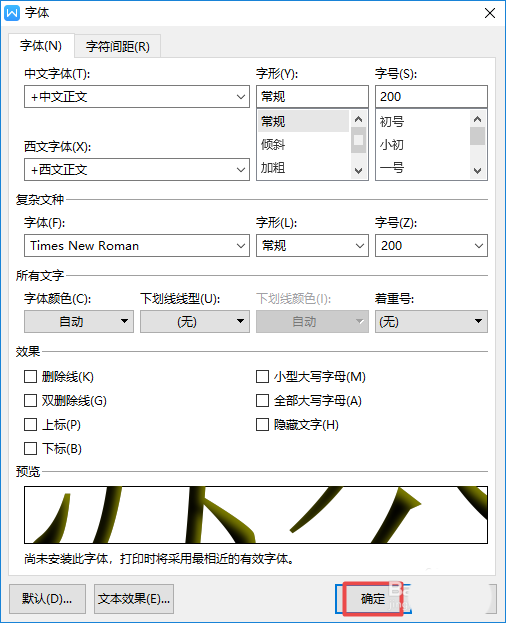
11、最终结果如图所示,这样我们就给字体设置成内部阴影效果了。

按照上文为大伙带来的wps2019中为文字添加内部阴影的具体操作流程,你们自己也赶紧去试试吧!


")
")


语音转文字!新媒体翻译者都有哪些实时语音转文本工具?")