

听说在Photoshop这款软件中使用阈值就可以抠图,不太了解此操作的用户就去以下这篇文章中看看Photoshop中使用阈值抠图的具体操作步骤。
打开Photoshop软件,导入图片素材,

复制背景图层,执行“滤镜->其他->高反差保留”命令,

在弹出的对话框中拖动“半径”滑块,然后点击确定,

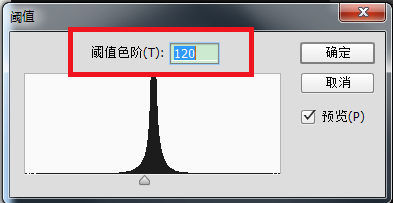
执行“图像->调整->阈值”命令,

在弹出的对话框中拖动滑块,然后点击确定,
按快捷键Ctrl+j,复制得到“背景 拷贝 2”图层,执行“滤镜->其他->高斯模糊”命令,

在弹出的对话框中设置“半径”参数,点击确定,

抠图完成,效果如图

上文就是小编为你们带来的Photoshop中使用阈值抠图的具体操作步骤,你们都知道了吗?


")
")


语音转文字!新媒体翻译者都有哪些实时语音转文本工具?")


