

�ܶ�С��黹�����photoshop�ı�ͼƬ������ɫ�ľ�����������������أ�С��ͷ���photoshop�ı�ͼƬ������ɫ�IJ����̳̣�һ��ȥ�����ɣ����ŶԴ�һ��а�����
photoshop�ı�ͼƬ������ɫ�ľ������
ԭͼ

��ѡ��ħ������
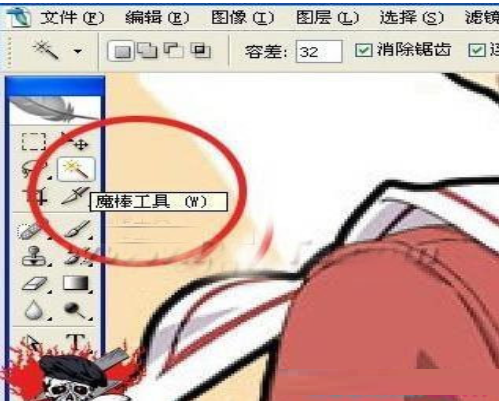
Ȼ���MM���¶���ѡ��
Ȼ�����ǰ��ɫΪ #3169dc
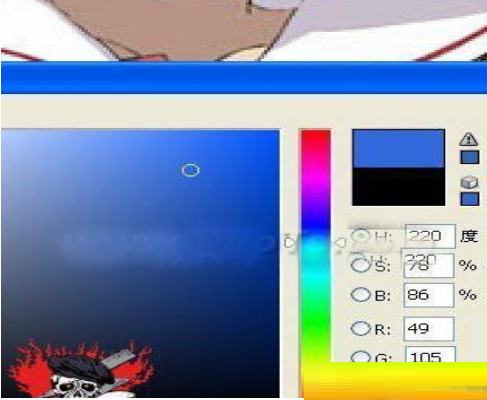
ѡ�ʹ��ߣ�����Ϊ��ɫģʽ
�����������������ͿĨ
ͿĨ���֮����ħ���ѿ��ӵĺ�ɫ�����ѡ�У�Ȼ������ǰ��ɫΪ#1a3671
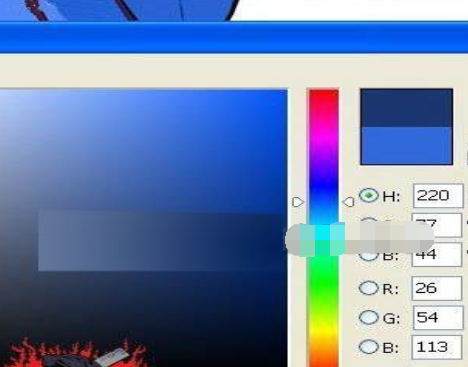
Ȼ������ķ����û��ʽ���ͿĨ
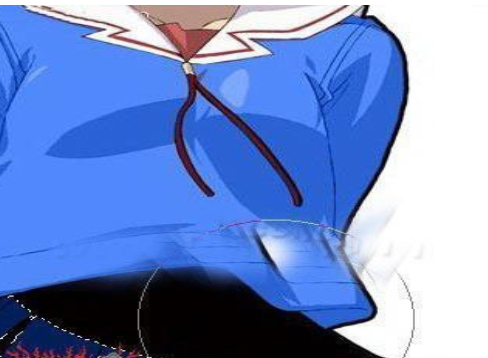
��������������ħ������ʹ�õ���ô����?����Ч�����ͣ�

�������С��Ϊ��Ҵ�����photoshop�ı�ͼƬ������ɫ�ľ�������̳� ��ϣ���Դ���ܹ���������Ŷ��


