

各位知道ppt制作文字倒影的操作步骤吗?若不了解的话,就去看下文小编讲解的ppt制作文字倒影的具体操作方法吧,希望大家喜欢。
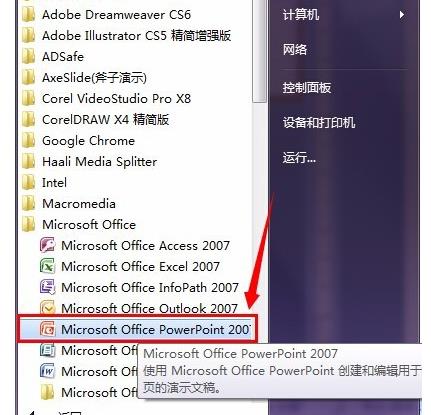
1、在开始菜单中打开“microsoft office powerpoint 2007”,如下图所示:
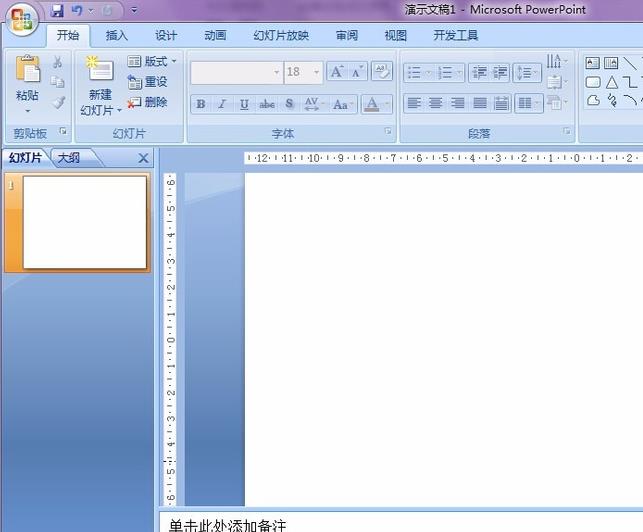
2、打开的“powerpoint 2007”软件界面如下图所示:
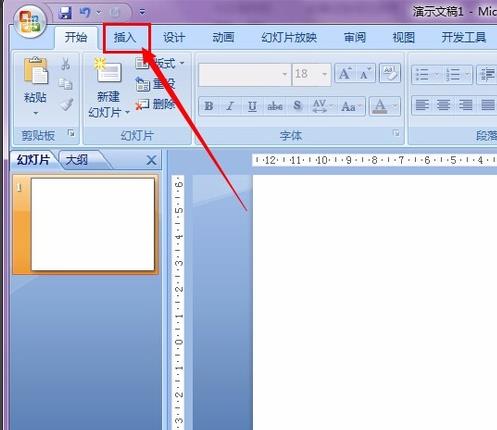
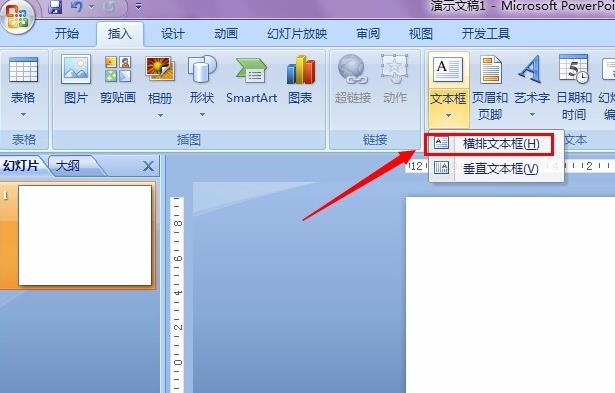
3、查看软件的工具栏,在其中,找到“插入”标签,如下图红色线框选中区域。
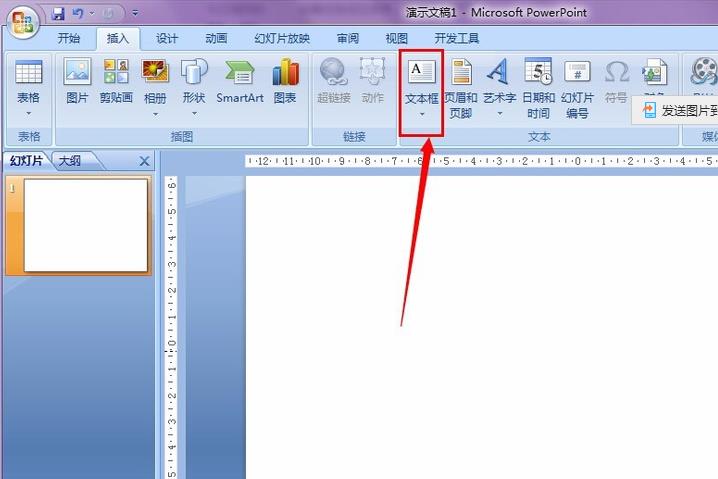
4、在“插入”的选项中,找到文本选项框,点击如下图所示的“文本框”。
5、在这里我们选择“文本框”――“横排文本框”,所选如下图红线所选:
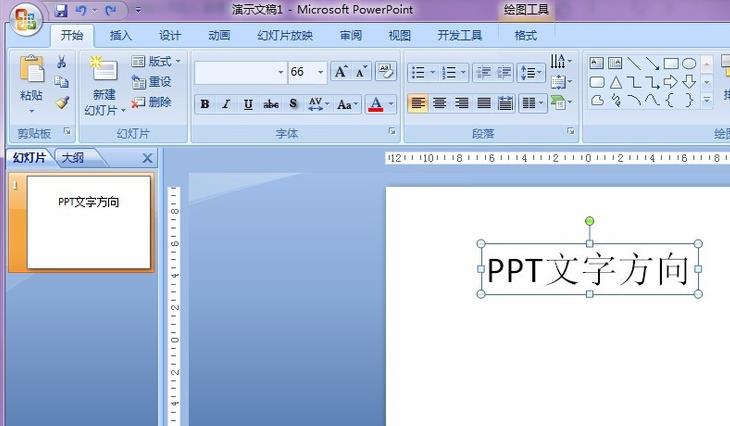
6、在这里就以输入“PPT文字方向”为例,来做介绍,如下图所示:
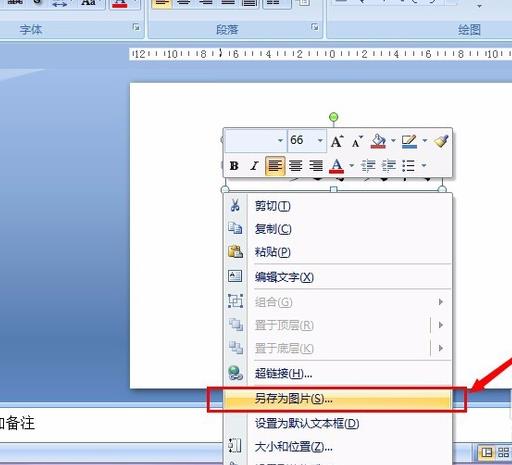
7、输入完成后选中文字然后单击鼠标右键,出现如下图所示下拉菜单,选择“另存图片为”。
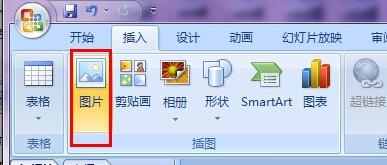
8、保存图片到桌面,然后选择“插入”标签――“图片”,在弹出的窗口中找到存的图片位置选中。
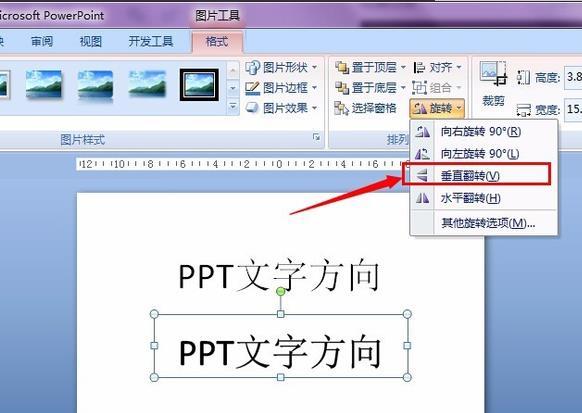
9、把图片插入之后,双击选中插入的图片,记得一定是双击这样会自动调出“格式”标签,找到“旋转”――“垂直旋转”,如下图所示:
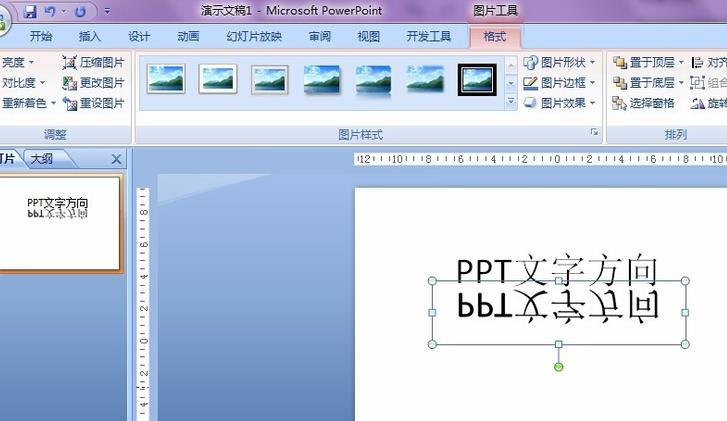
10、效果如图所示,如果想要旋转其它角度可以在第9步操作的时候选择相应的选项就可以了。
上面就是为各位亲们带来的ppt制作文字倒影的操作教程,一起去了解了解吧。


")
")


语音转文字!新媒体翻译者都有哪些实时语音转文本工具?")


