

在photoshop中如何排字呢?不太明白的就去下文看看在photoshop中实行排字的操作步骤,赶紧一起去学习下吧。
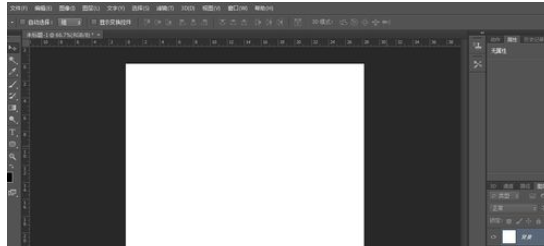
首先,打开PS,新建一个空白文档。
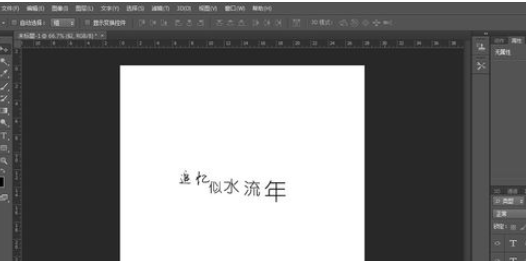
选择文字工具,在文档上输入文字,为了我们等会排字,我们将每个字设为一个图层。

排字的方法有很多,小编就来说说比较简单和常用的一种,利用字体和文字位置进行排字,即调整字体大小,字体,文字上下位置。
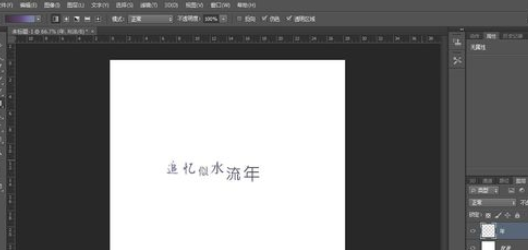
我们先大致拍好文字的位置,如下图,文字不在一条水平线上往往能够给人错落有致的感觉。
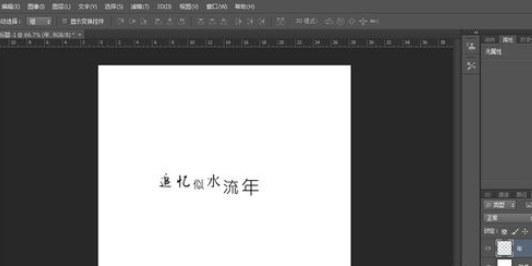
再对字体大小和字体种类进行调节,其中字体种类和字体大小不要调整太多,否则会给人一种很乱的感觉。大家如果觉得排的不好看的话可以去网上搜搜一些专业的排字,看得多了也会有自己的体会。

下面,将文字层栅格化,并合并文字层,提醒大家,这个操作必须在你认为排字无误的情况下进行,否则后面想要再次编辑就麻烦了。
按住ctrl键,点击文字所在图层的缩略图,载入文字选区。
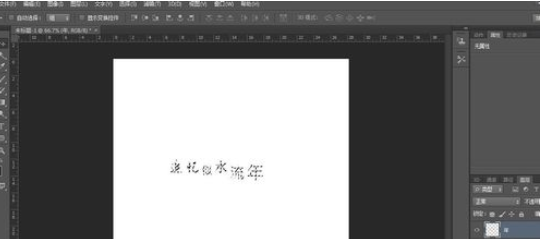
选择渐变工具,对选区拉出渐变,渐变颜色大家可以根据自己的喜好来设置。
最后,我们再对背景层做简单的设置,裁剪背景层,并对背景层拉一些简单的渐变,我们的排字效果就完成了。

上文就是小编讲解的在photoshop中实行排字的操作步骤,大家都学会了吗?


")
")


语音转文字!新媒体翻译者都有哪些实时语音转文本工具?")


